




We’re in the home stretch of Faction Focus articles, and the disciplined Aeldari have been waiting patiently for their turn. The wait is over – let’s see what their new detachments can do.
Armoured Warhost
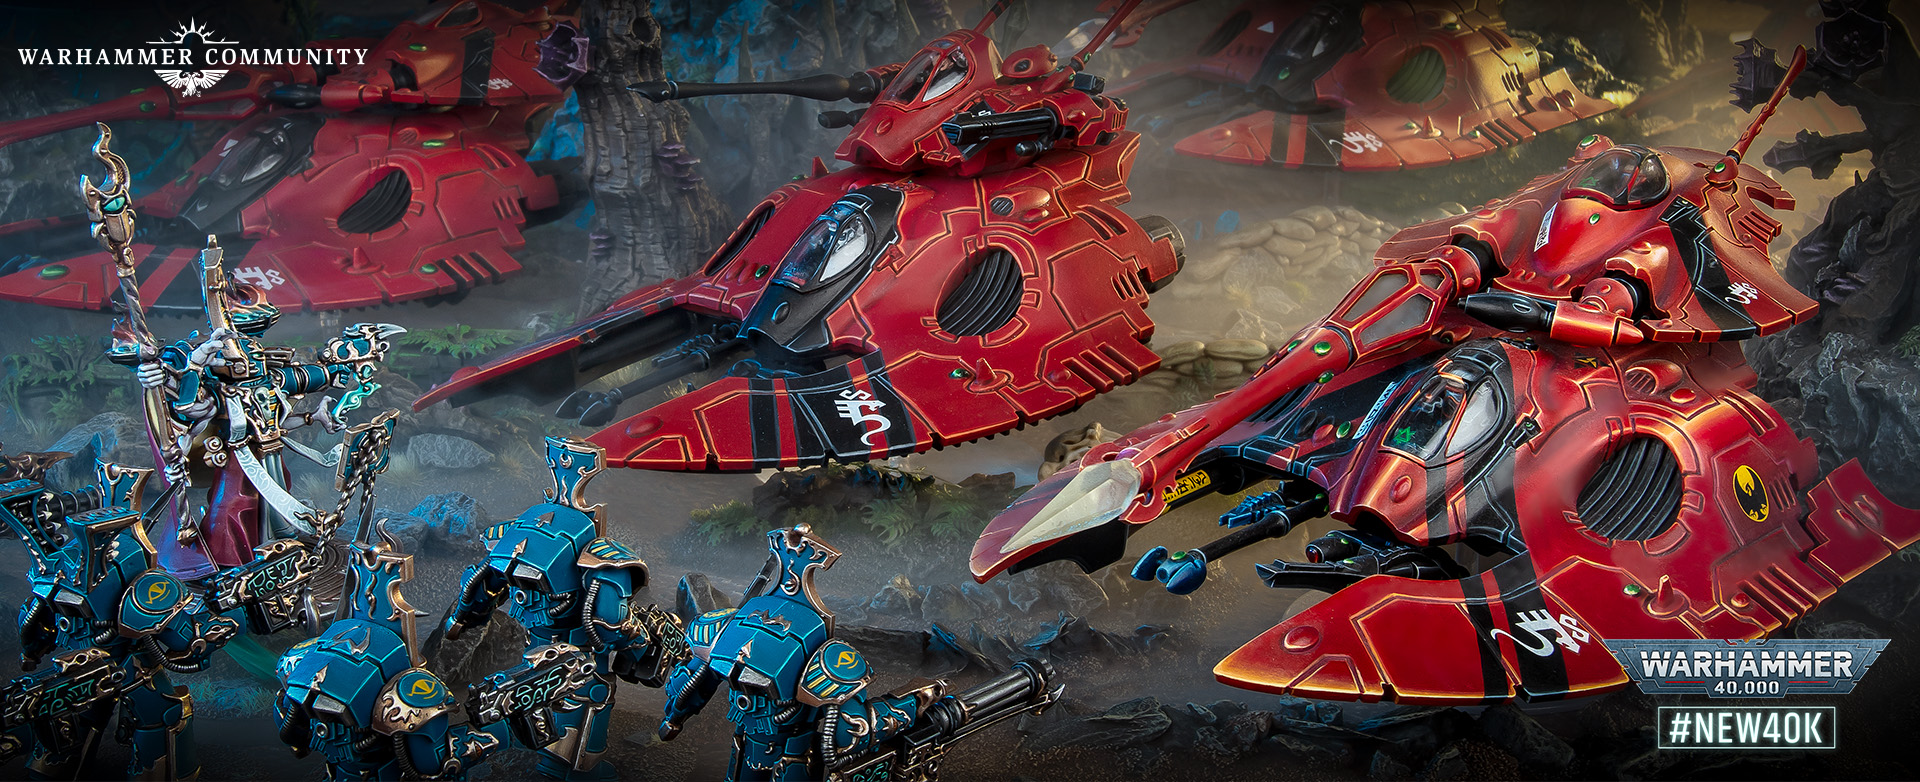
Aeldari vehicles are borne aloft on graceful grav drives that send them skimming across rough ground as easily as an open field. The crews that man them are equally good at their jobs, and have immense experience targeting heavy weapons even while the pilot performs high-speed manoeuvres.
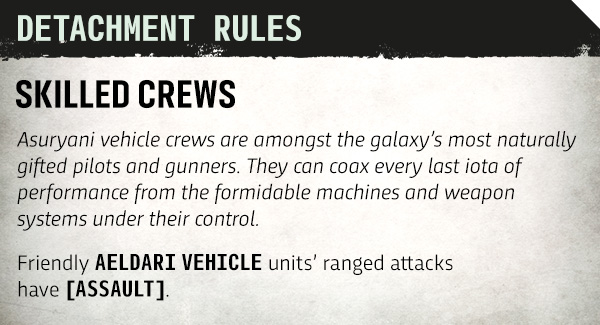
SKILLED CREWS
Asuryani vehicle crews are amongst the galaxy’s most naturallygifted pilots and gunners. They can coax every last iota of performance from the formidable machines and weapon systems under their control.
Friendly AELDARI VEHICLE units’ ranged attacks have [ASSAULT].
Craftworld Aeldari armies put a lot of emphasis on speed, so it’s important that their Vehicles can keep up a punishing barrage while zooming as fast as possible to their next firing point. With the Assault weapon ability, even Fire Prisms can fire while Advancing, and the added speed is a great way to get sight lines on furtive targets.
While other factions repair their vehicles with crude welders and percussive tools, the Aeldari coax wraithbone back into its intended shape through music and song. Master Bonesingers are far too important to be found in the middle of a battle, but other seers can channel a mote of their power and heal nearby Vehicles with the Spirit Stone of Raelyth.
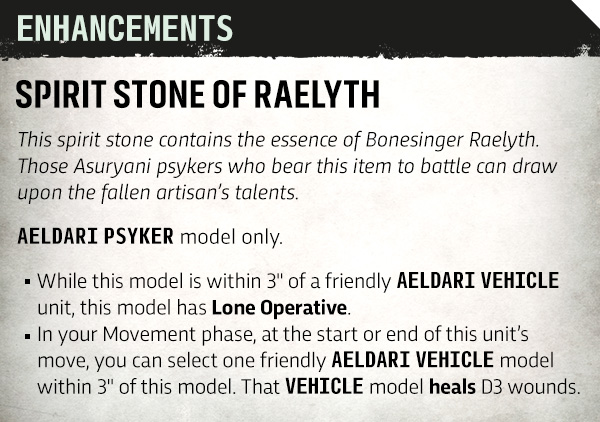
SPIRIT STONE OF RAELYTH
This spirit stone contains the essence of Bonesinger Raelyth. Those Asuryani psykers who bear this item to battle can draw upon the fallen artisan’s talents.
AELDARI PSYKER model only.
While this model is within 3" of a friendly AELDARI VEHICLE unit, this model has Lone Operative.
In your Movement phase, at the start or end of this unit’s move, you can select one friendly AELDARI VEHICLE model within 3" of this model. That VEHICLE model heals D3 wounds.
There will come a time when a surprise enemy assault catches your grav-tanks in an unexpected melee, but fear not – they’re far too agile to keep pinned in a losing fight. Engage their Vectored Engines and you can slip out of combat without compromising accuracy, letting you follow up with a barrage of your own.
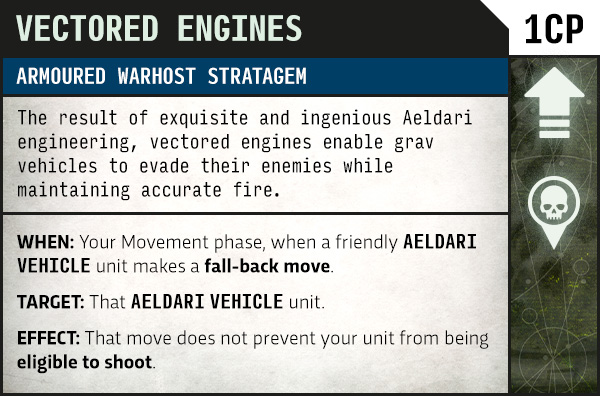
VECTORED ENGINES (1CP)
ARMOURED WARHOST STRATAGEM
The result of exquisite and ingenious Aeldari engineering, vectored engines enable grav vehicles to evade their enemies while maintaining accurate fire.
WHEN: Your Movement phase, when a friendly AELDARI VEHICLE unit makes a fall-back move.
TARGET: That AELDARI VEHICLE unit.
EFFECT: That move does not prevent your unit from being eligible to shoot.
Fateful Performance
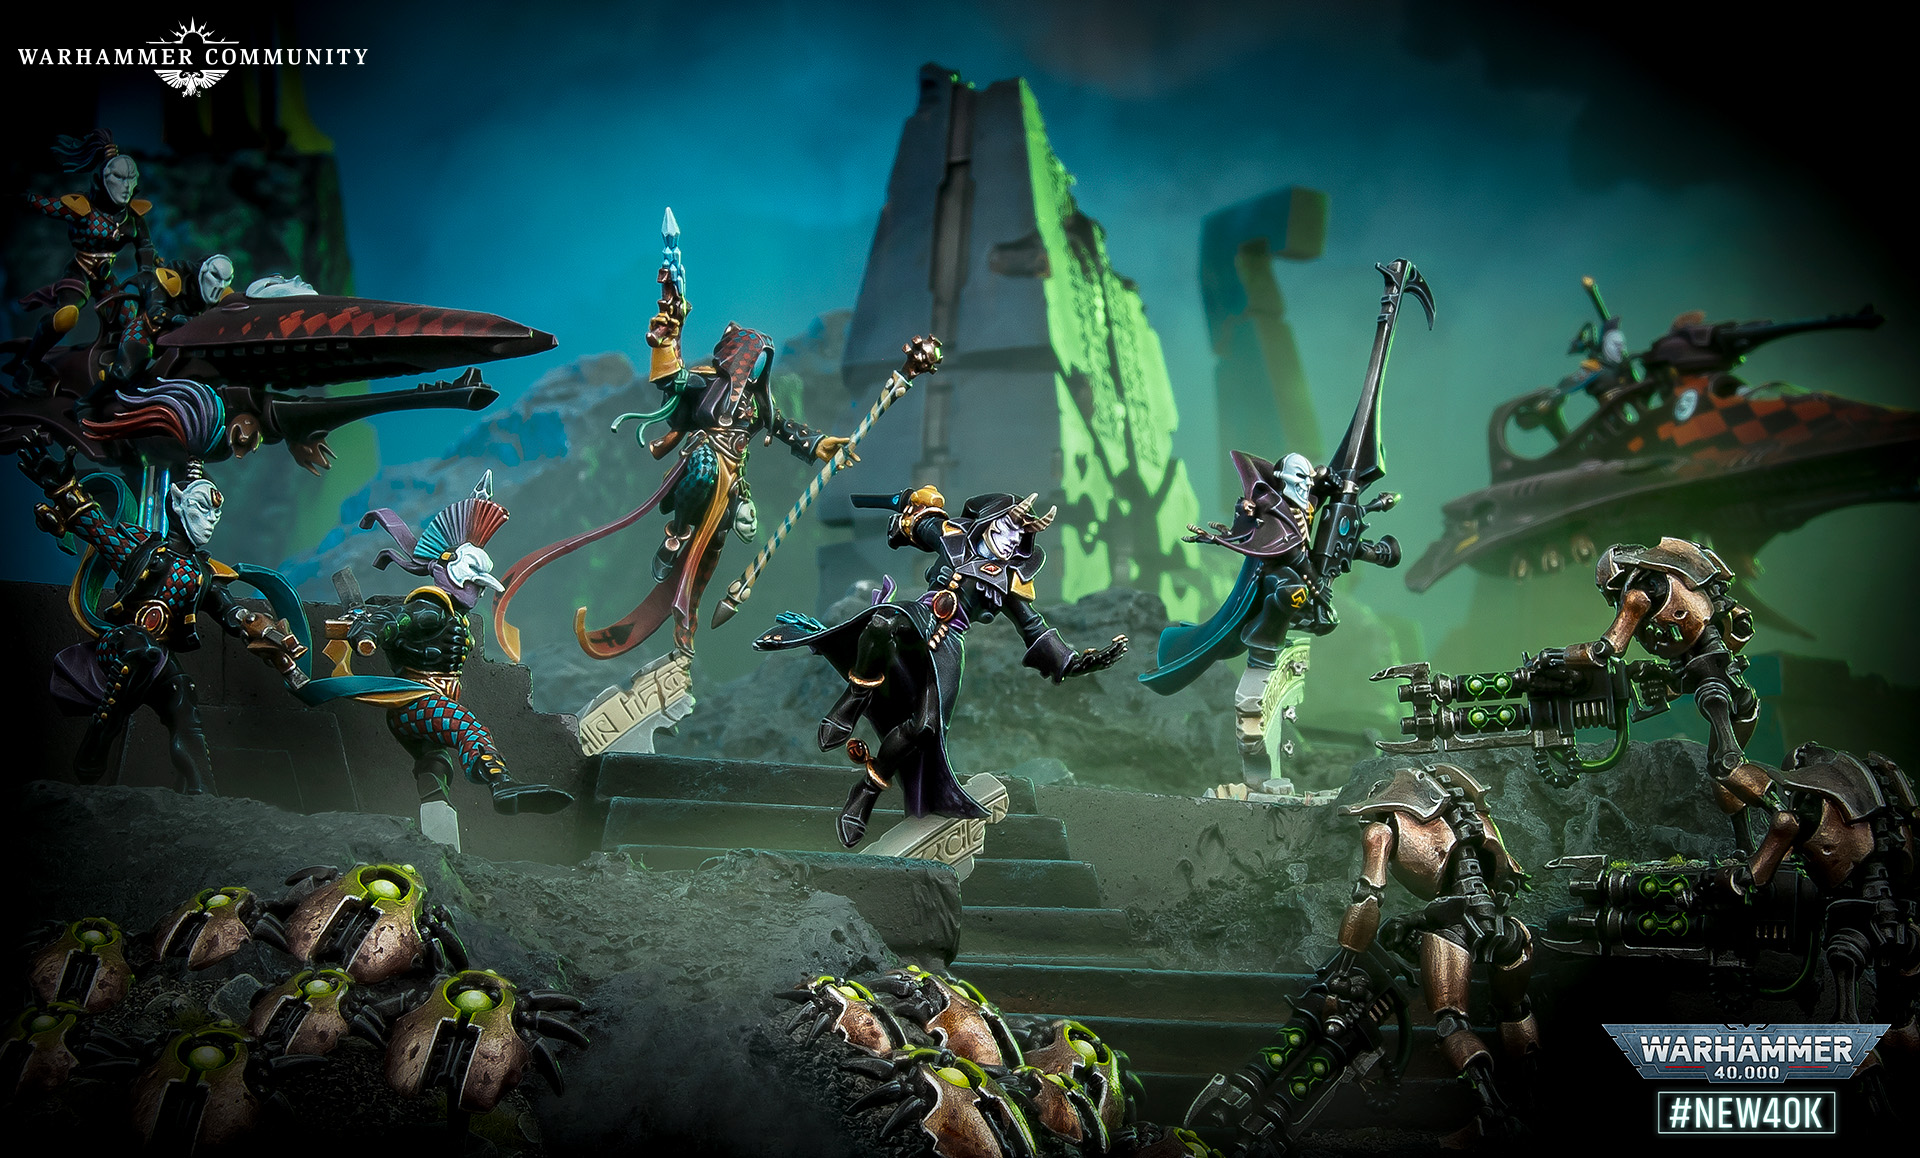
In the past, detachments that boosted Harlequins tended to have nothing in them for the rest of the Aeldari roster, but with the new mix-and-match system, you can support a troupe of laughing killers and whatever tanks or Aspect Warriors you want at the same time.
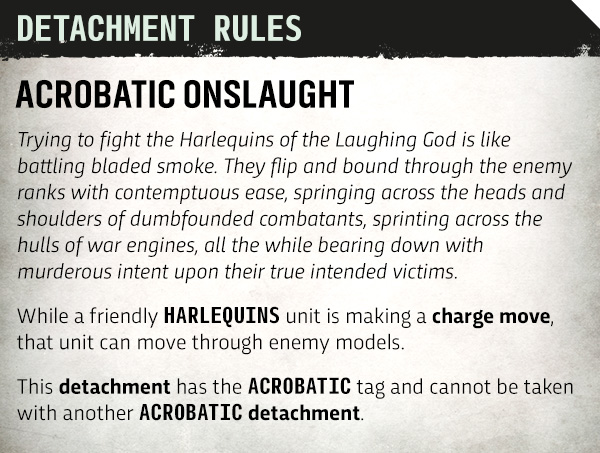
ACROBATIC ONSLAUGHT
Trying to fight the Harlequins of the Laughing God is like battling bladed smoke. They flip and bound through the enemy ranks with contemptuous ease, springing across the heads and shoulders of dumbfounded combatants, sprinting across the hulls of war engines, all the while bearing down with murderous intent upon their true intended victims.
While a friendly HARLEQUINS unit is making a charge move, that unit can move through enemy models.
This detachment has the ACROBATIC tag and cannot be taken with another ACROBATIC detachment.
As potent close combat specialists, it can be rough for Harlequins when they can’t get all of their blade-wielding jesters into the press of combat – especially when the enemy’s own models are in the way. Rather than cutting your way through screening infantry, which can be punishingly slow at times, simply leap over them and skewer the vulnerable troops behind.
Granted, these daring charges right into enemy lines are only impressive if they actually work. Now that you can choose the target of your charge after the distance has been rolled, Harlequins can afford to gamble on reaching the juiciest prey, and having A Foot in the Future really helps make those longer charges.
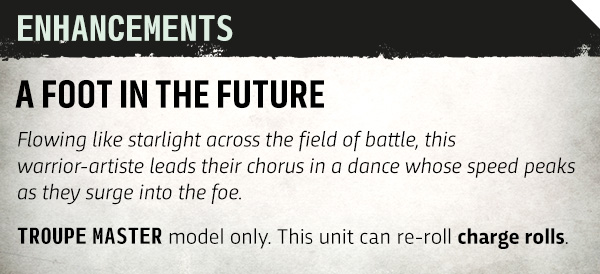
A FOOT IN THE FUTURE
Flowing like starlight across the field of battle, this warrior-artiste leads their chorus in a dance whose speed peaks as they surge into the foe.
TROUPE MASTER model only. This unit can re-roll charge rolls.
You really do want to be the one charging with Harlequins, though, as they’re not the toughest customers and a few solid swings with a chainsword are enough to put one down. Fight on your terms with the Deceptive Feint stratagem, and scoot away from anyone that threatens your Troupe.*
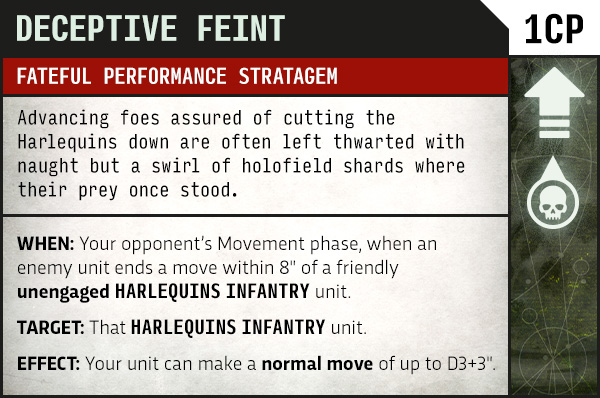
DECEPTIVE FEINT (1CP)
FATEFUL PERFORMANCE STRATAGEM
Advancing foes assured of cutting the Harlequins down are often left thwarted with naught but a swirl of holofield shards where their prey once stood.
WHEN: Your opponent’s Movement phase, when an enemy unit ends a move within 8" of a friendly unengaged HARLEQUINS INFANTRY unit.
TARGET: That HARLEQUINS INFANTRY unit.
EFFECT: Your unit can make a normal move of up to D3+3".
Path of the Outcast
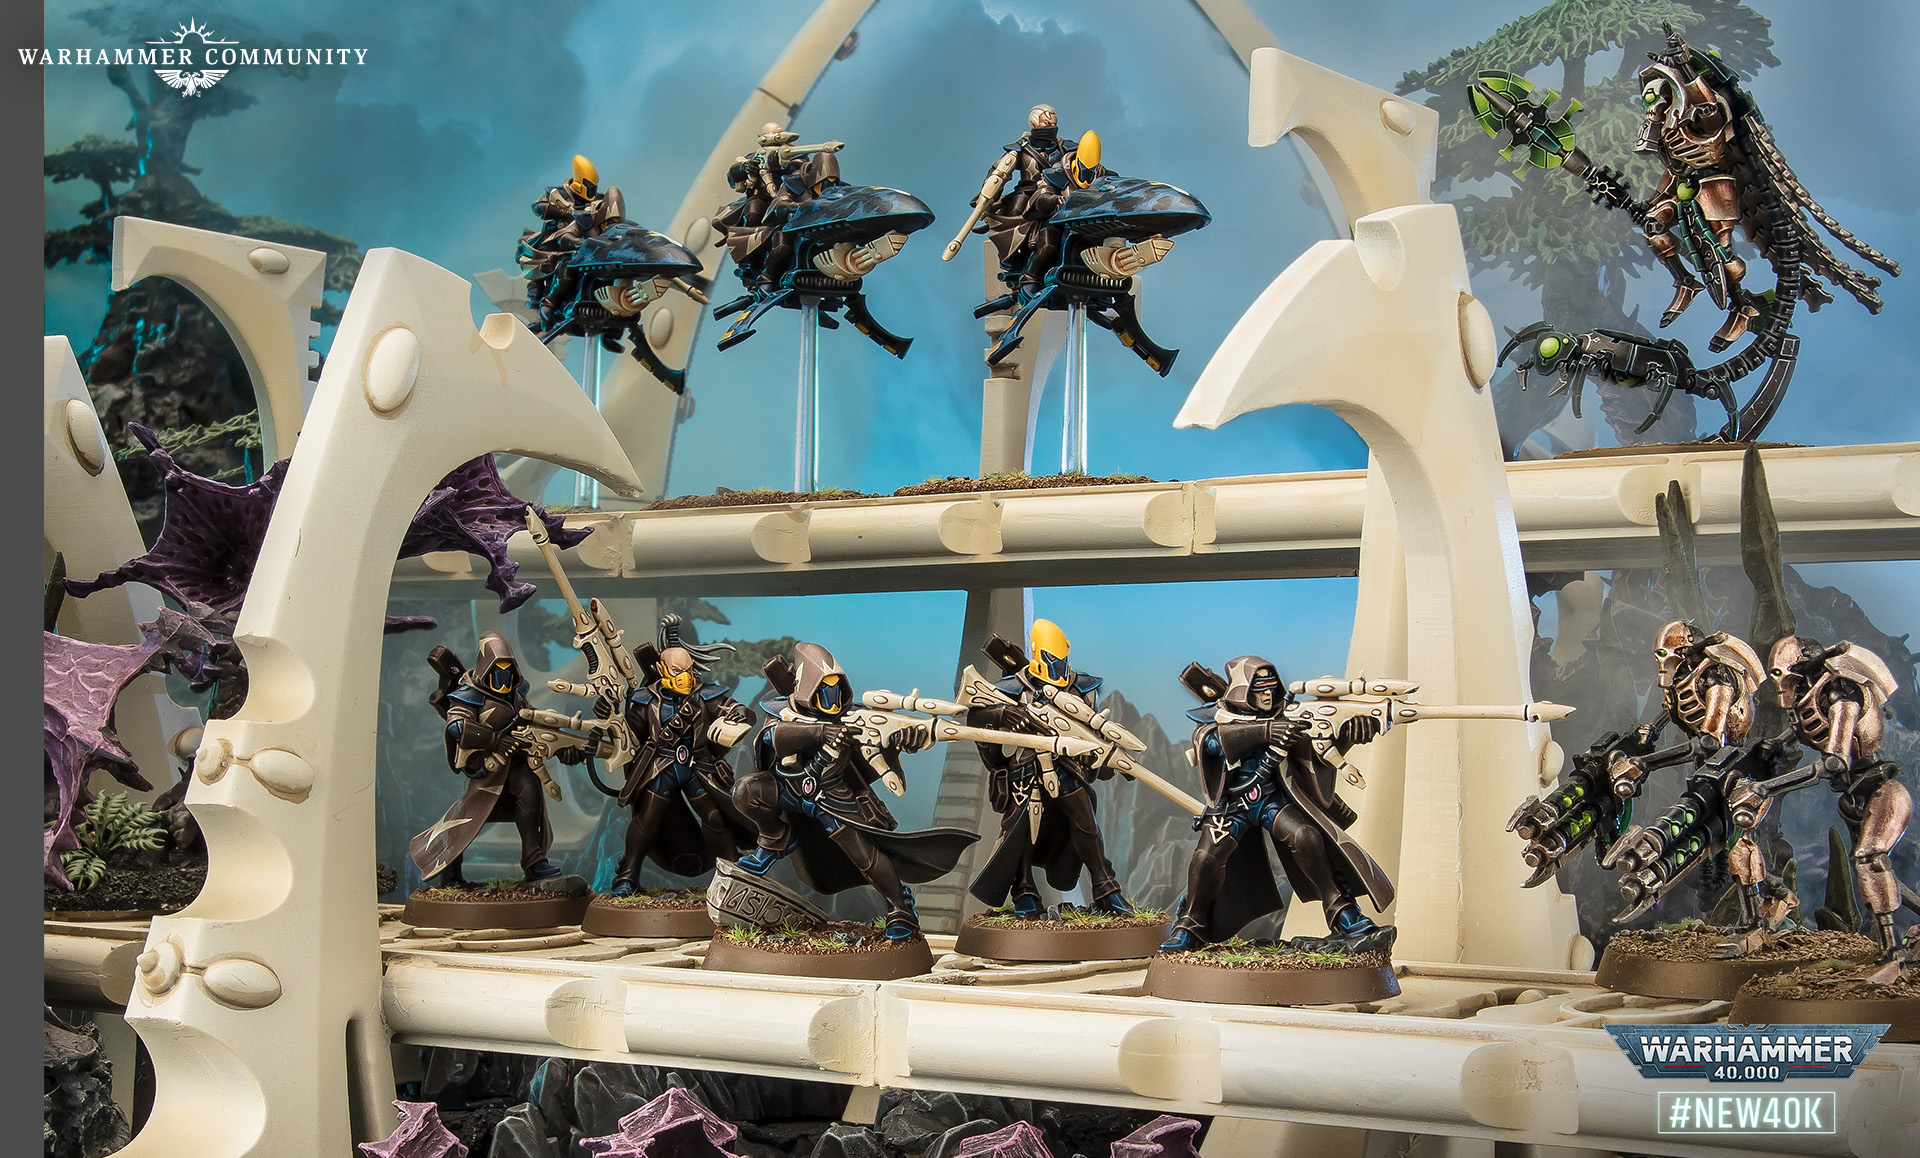
Not all Aeldari gel with the regimented lifestyle on board the craftworld, and many leave to become Corsairs or Rangers who walk the Path of the Outcast. Far from rebellious survivalists, these elite scouts and trappers hone their skills on long missions behind enemy lines, becoming paramount snipers and sneaky assassins with few equals.
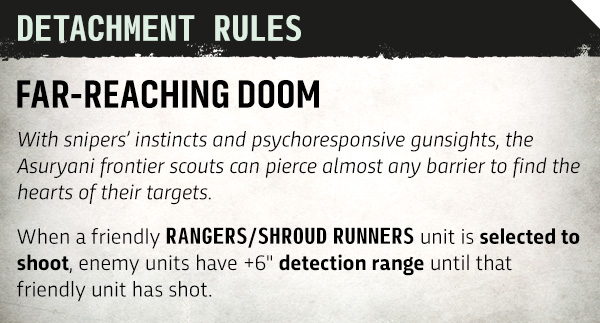
FAR-REACHING DOOM
With snipers’ instincts and psychoresponsive gunsights, the Asuryani frontier scouts can pierce almost any barrier to find the hearts of their targets.
When a friendly RANGERS/SHROUD RUNNERS unit is selected to shoot, enemy units have +6" detection range until that friendly unit has shot.
Such long-range guns can prove difficult to use when tracking hidden targets, as units have to get worryingly close before spotting their quarry. Luckily, Far-reaching Doom gives them an extra 6” of space to spot hidden enemy units, so you don’t have to get within breathing distance to blast away.
That doesn’t mean that you can’t use cover to its fullest. Rangers are really good at using terrain to hide their advance, and with an extra spot of camo they can even open fire on the enemy without giving away their position.
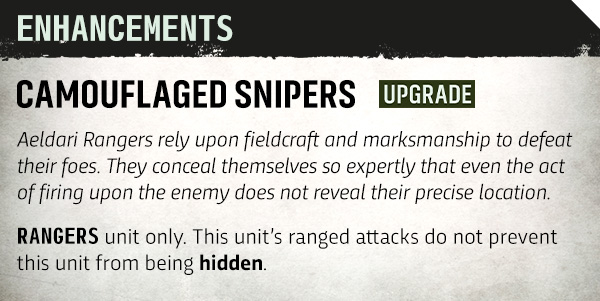
CAMOUFLAGED SNIPERS (Upgrade)
Aeldari Rangers rely upon fieldcraft and marksmanship to defeat their foes. They conceal themselves so expertly that even the act of firing upon the enemy does not reveal their precise location.
RANGERS unit only. This unit’s ranged attacks do not prevent this unit from being hidden.
Once the Rangers have taken their shot, it makes sense to pass their information on to other Aeldari units so they can have a crack at the survivors. A real piece of “That one right there, Autarch” before watching a Fire Prism turn a ruined courtyard into a bubbling pool.
Yep, spot the enemy, then watch them turn into vapour. Fun for all!
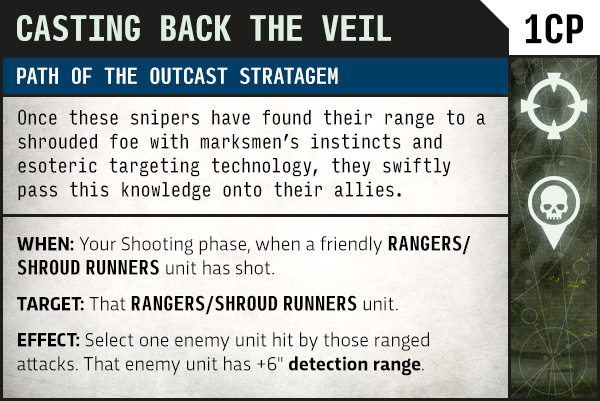
CASTING BACK THE VEIL (1CP)
PATH OF THE OUTCAST STRATAGEM
Once these snipers have found their range to a shrouded foe with marksmen’s instincts and esoteric targeting technology, they swiftly pass this knowledge onto their allies.
WHEN: Your Shooting phase, when a friendly RANGERS/SHROUD RUNNERS unit has shot.
TARGET: That RANGERS/SHROUD RUNNERS unit.
EFFECT: Select one enemy unit hit by those ranged attacks. That enemy unit has +6" detection range.
Twilight Flickers
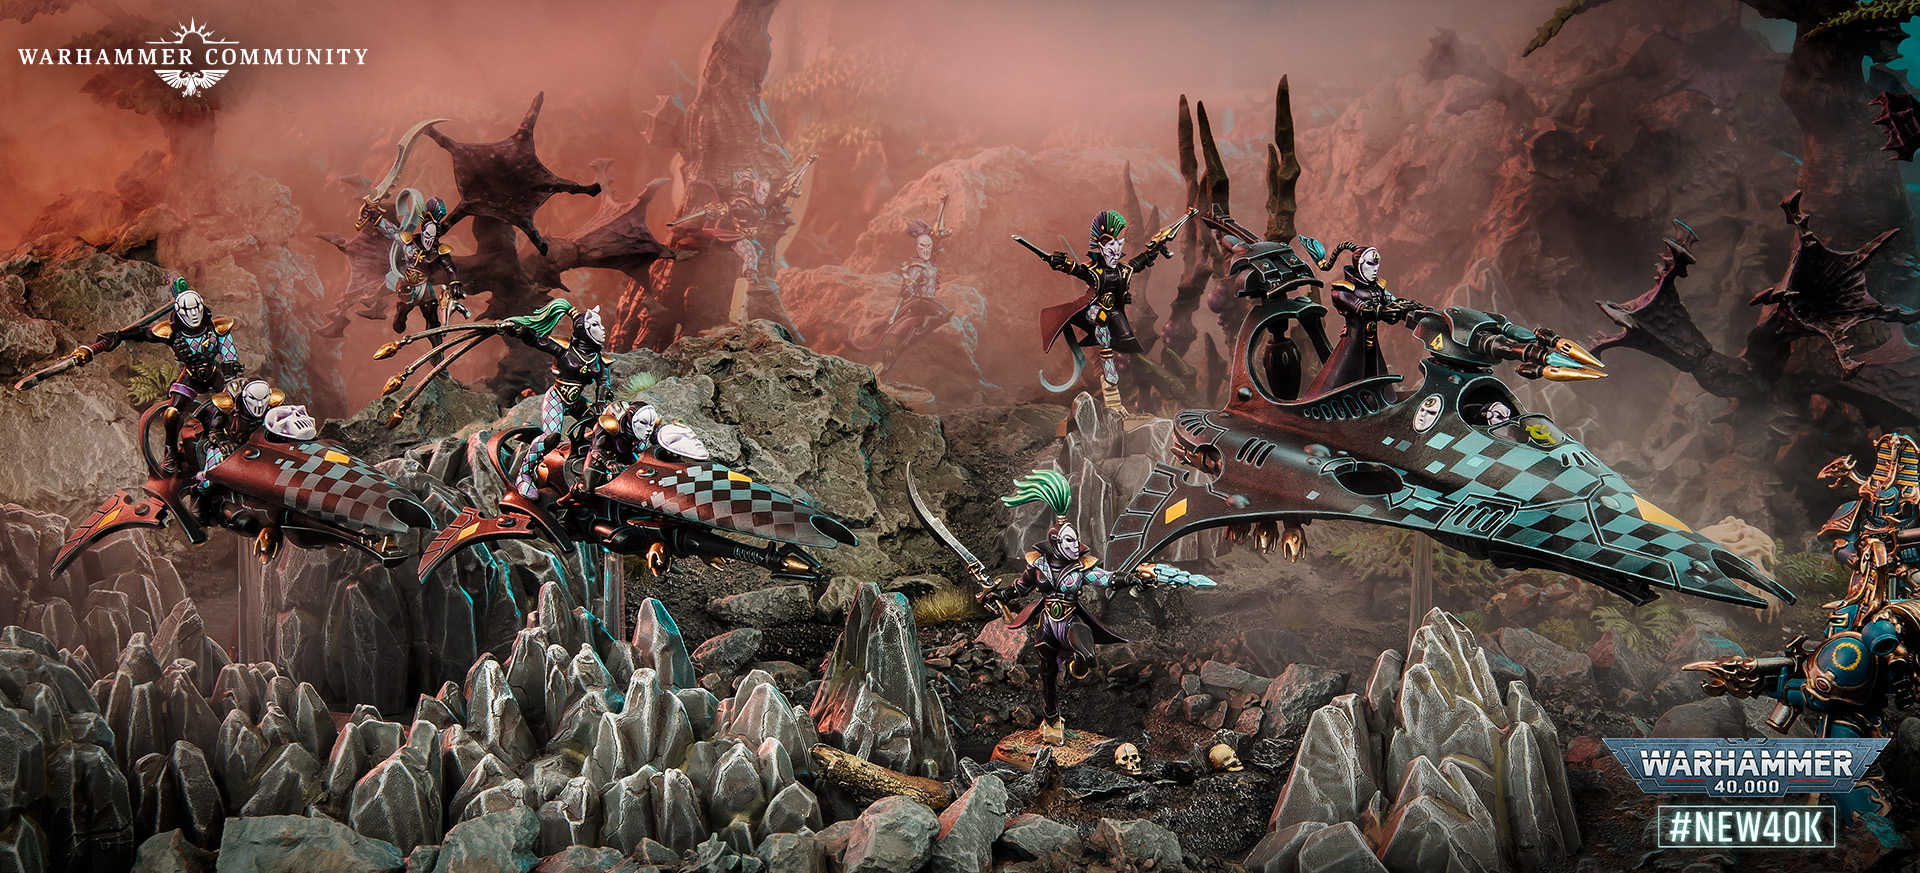
What? Another Harlequins detachment? You’re just seeing things. We’re pretty sure they couldn’t slip past us that easily, even if they were dancing the Dance of Distortion and giving themselves Stealth.
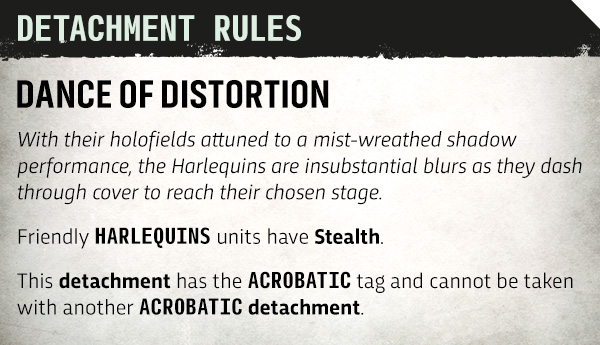
DANCE OF DISTORTION
With their holofields attuned to a mist-wreathed shadow performance, the Harlequins are insubstantial blurs as they dash through cover to reach their chosen stage.
Friendly HARLEQUINS units have Stealth.
This detachment has the ACROBATIC tag and cannot be taken with another ACROBATIC detachment.
If the previous Harlequins detachment was all about getting into close combat as fast as possible, this one is full of tools to get them around the board so they can safeguard objectives in safety.
We’ve already talked about how speed is the essence of the Aeldari playstyle, so you can see why a free 6” movement is worth its weight in wraithbone. Prelude Performer lets you send a vital squad up the field before the first shot is fired, which is typically the safest time to do so.
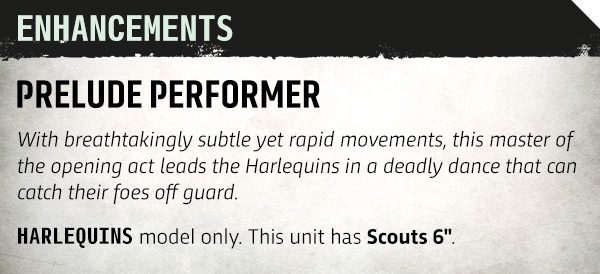
PRELUDE PERFORMER
With breathtakingly subtle yet rapid movements, this master of the opening act leads the Harlequins in a deadly dance that can catch their foes off guard.
HARLEQUINS model only. This unit has Scouts 6".
If you want to go all-in on Harlequins or use them as a significant part of your army, you won’t want to waste your Troupes hanging around in a terrain area when they could be out gruesomely killing people. Captivating Performance means they don’t have to decide – just secure the objective you don’t want to stall on, and sprint off to your next fight.
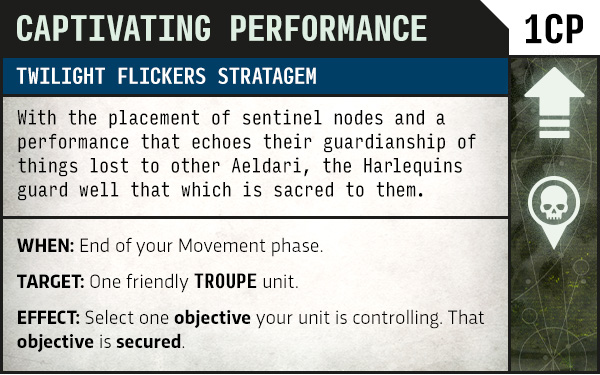
CAPTIVATING PERFORMANCE (1CP)
TWILIGHT FLICKERS STRATAGEM
With the placement of sentinel nodes and a performance that echoes their guardianship of things lost to other Aeldari, the Harlequins guard well that which is sacred to them.
WHEN: End of your Movement phase.
TARGET: One friendly TROUPE unit.
EFFECT: Select one objective your unit is controlling. That objective is secured.
The addition of two new Harlequins detachments means it’s easier than ever to slot a unit or three into your existing Aeldari army, without needing to commit fully to their dedicated detachments.** The same goes for a lot of the Aeldari roster, and we’re sure you’ll come up with some extremely effective combinations once the rules are in your hands.
Come back tomorrow as we near the finish line and sign a contract with the newest xenos on the block – the Leagues of Votann.
* Provided they didn’t get really close first.
** Although, since they both have the Acrobatic tag, the two new Harlequins detachments can’t be taken together.

-kjet09fot2.jpg)