Our ongoing guide to Warhammer 40,000 tactics, written by gaming expert Stephen Box and originally published in White Dwarf magazine, has reached arguably the most fun phase of the game – the part involving stabbing and bludgeoning, also known as the Fight phase. Here’s Stephen to talk about the best way to make sure that you emerge victorious from the scrum of melee combat.
We have updated this article to take into account rules changes since it was first published.
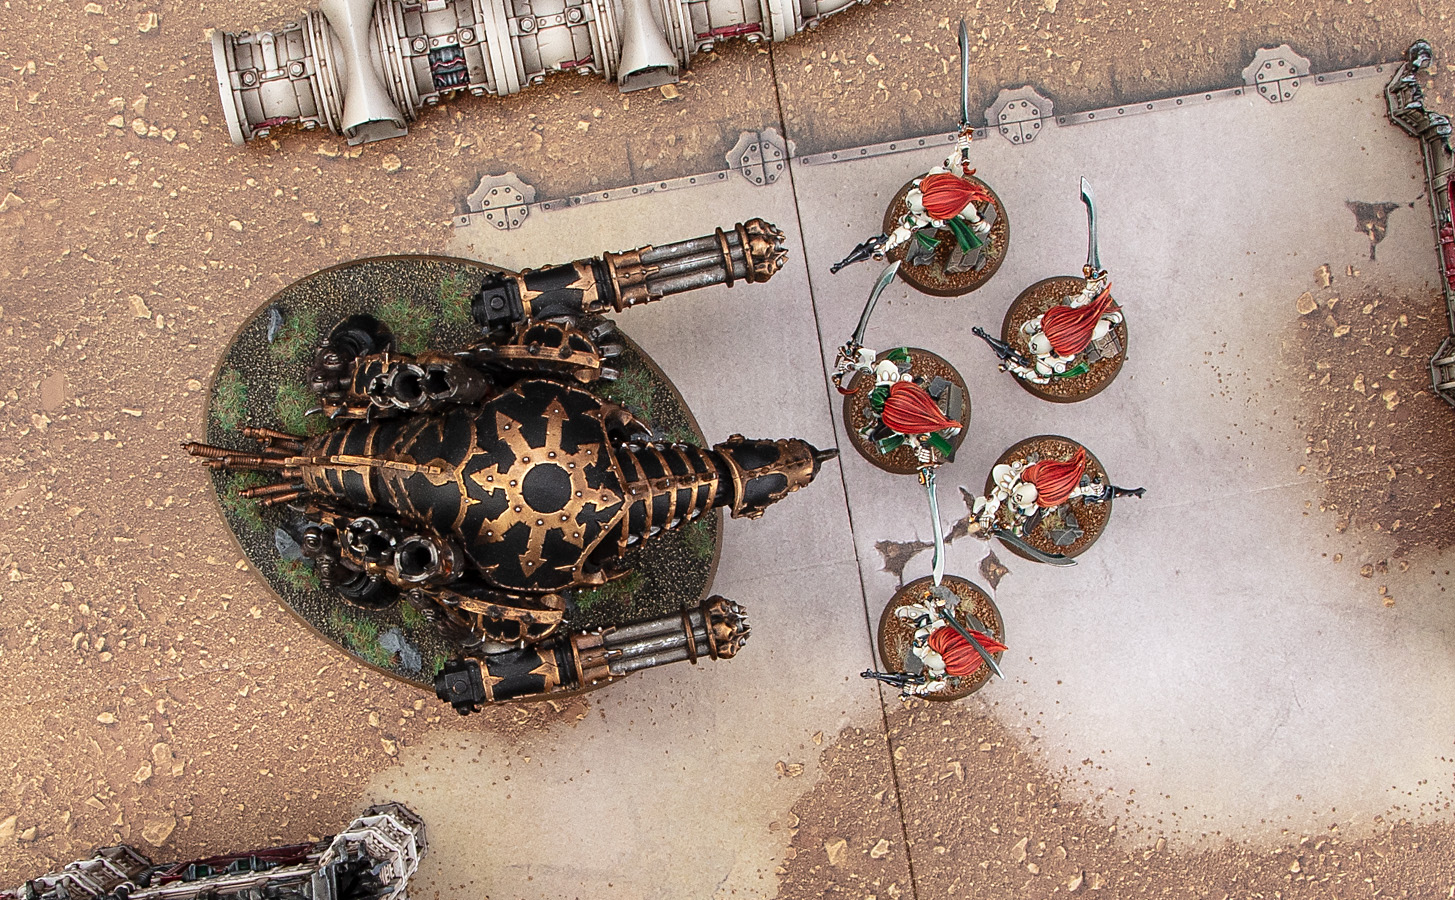
Stephen: Why would you want to get into combat? Put simply, it’s the best (only) place to use your units’ melee weapons. If you’ve got some hard-hitting units armed with powerful weapons, you certainly don’t want to waste them. For armies such as World Eaters or Orks, getting your models into Engagement Range is crucial to the success of the army.
In addition to the hopeful annihilation of your foes, the Fight phase is also an opportunity to push through your opponent’s lines and gain ground. Where in the Shooting phase you may destroy enemy units at range, in the Fight phase you destroy them and take control of their position on the battlefield with your units. If they were on an objective, now you are on the objective. In essence, the Fight phase is a great opportunity to establish control over the battlefield. You can even use it to sabotage your opponent’s plans. A well-timed charge, for example, can be used to hold up an enemy unit in combat, preventing your opponent from moving their models and achieving their objectives with them.
Over the next few pages, I’ll take a look at some key Fight phase tactics and situations and how you can get the most out of your units in the madness of a melee.
Pile in, lads!
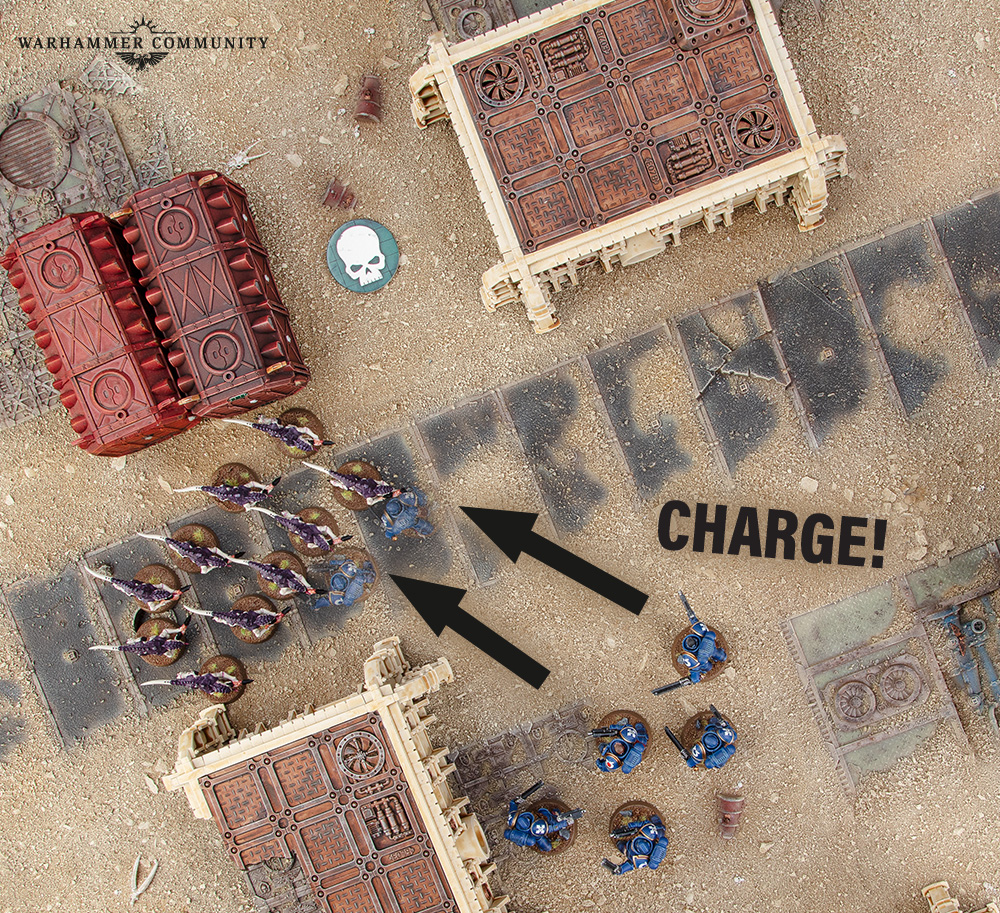
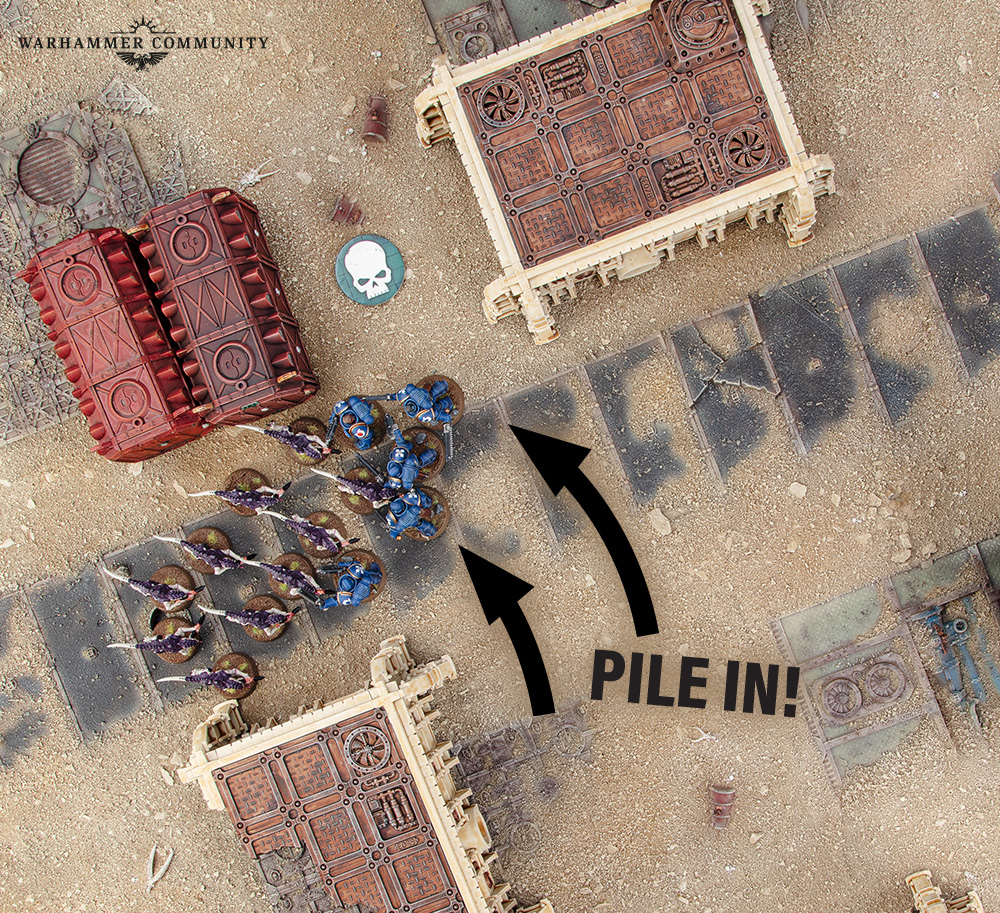
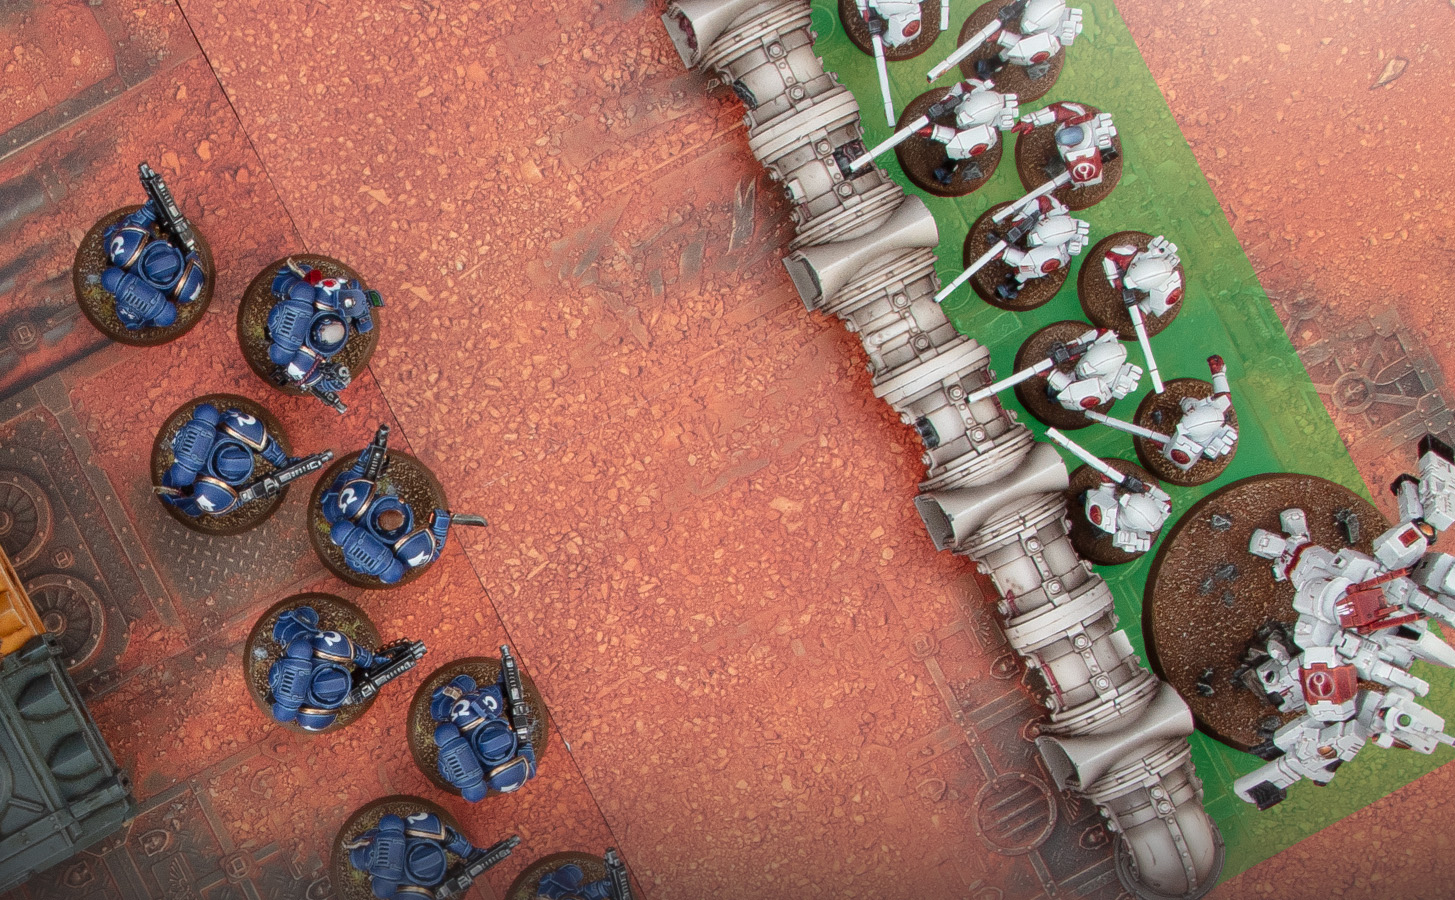
The Pile-in move enables you to get more (hopefully all) of your models into Engagement Range. Those 3" may not seem like a big deal, but remember that the controlling player chooses what order they move their models into Engagement Range during the Charge phase. This means you can move your models that are furthest away into Engagement Range first, then move your other models around the flanks of the enemy unit. You can then use the Pile-in move in the Fight phase to get the rest of your models into Engagement Range. If you position them cleverly, you could use the Pile-in move to position your models so they are within 6" of an objective – perfect for when you make your 3" Consolidation move.
Precisely!
Some units such as the Master of Executions, Sicarian Ruststalkers and Lictors have the Precision ability on their melee weapons. This means they can direct attacks at Characters attached to units. You don’t have to declare you’re targeting a Character until saves are made. So if you roll badly, you can cut your losses and put the wounds on the unit instead. It’s worth noting that Precision can only be used if the target Character is visible to the attacking models. If they’re behind a wall, for example, they can’t be picked out.
Counter-precision
Characters that don’t innately have Precision can gain it by using the Epic Challenge Stratagem, so be wary of players who keep 1CP in reserve for the Fight phase. However, you can mitigate its effectiveness. If the Character is on the end of a unit, for example, charge the other end! They can only use Precision if they are eligible to fight the Character unit, which they won’t be if they are too far away. Or, try charging a cheap unit into the Character alongside your main unit. In this example, the Captain can only target the Termagants he is within Engagement Range of, meaning the Tyranid Prime is safe from his blade.
Order of battle
It doesn’t really matter what order you resolve your charging units’ fights in unless an enemy unit has Fights First and/or your opponent has 2CP to use the Counter-offensive Stratagem. In that case, I weigh up what combat is most important. If I need to take an objective or complete a mission, that fight should take priority. If the combats are of equal importance, I tend to fight with my less durable unit first, then buff up the unit that’s getting counter-attacked with defensive Stratagems such as Insensible to Pain, Baleful Halo, Orks is Never Beaten or Armour of Contempt.
Close ranks
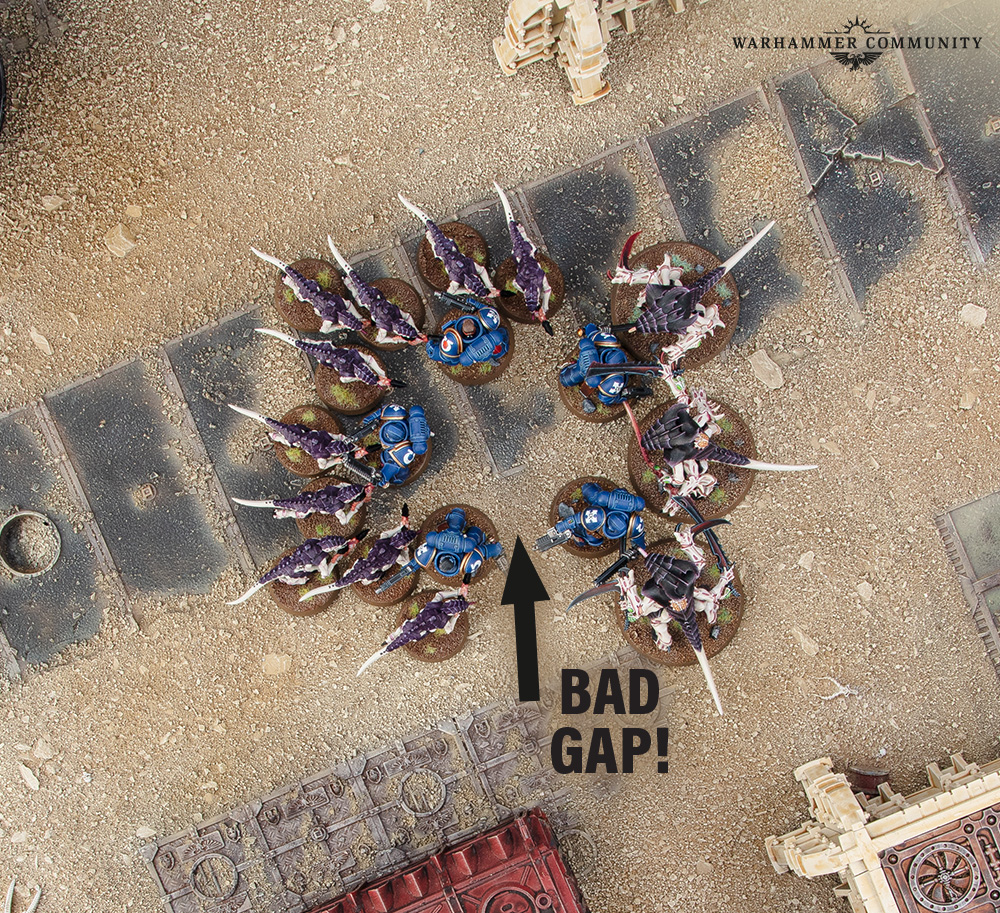
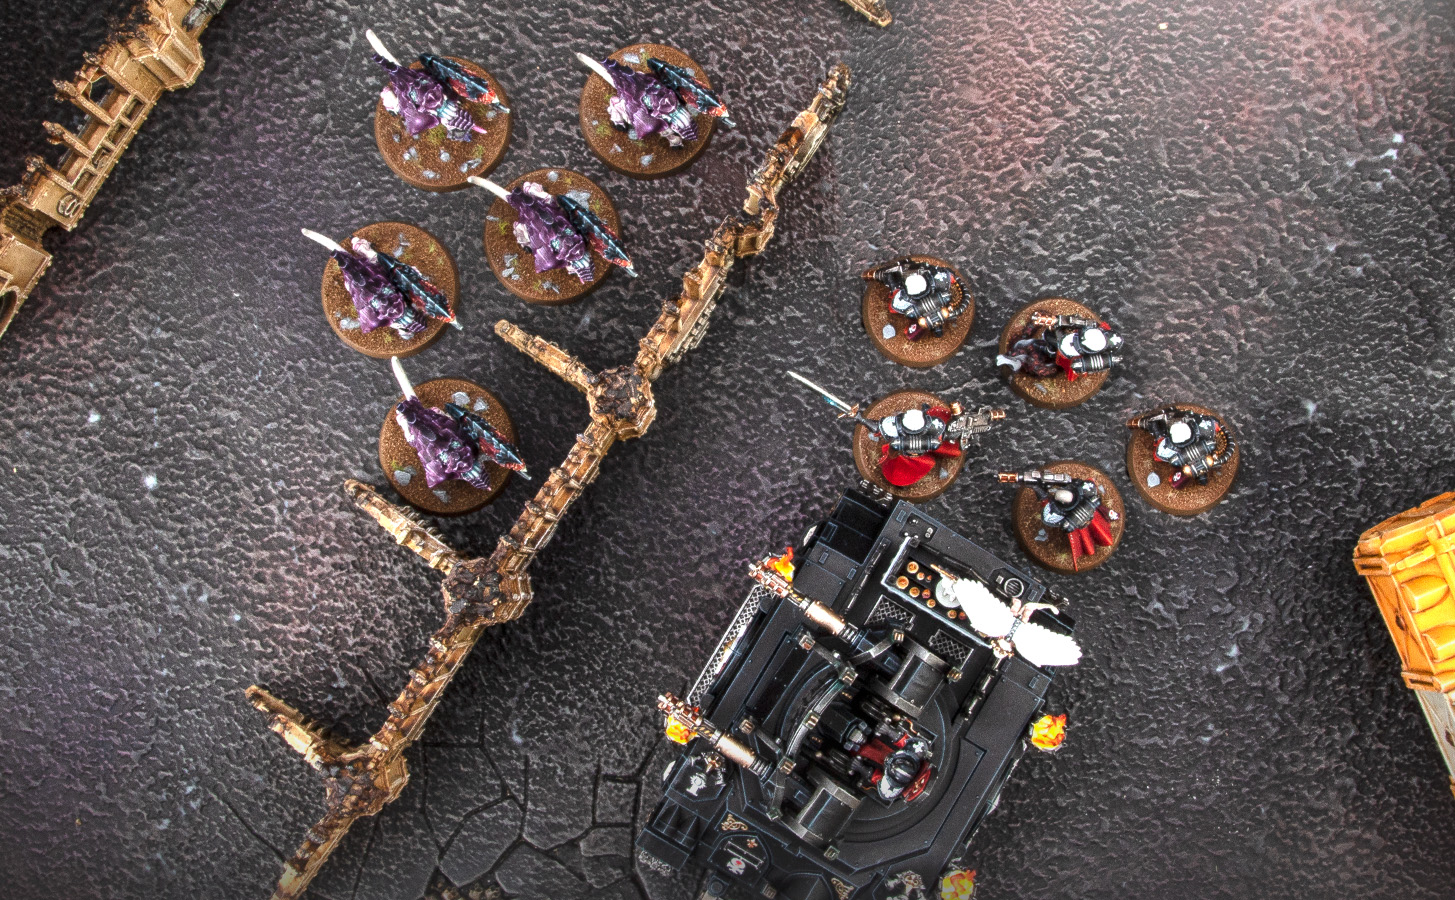
After we charge units into combat, we Pile In to make sure all our models are within Engagement Range or base-to-base with a friendly model that is base-to-base with an enemy model so they can fight. If your models are not in base contact with each other when they get charged, a clever opponent can perform multiple charges, preventing you from directing your attacks where you want to. Here, the Assault Intercessor Sergeant would cause more damage with his power fist against the Tyranid Warriors, but because he’s not in base contact with the Intercessor next to him, he has to direct his attacks against the lowly Termagants instead.
Is this an intervention?
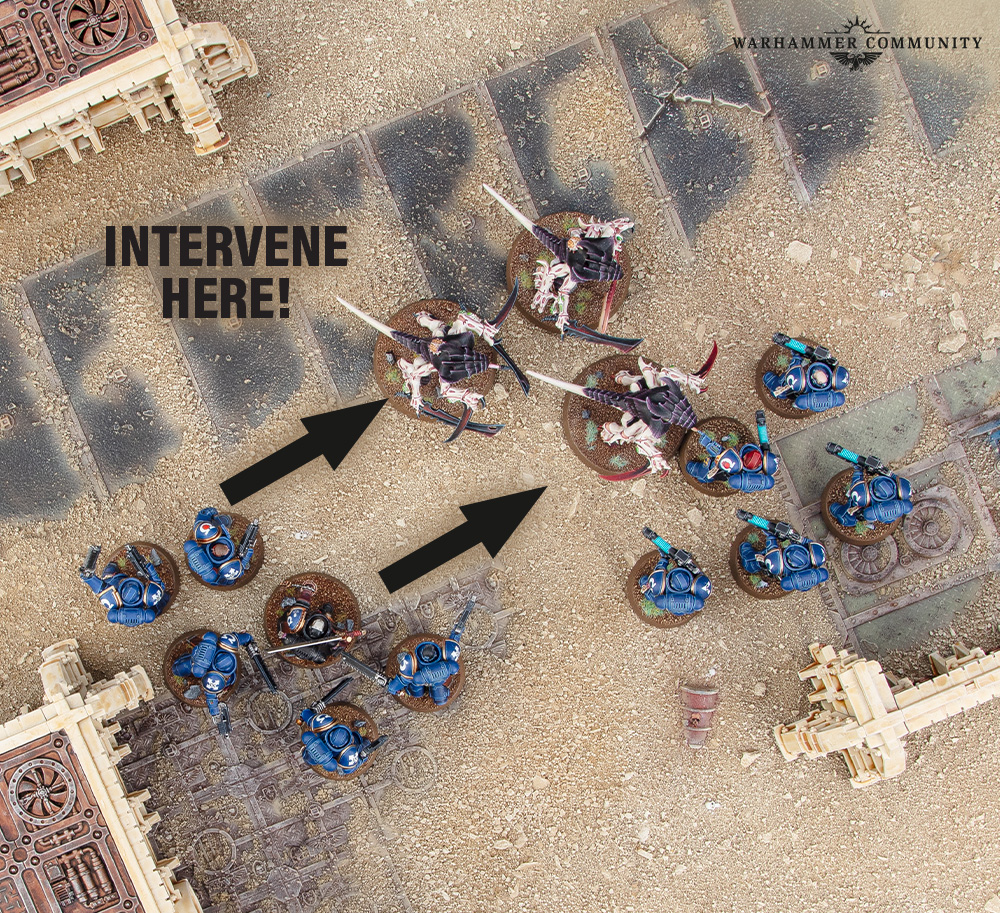
The Heroic Intervention Stratagem is a great way to get an extra move out of one of your units. It might even help you get valuable OC onto a crucial objective. It can be especially useful, though, for disrupting an enemy charge as you get to perform this action before your opponent does their Pile-in moves. Units that have Fights First (Howling Banshees, Mephiston, Lucius the Eternal if he’s not leading a unit, and so on) are super powerful when combined with this Stratagem, and there are some units that can do it for free.
Pile in… again!
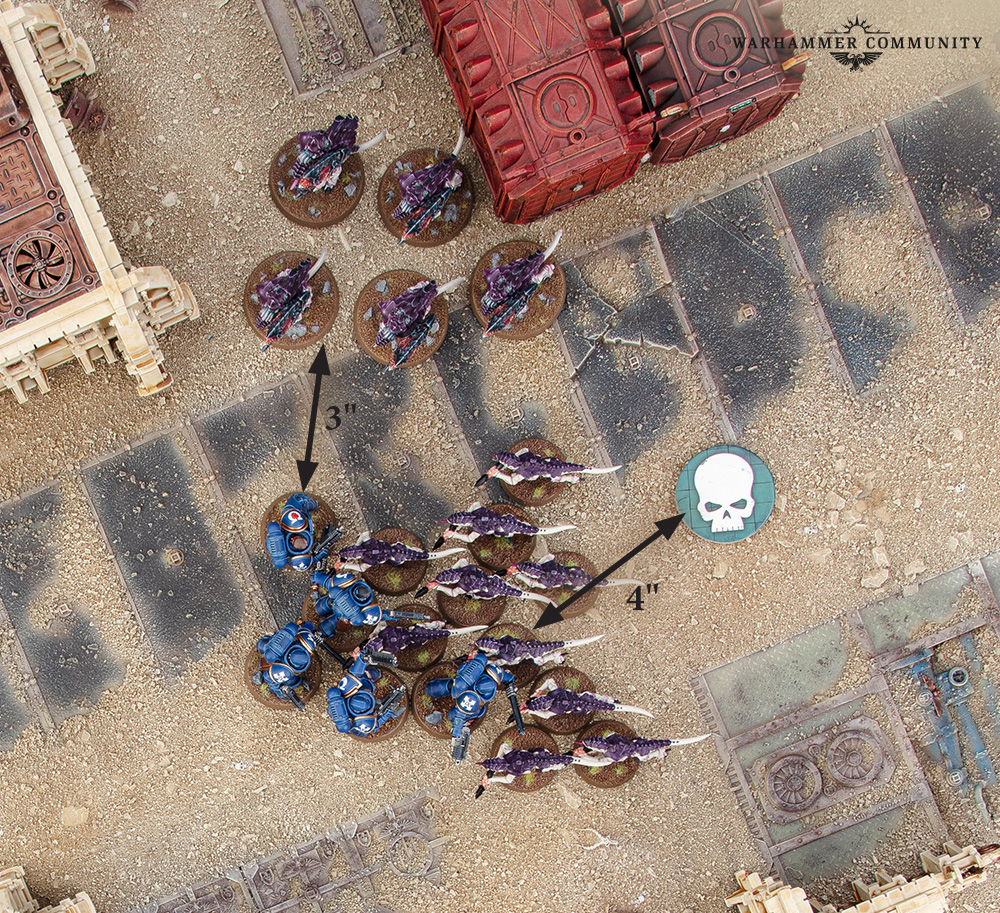
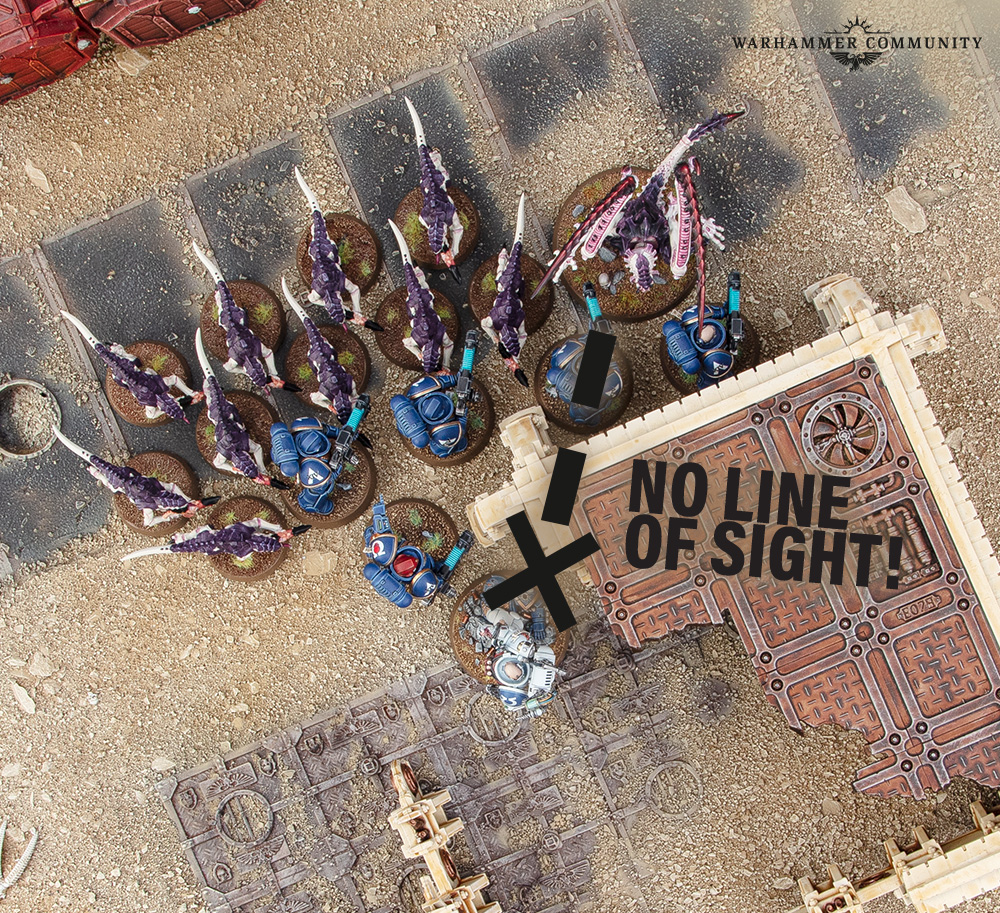
A unit makes a Consolidation move immediately after they have completed their melee attacks. If there are still enemies alive, you have to Consolidate towards them, but this can still get you closer to an objective if you position your unit well on the charge. On the flip side to this, you can prevent your opponent Consolidating a unit onto an objective by placing one of your units closer. They may even end up Consolidating away from the objective. A personal favourite tactic is using Consolidate to move a unit – often a Lone Operative – into range of an objective but also behind a wall at the same time so they can’t be seen!
Me first (and me!)
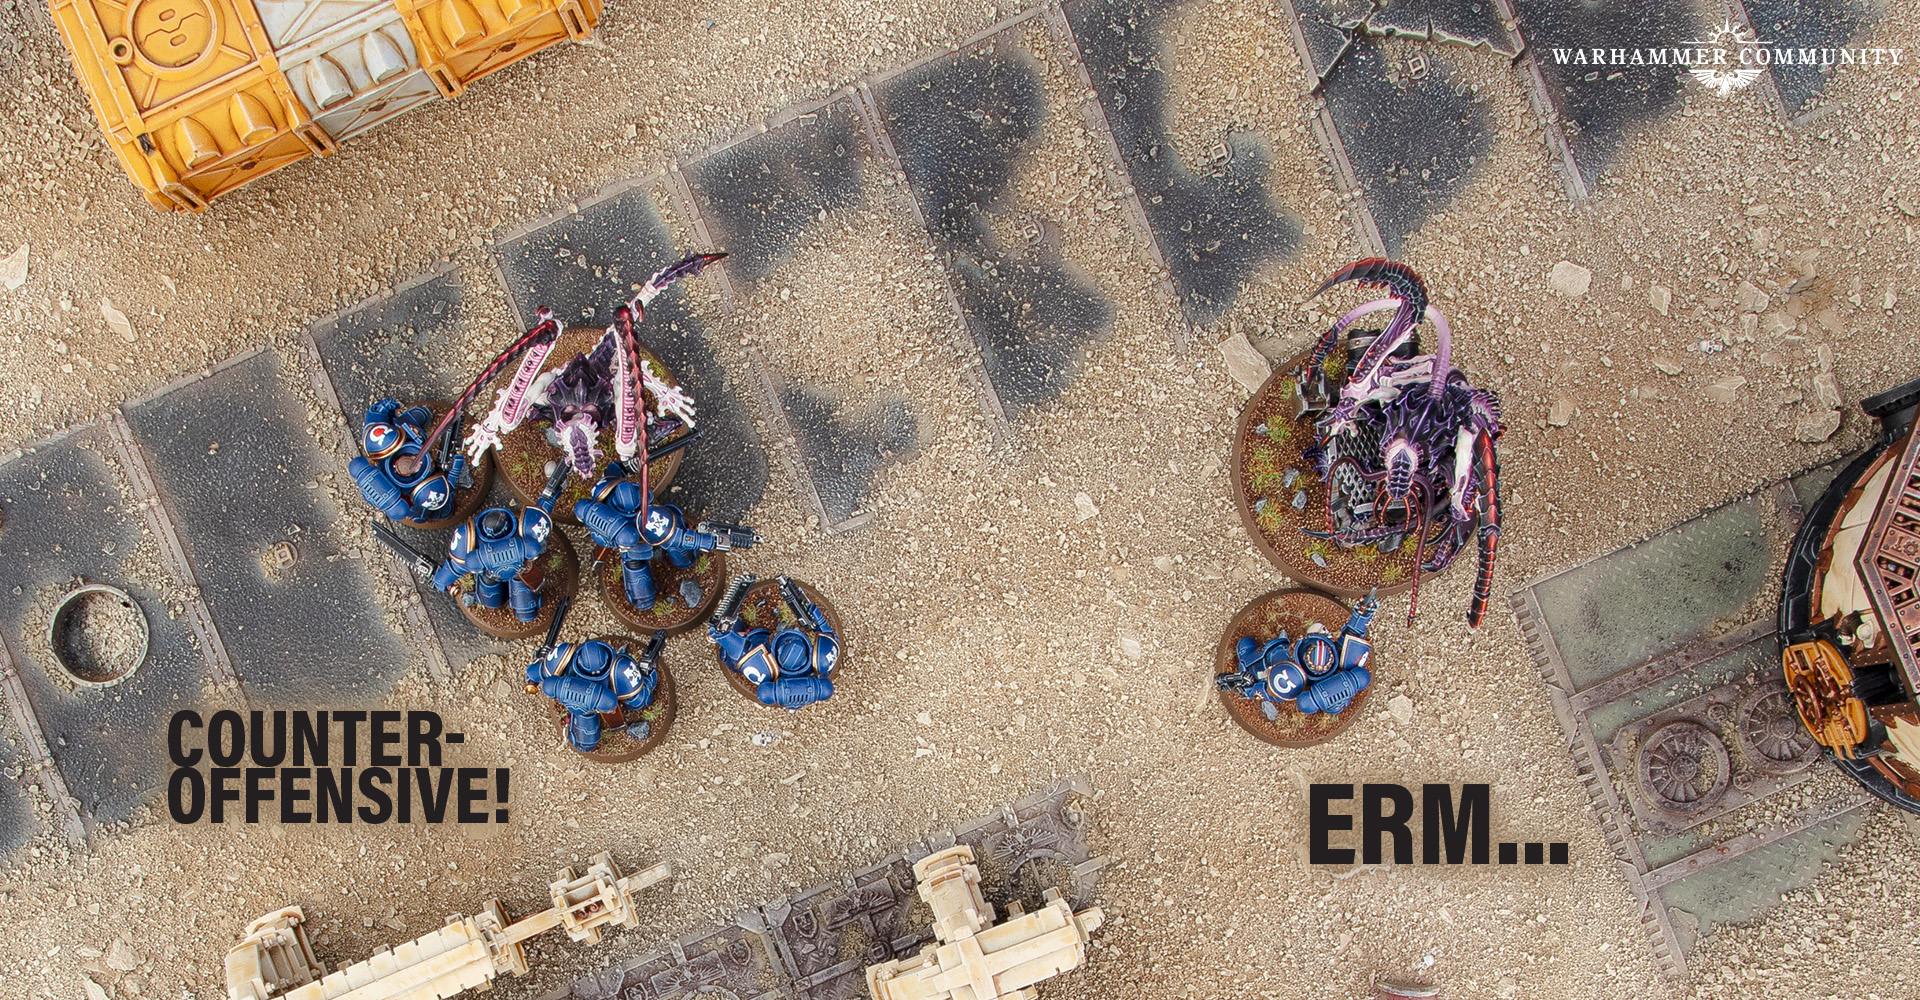
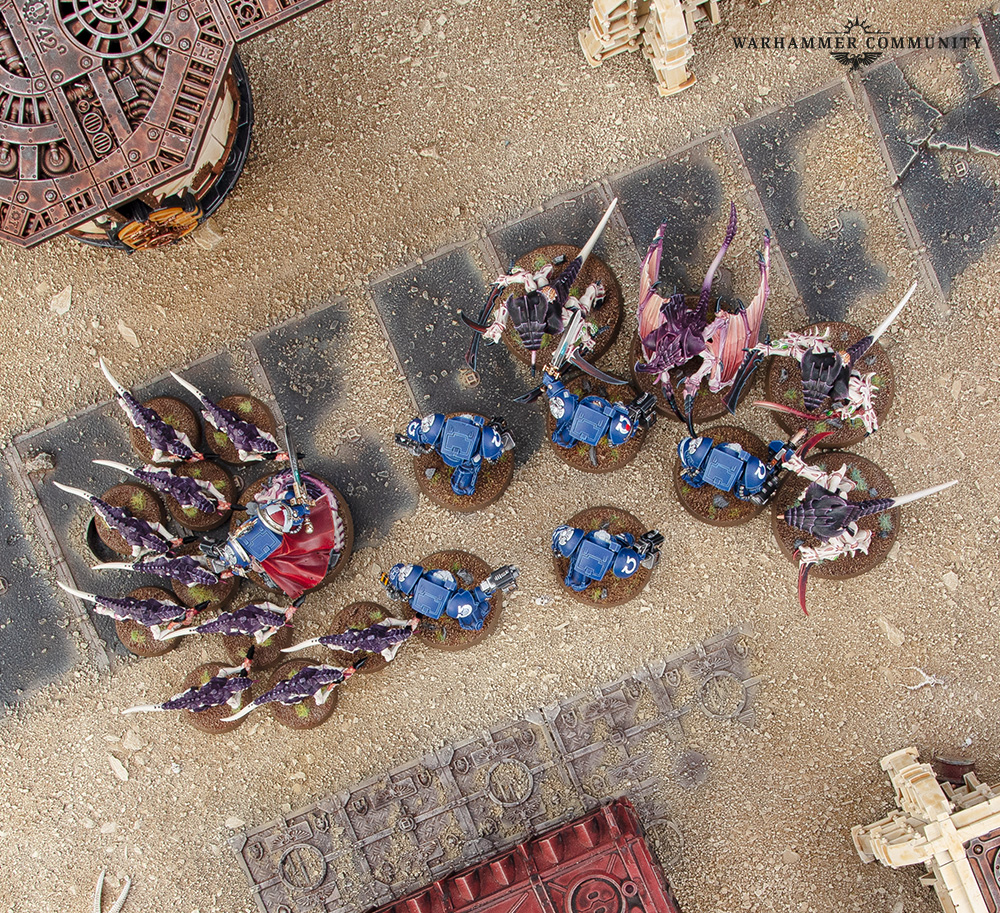
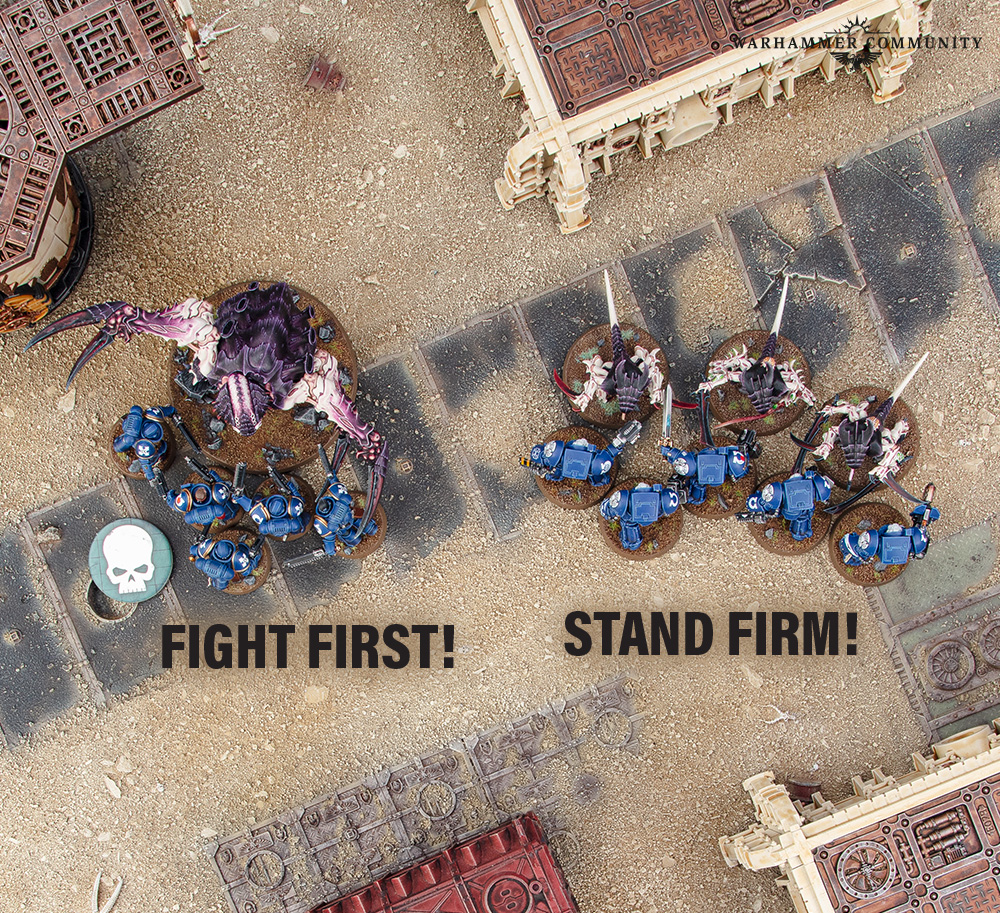
The Fight phase has two steps: Fights First and Remaining Combats. In each step, the person whose turn is not taking place picks one of their units to resolve first. Thus, though usually charging units go first, if the other player has a unit with Fights First, it will be able to fight before charging units. If you play an opponent with multiple Fights First units, they have to alternate picking units with you. Here, the Lictor is in an ongoing fight, while Deathleaper has been charged. Both have Fights First. Deathleaper could be selected first and kill the Lieutenant, but then the opponent could use Counter-offensive to attack the Lictor. Or, the Lictor could go first, with the charging Lieutenant then fighting second.
Stephen Box is a veteran Warhammer 40,000 player and a master tactician. He runs Vanguard Tactics, a website that helps people to think critically while remaining composed and confident in their ability to play Warhammer 40,000.
More in White Dwarf
A version of this article was originally published in White Dwarf issue 500. You can find in-depth content like this every month, so there's never been a better time to subscribe.
Subscribe now