A few weeks ago, Danny from the Warhammer Studio attended the Middle-earth™ Strategy Battle Game Grand Tournament – let’s find out what it's like taking part in an event hosted at Warhammer World and learn how he got on!
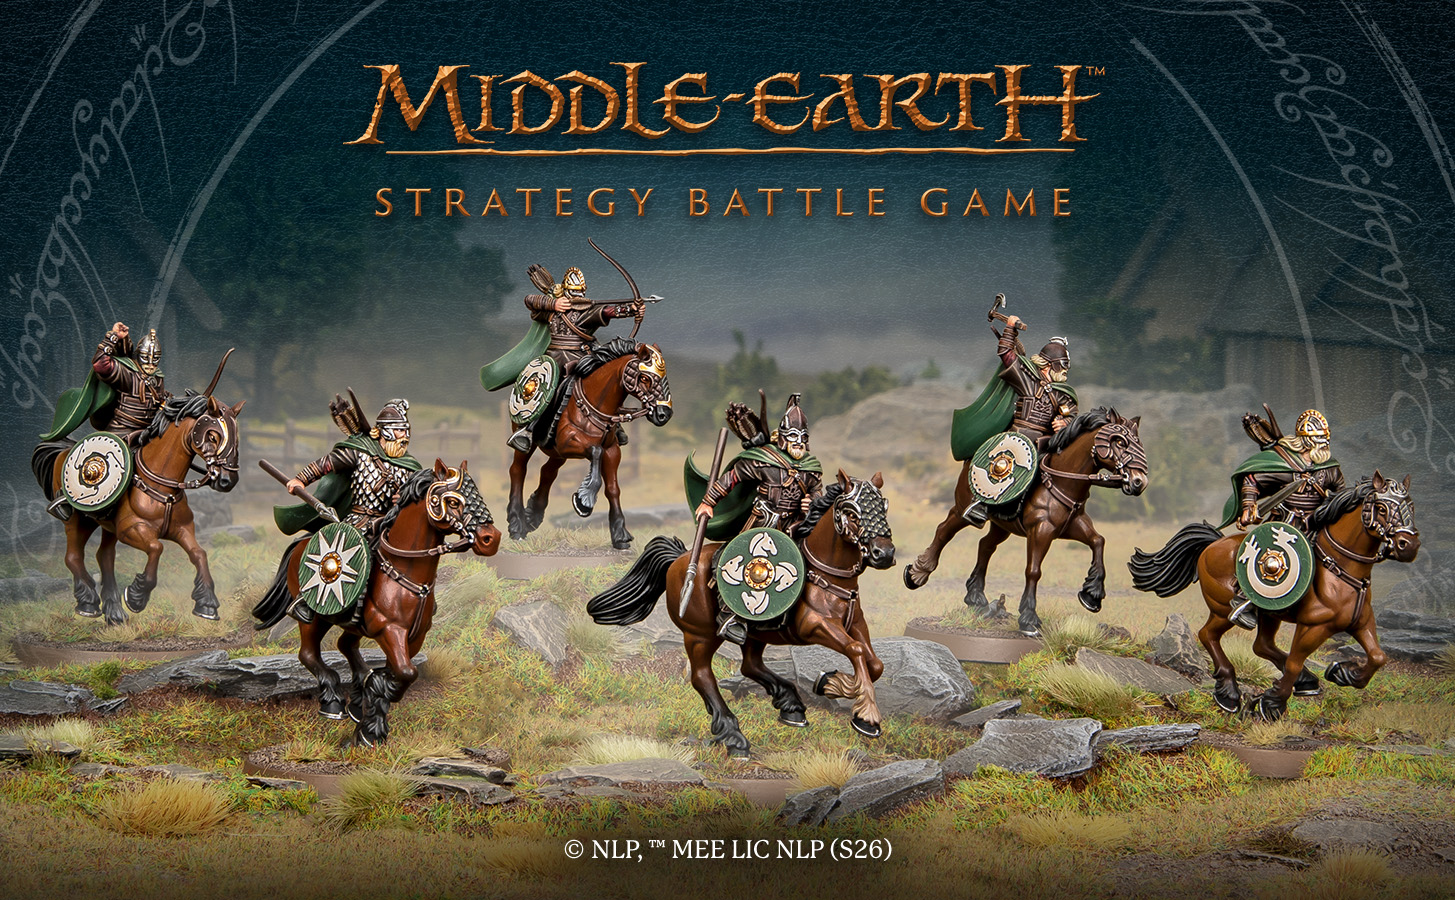
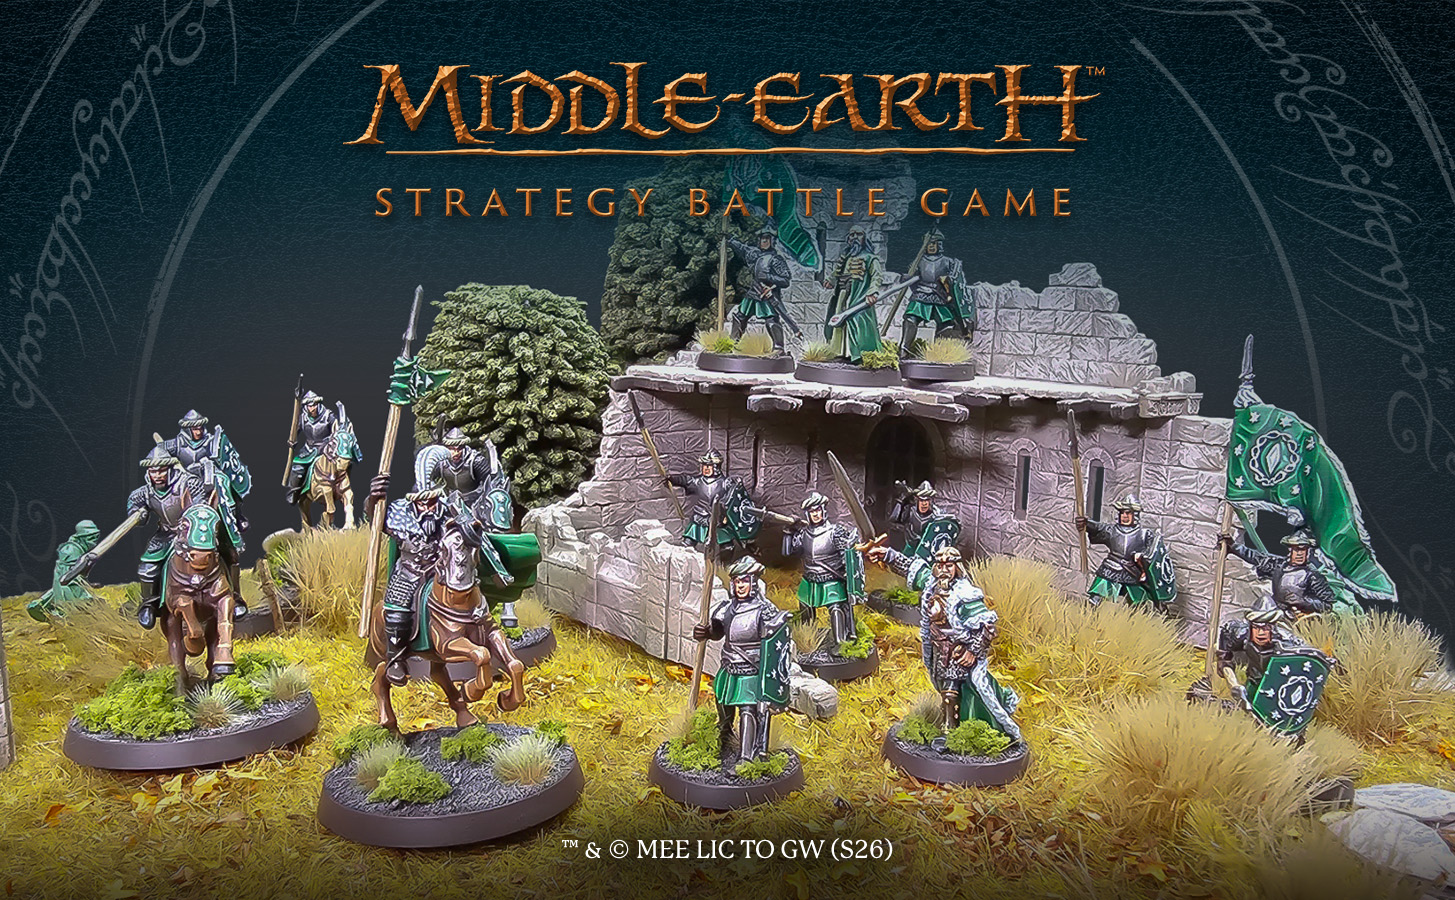
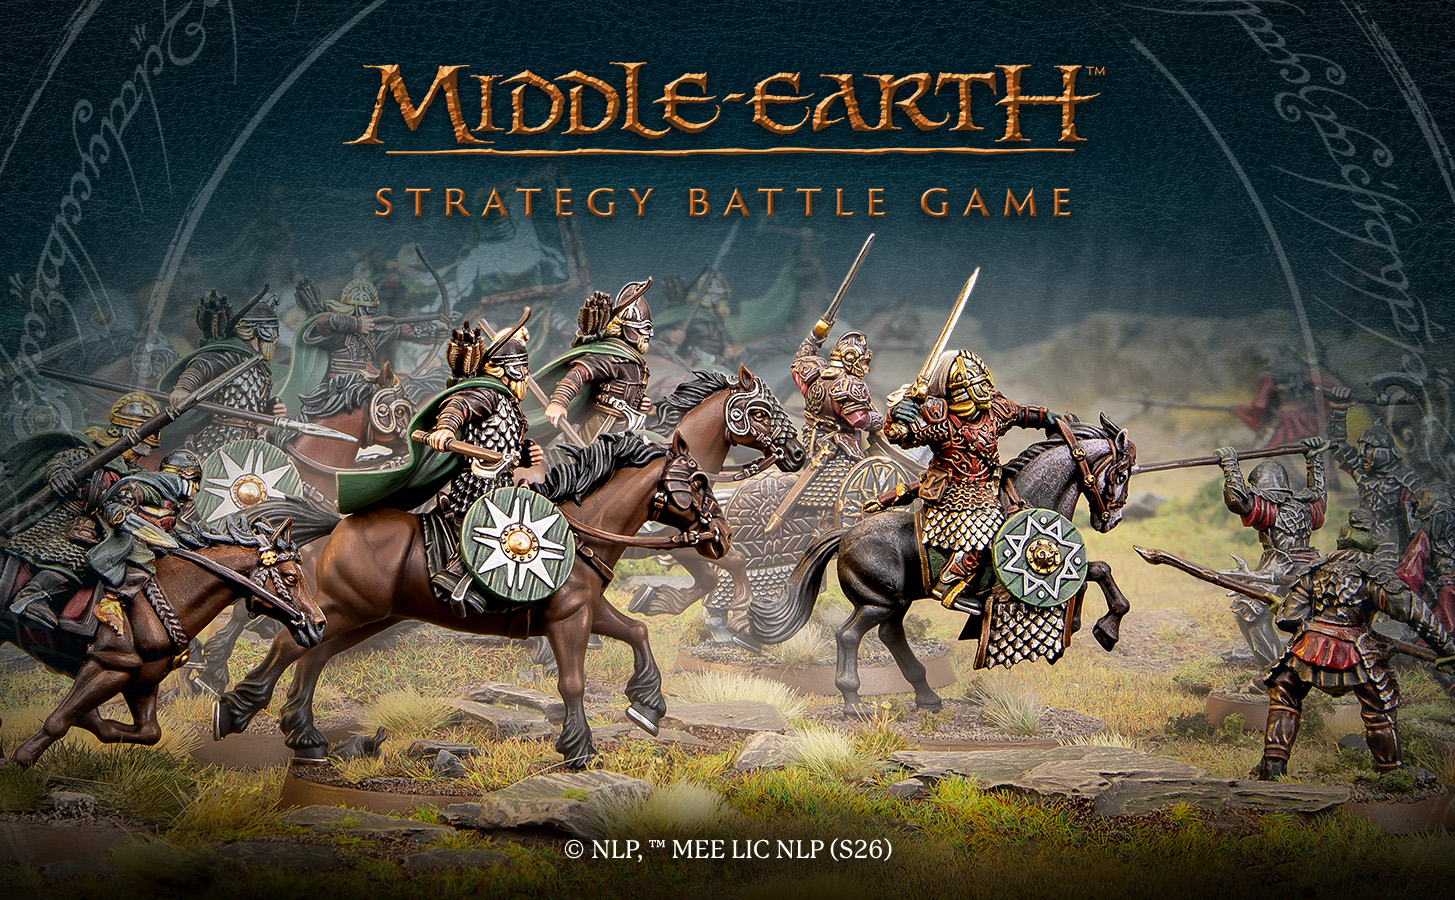
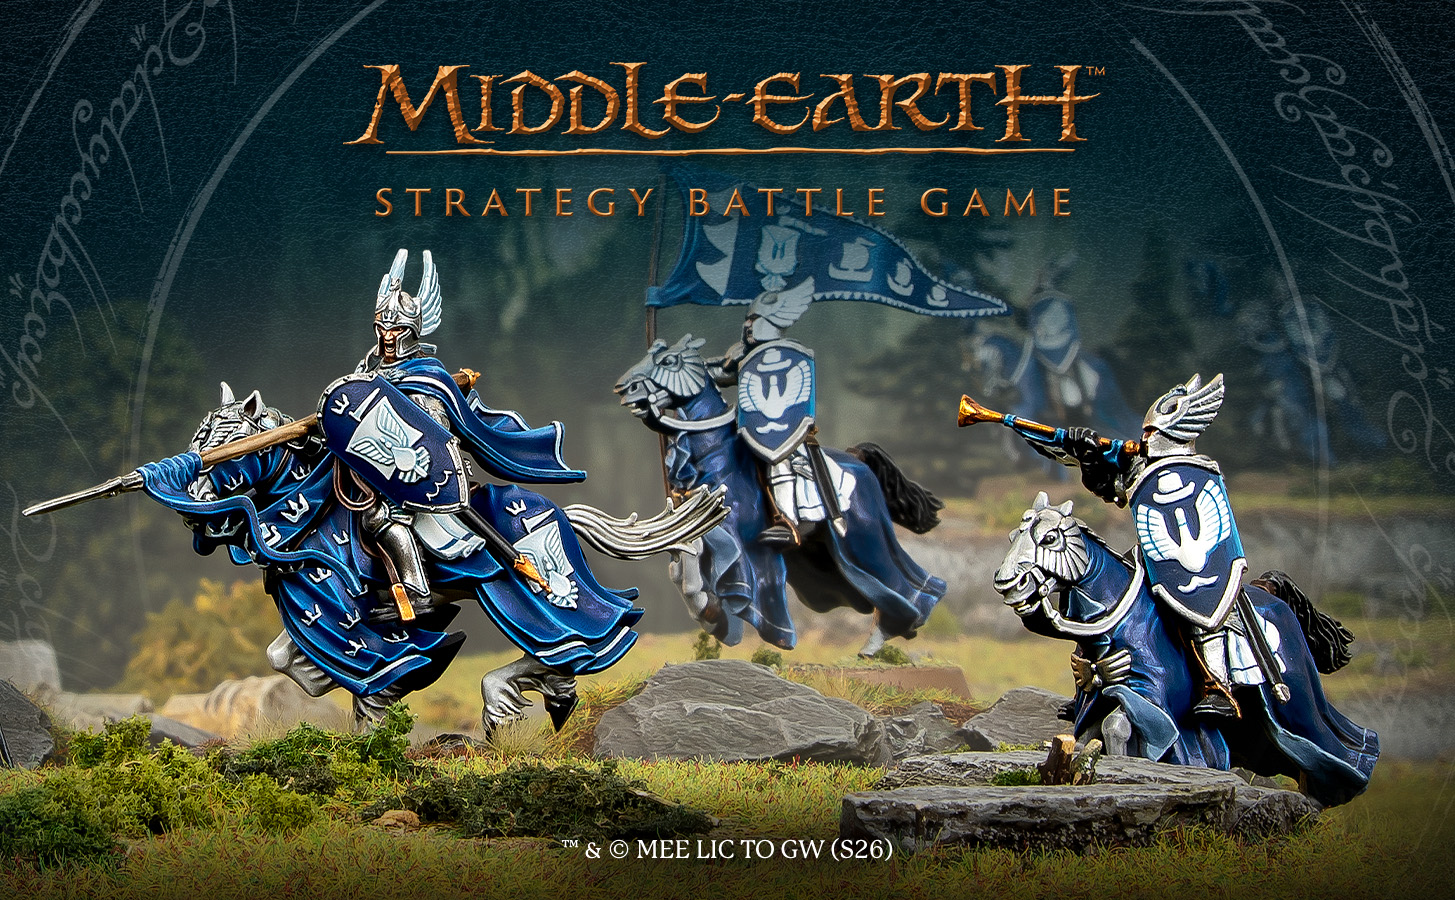
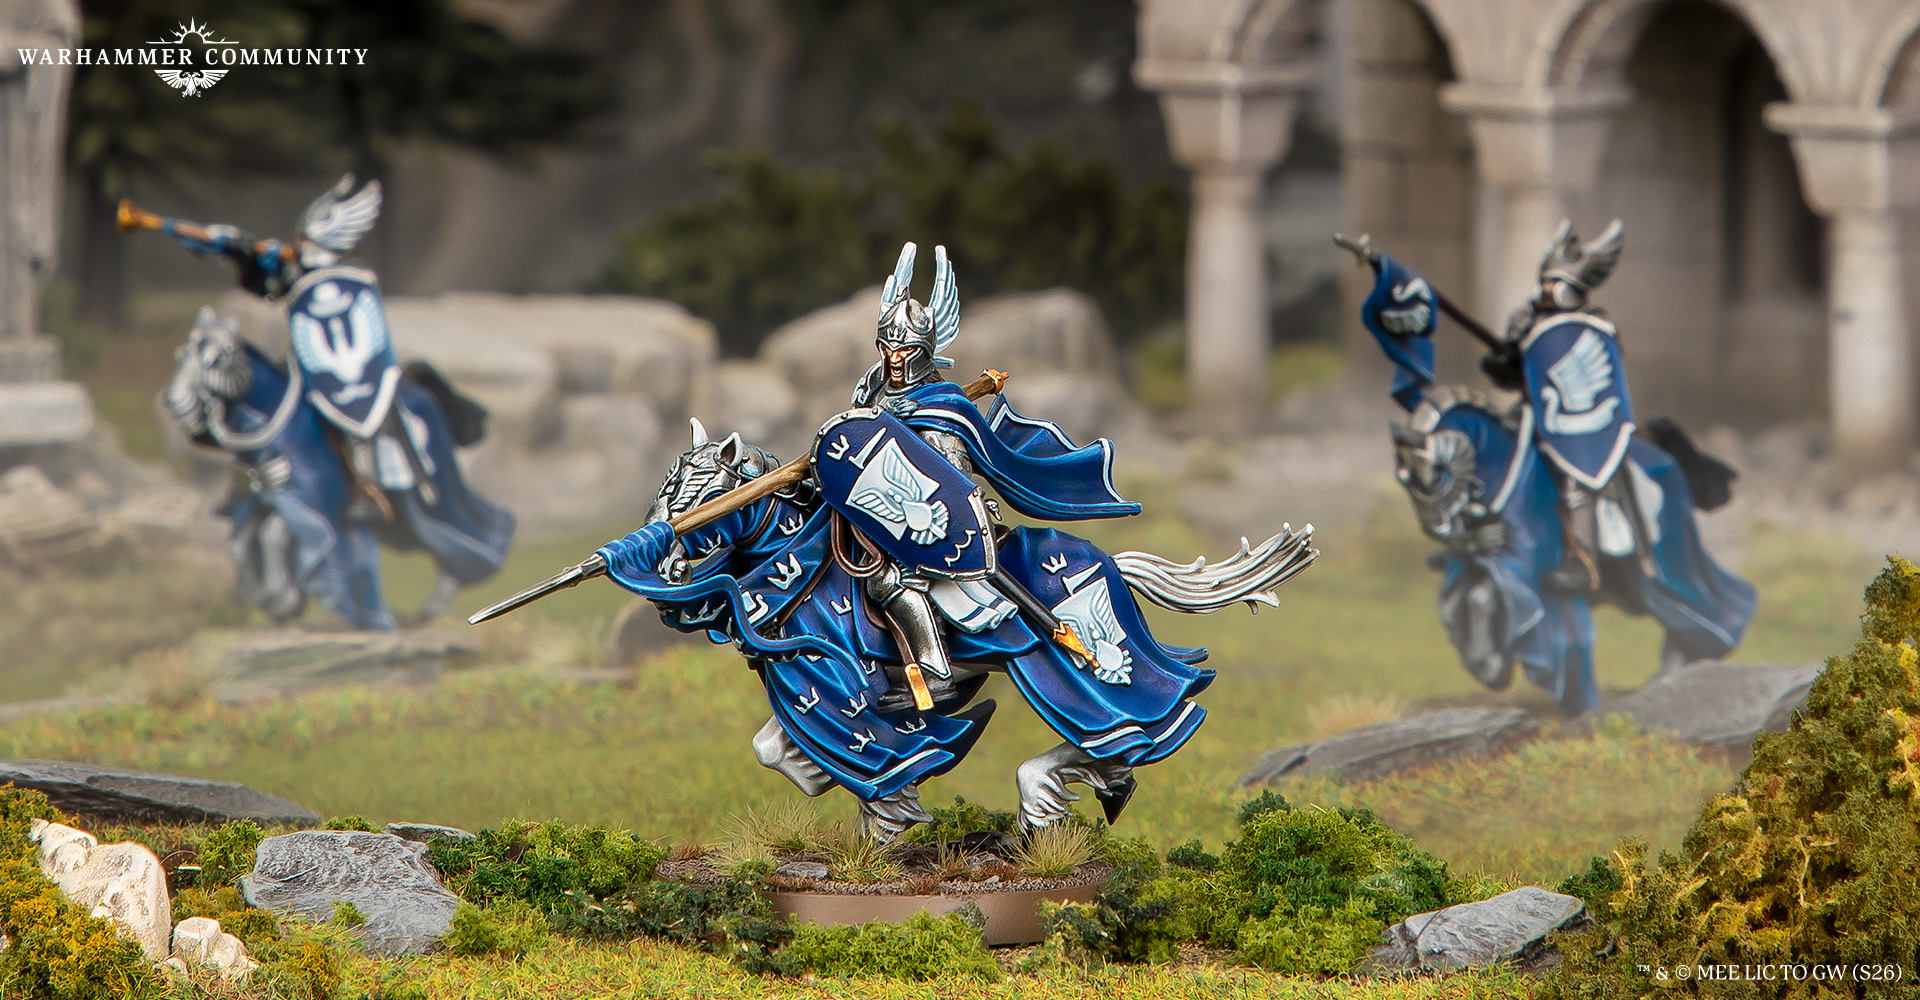
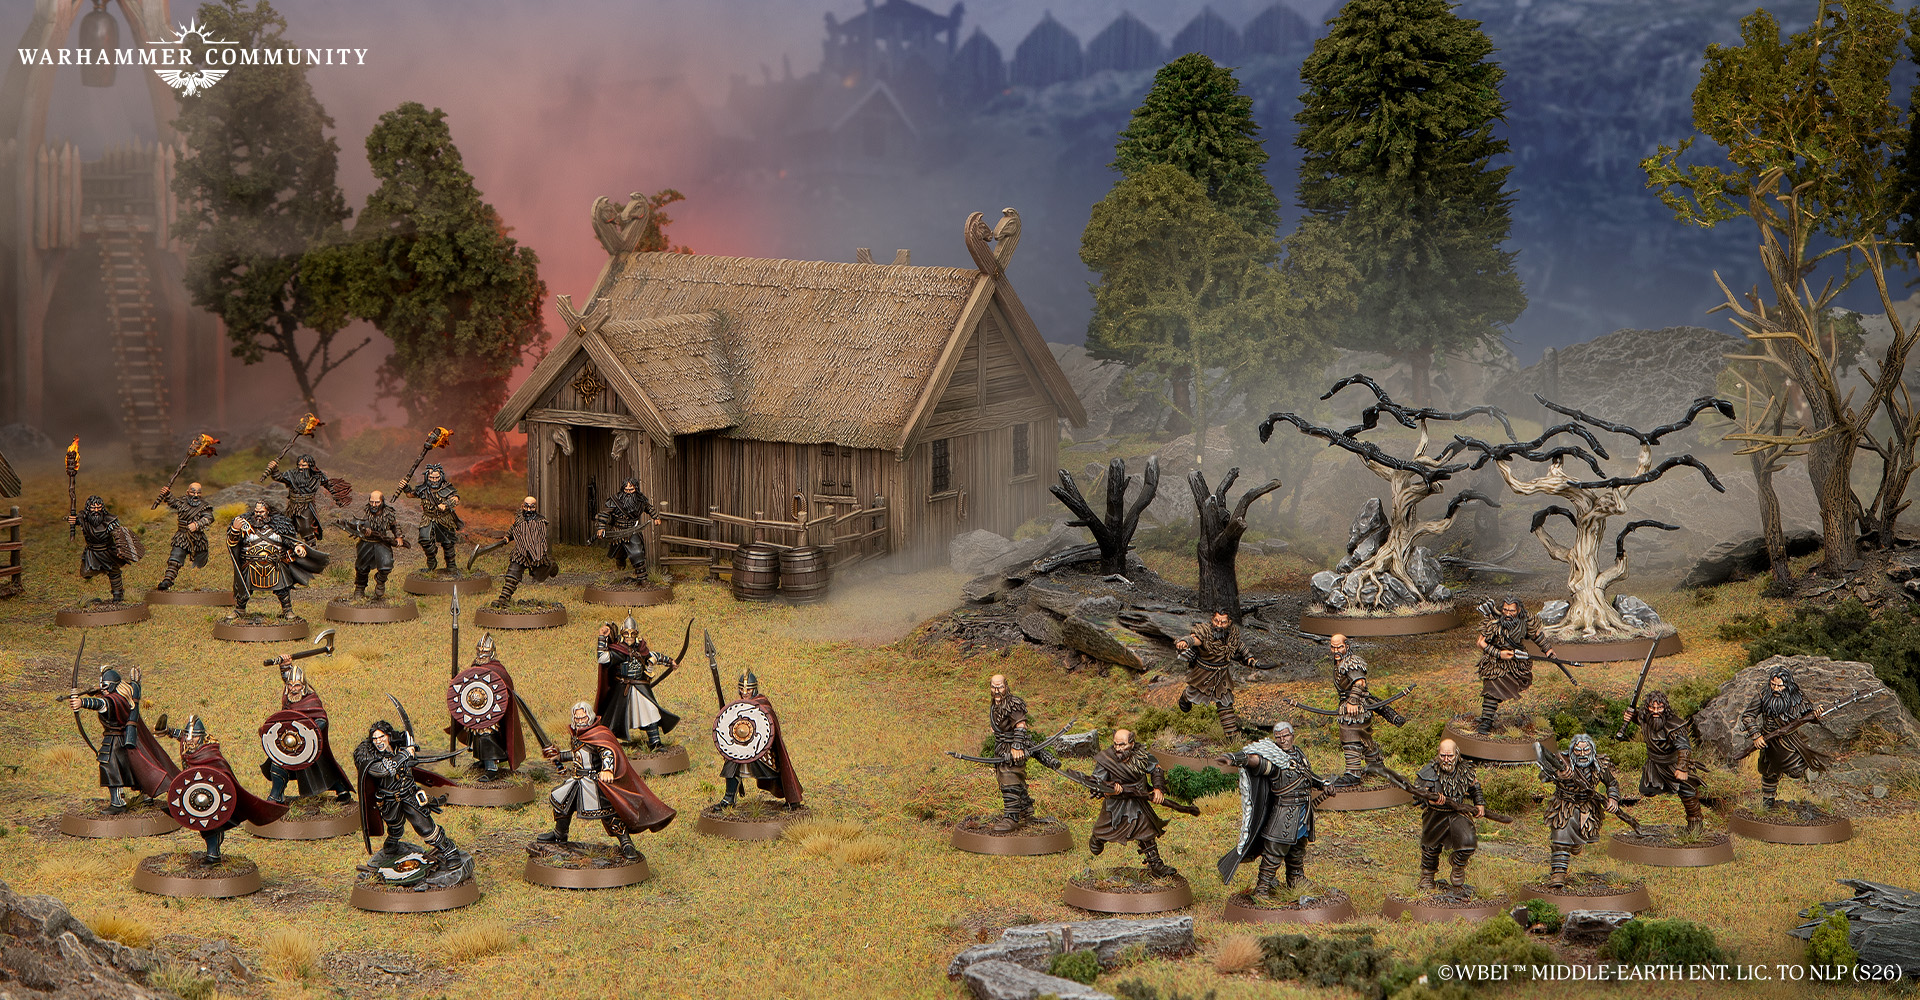
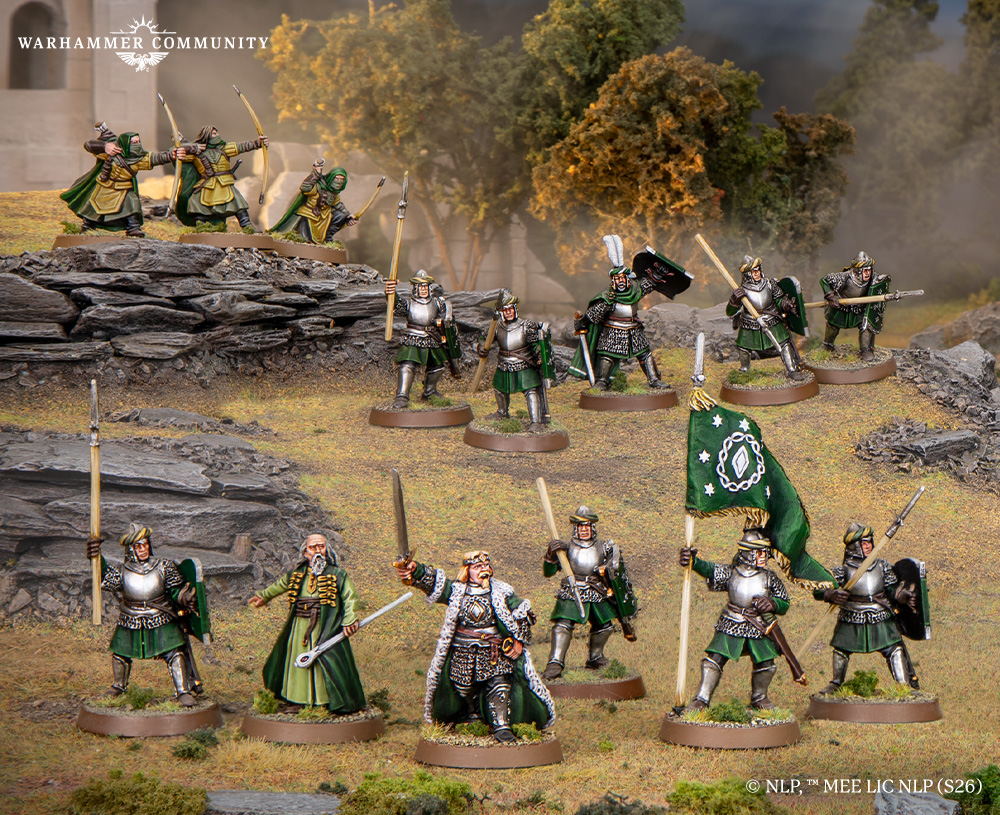
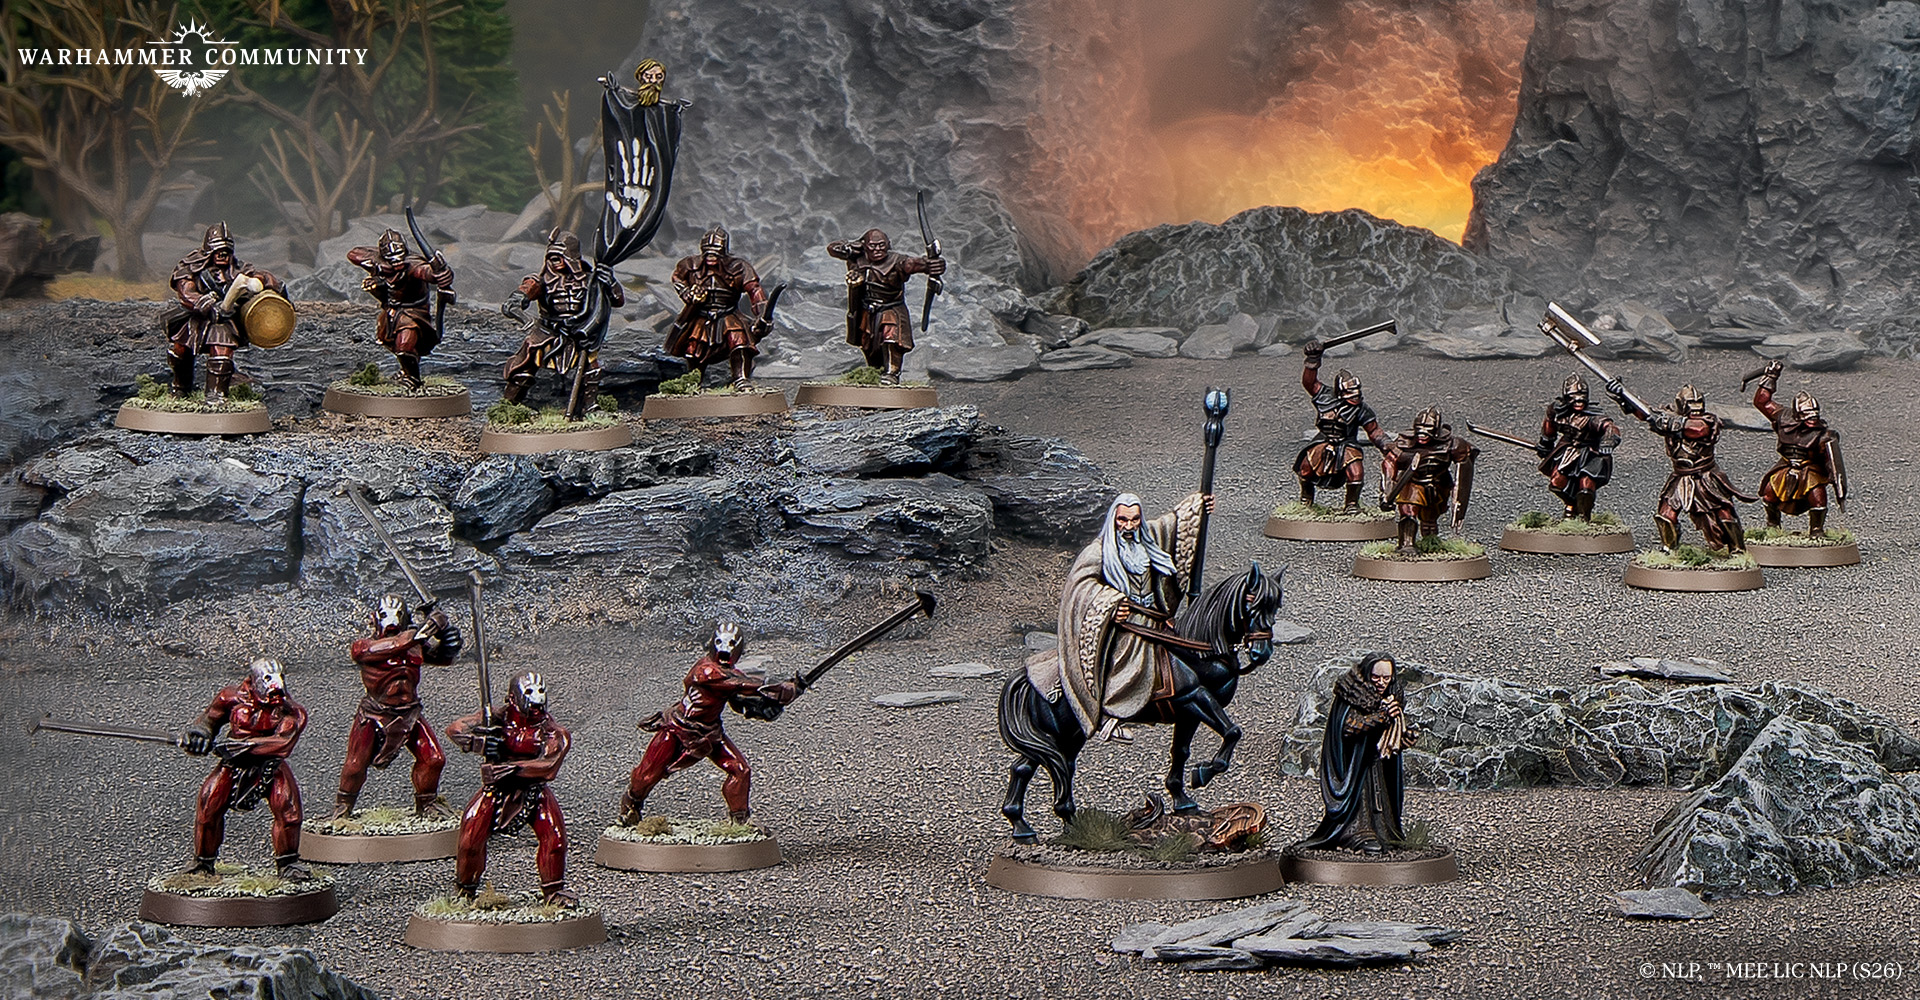
Danny: The Middle-earth™ Strategy Battle Game Grand Tournament is different from other events – you have to bring two armies: one Good and one Evil. For my Evil force, I selected my ever-faithful Usurpers of Edoras, but for my Good, I fancied trying something new – the Defenders of the Pelennor, opting for the elite of the elite: an all-cavalry force of Knights of Dol Amroth and Prince Imrahil, led by Gandalf the White.
As this was an elite force numbering only 15 models, I foolishly assumed four weeks would be enough time to get it ready for the tabletop without too much trouble. Yet, despite my best intentions of being ready in plenty of time, I found myself once again painting late into the night (and the early hours of the morning) as I put the final touches to the army.*
Round 1
For round one, I rolled out my Defenders of the Pelennor. This turned out to be a tough break as the first Scenario would be Stake a Claim, which usually benefits armies with a higher model count, much like Ben’s Usurpers of Edoras that I would be playing against.
I got off to a strong start – the speed of my Swan Knights allowed me to pounce on four of the objectives for the first couple of turns and quickly rack up Fortification Points to take the lead. Imrahil led a gallant charge over the central objective into the Hill Tribesmen, where he and the Knights managed to slay 19 over the course of two turns. Despite the slaughter, Ben stayed calm under the early pressure and managed to win the roll-off for two key Heroic Moves in a row to completely stymie my momentum and inflict some pain of his own. My Swan Knights were soon surrounded by angry Hill Tribesmen and, without the bonuses for charging, were dragged from the saddle and slain. Even Gandalf was not spared from the mayhem, as after spending much of the game trying to keep Wulf at bay on the right flank, he rejoined the battle in the centre only to be surrounded and cut down.
From that point onwards, the game quickly got away from me as Ben capitalised on his good fortune with solid tactical play. To salvage some VP, I had to try to either break his army or slay Freca (his general) before the game ended. Alas, both goals remained beyond my reach, and the game ended in a decisive 12-0 win to Ben.
Round 2
My second game saw me face off against David’s Fangorn army at Retrieval. As I had used my Defenders of the Pelennor in Round 1, I’d be using my Usurpers of Edoras in this one. Whilst I was confident I would have the numbers to eventually reach the Relic on David’s side of the board, I was worried about the damage his Ents would inflict upon my poor Hill Tribesmen. The game started with me pressing heavily around the flanks whilst David marched Treebeard and Beechbone up the centre, with Birchseed and his Oak and Ash Ents advancing to match my flanking forces.
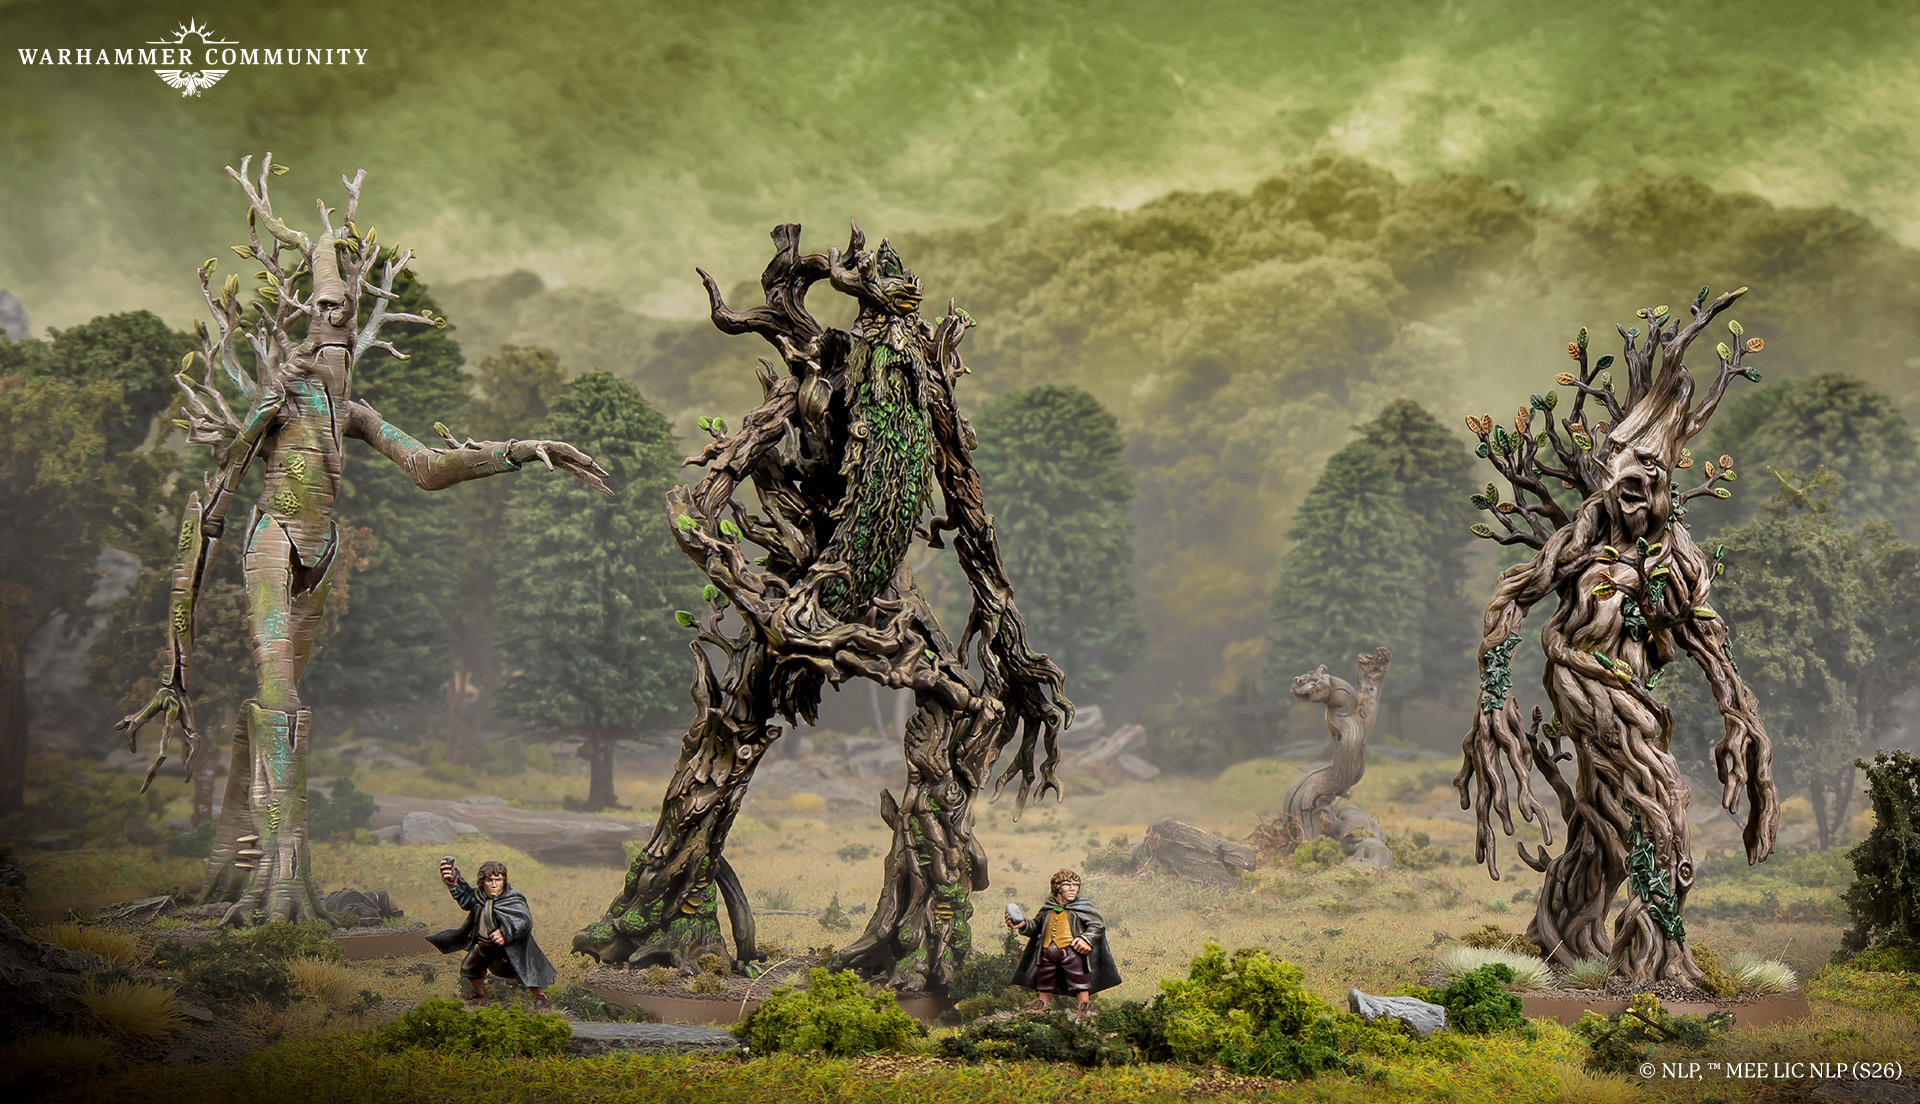
Though the Ents were able to win many of the initial combats, some unfortunate To Wound rolls from David meant that my Hill Tribesmen got away mostly unscathed. This meant that when I was able to win the Duel roll, I had plenty of models left to make Strikes. Beechbone was the first Ent to fall under the combined onslaught from Wulf, whose Heroic Strike sent his Fight Value to 9, and Freca, whose use of Heroic Strength boosted his Strength and allowed him to turn Beechbone into kindling. One by one, the Ents fell, before eventually, Treebeard and the two Hobbits were the only Good models left standing.
Whilst the surviving remnants of my army moved in on the trio of Heroes, General Targg made use of Heroic March to swiftly carry the Relic into my deployment zone and off the board to safety. As Treebeard was felled in a flurry of blows, the game ended 18-4 in favour of the Usurpers of Edoras.
Round 3
The final game of the first day saw me clash with Julian’s Army of Gundabad in To the Death, having rolled to use my Good army. This was pretty ideal for me, as the Scenario awards VP for having banners present at the end of the game, and my Usurpers army doesn’t have any!
To avoid being caught up in the Goblin-town labyrinth of defensible obstacles, I stayed at a distance, using Gandalf’s Sorcerous Blast to attack Bolg and the Gundabad Orc Captains. Then, it was time for a glorious cavalry charge – the Swan Knights crashing into Julian’s battleline. However, he’s a canny general who knows how to get the most out of his War Bats and Gundabad Orcs, and, before long, my Knights were dropping like flies.
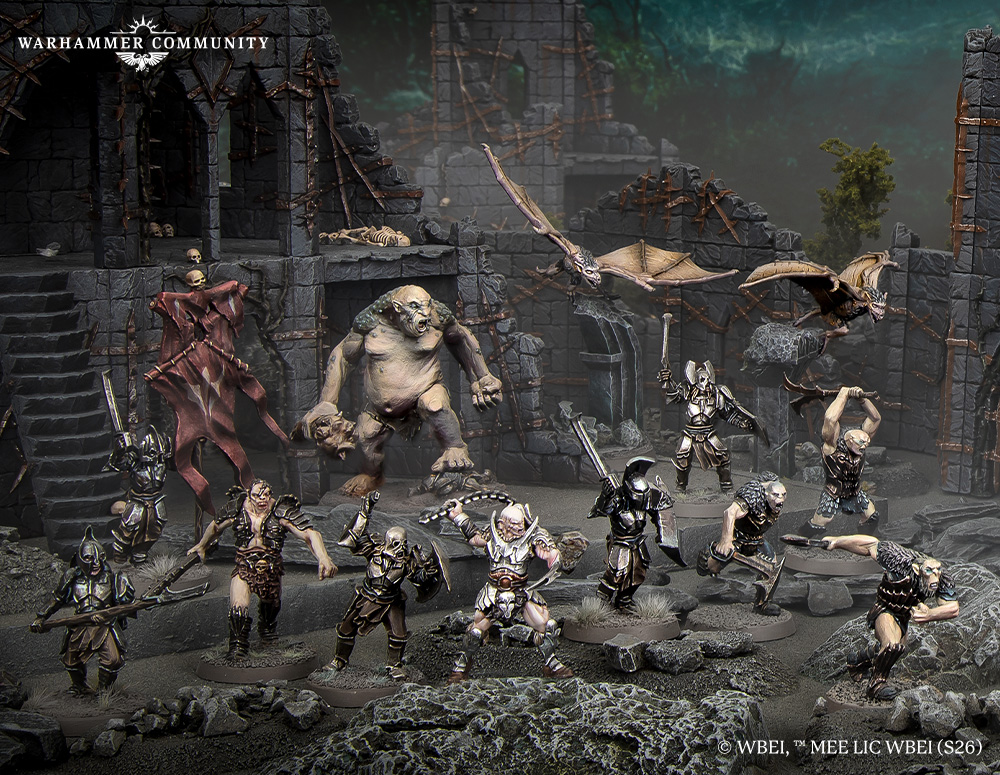
Thankfully, Imrahil managed to corner Bolg, swiftly cutting him down. With that, the Good Heroes quickly mopped up the remaining Orcs and secured a 14-3 victory for the Defenders of the Pelennor.
At the end of day one, I was sitting pretty on two wins and a loss – a great result that still kept me in contention to finish in the top 10, but without the pressure of trying to maintain an undefeated record. Whilst many of the other attendees headed to Bugman’s Bar to enjoy the Green Dragon Inn pub quiz, I chose to retire for an early night and catch up on some sleep!
Round 4
Day two got off to a wonderful start as I drew my friend Tom as my first opponent! Our Scenario for this round was Lead from the Front, which required our Heroes to secure a number of objectives across the centre of the battlefield. Tom deployed Argadir and a warband of 12 Knights of Arnor on my right flank, with his battleline of Warriors of Arnor securing the centre and left flank. I matched the Knights with Wulf’s warband, hoping that the flaming brands might cause the low-courage horsemen a few problems. The rest of my army was spread fairly evenly across my deployment zone.
Much like my first round, the game began well for me, with Wulf and his warband laying into the Knights with reckless abandon, but the same could not be said for the left flank… Despite the best efforts of General Targg and the Hill Tribesmen, the Warriors of Arnor would not stay down thanks to Malbeth’s Gift of Foresight special rule, giving his nearby Warriors of Arnor the ability to ignore a Wound on the roll of a 5+.
Not to be outdone by his warriors, Arvedui fought with unmatched skill and carved a path through a half dozen Hill Tribesmen to cross blades with Lord Thorne. The traitorous Lord of Rohan stood little chance against the King of Arnor and was cut down in a single round of Combat, setting him up for a clash with Freca. Unfortunately for me, Tom also managed to Break my army in the same turn – as the two leaders prepared for an epic showdown, Freca bottled his Stand Fast and fled the field. This marked the beginning of the end as my army quickly followed the Lord of the West-march in his cowardice. The game ended in a decisive 16-0 victory for Tom!
Round 5
Game 5 saw me playing with my Evil army in its final appearance of the event, this time against Simon’s Kingdom of Khazad-dûm in Escort the Wounded. Whilst I was delighted to not be using my Good army for this Scenario, as Cavalry are infamously poor at moving heavy objects, Simon’s Hearthguard had the Burly special rule, meaning he’d only need a single model to move his own objective markers. As the game commenced, General Targg’s Heroic March allowed me to propel two of my Wounded towards the camp on my left flank, whilst the bulk of my forces moved towards Simon’s army, who had taken control of the centre of the battlefield.
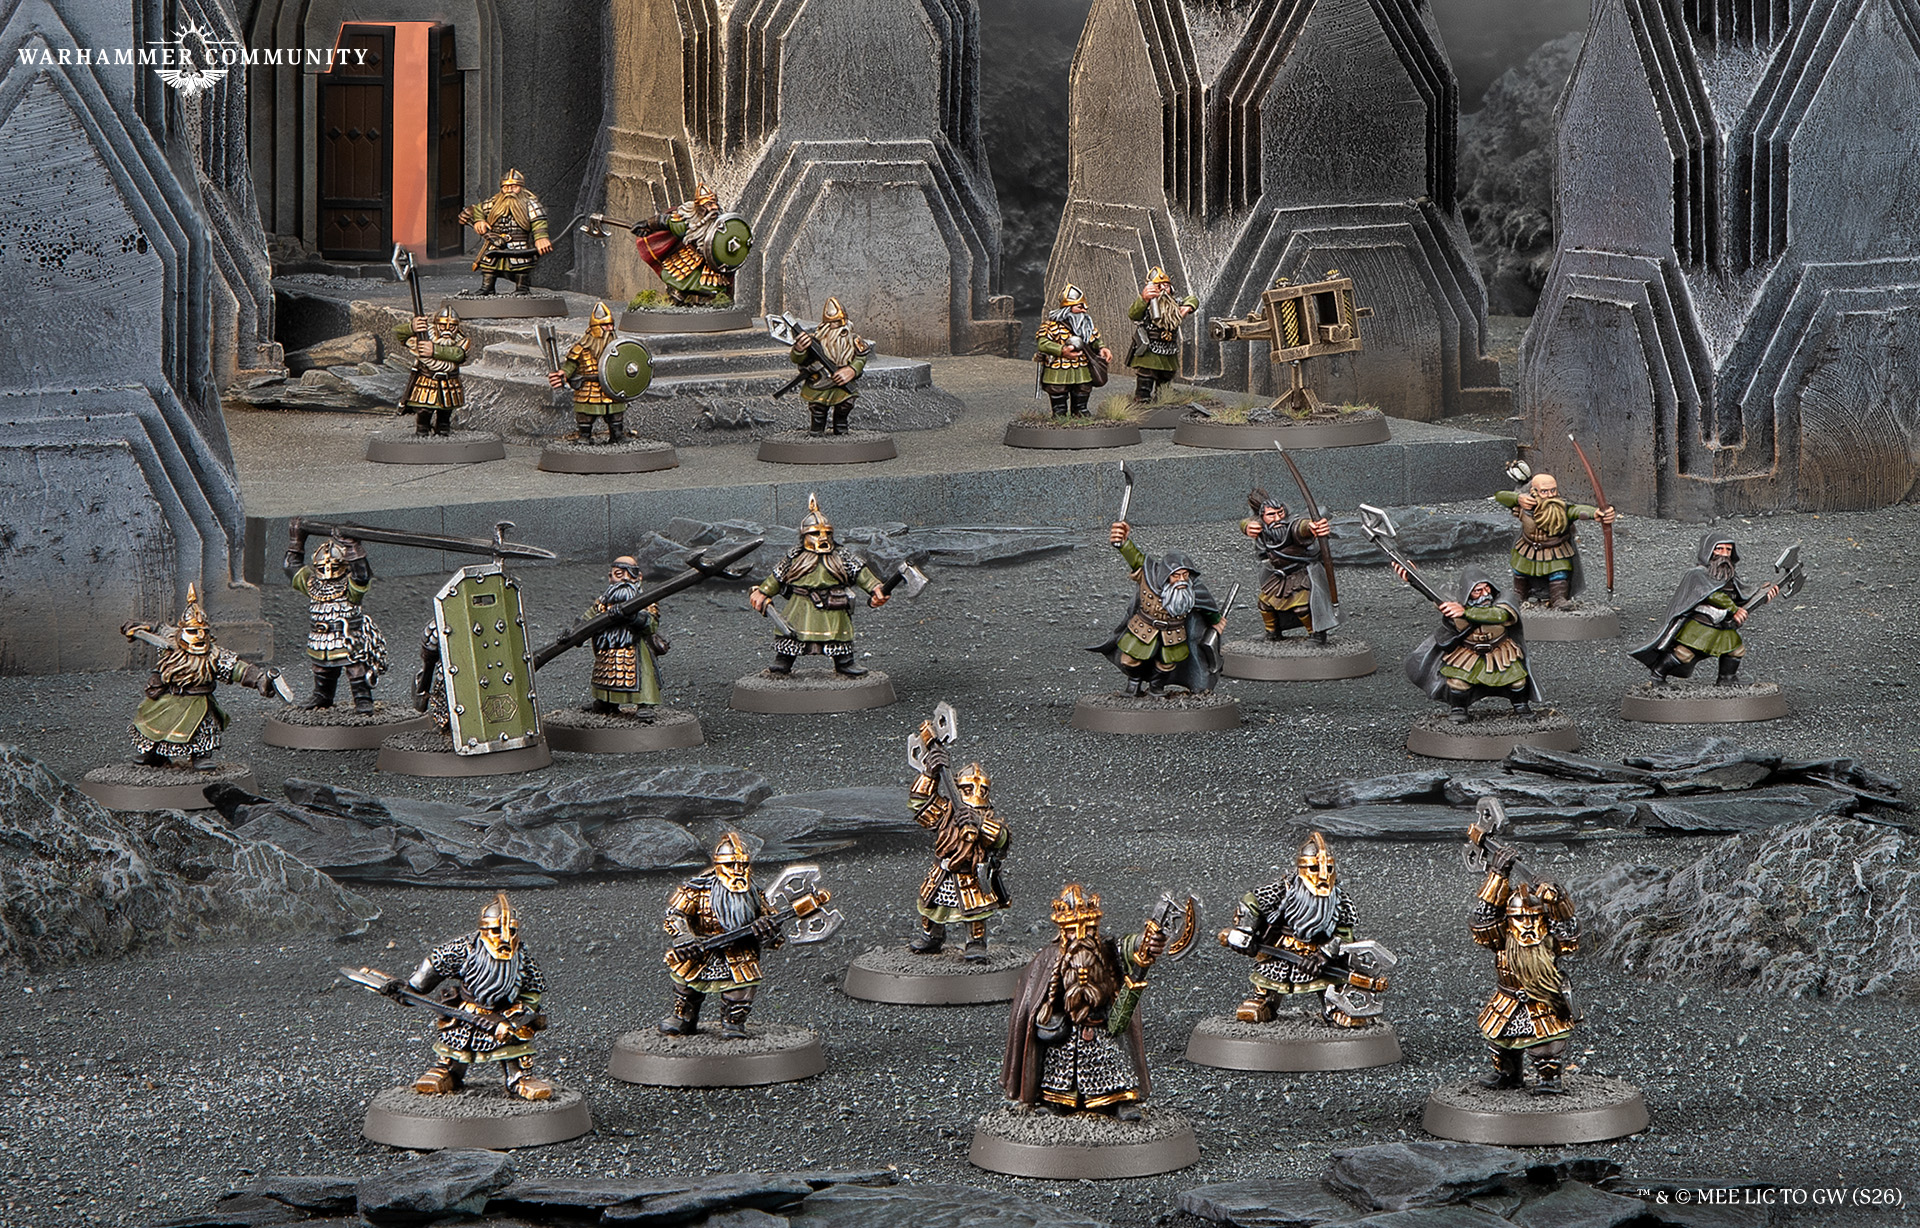
As the battlelines were drawn, Durin and Wulf danced around each other for a turn or two, before Wulf managed to isolate the Dwarven king in single combat. Despite Durin’s Heroic Strike sending him to a mighty Fight Value 9, Wulf managed to win the Duel and Wound the King of Khazad-dûm. The following turn, Durin decided he much preferred slicing through Hill Tribesmen, and left Wulf to contend with a handful of Hearthguard whilst he set about trying to kill enough warriors to Break my army. Meanwhile, the cohort of warriors carrying his Wounded tried to break through my right flank.
Despite the best efforts of the Dwarves running to escape with the Wounded, a small band of my Hill Tribesmen managed to intercept them and slow them down for just long enough. Mercifully for me, in Simon’s efforts to cut a path to safety, he reduced me to 25% of my starting numbers, the condition for bringing the game to an end, resulting in a 14-3 victory for the Usurpers of Edoras.
Round 6
The final game of the weekend was Command the Battlefield from the Maelstrom of Battle pool of Scenarios against Rob’s Muster of Isengard. Setting the trend for Rob’s luck, he rolled badly for where his forces, including Saruman, would arrive, forcing him to spend 3 Might Points to muster them along the southern board edge.
Rob’s bad luck would only continue to get worse, as a poor resist roll from Saruman saw Gandalf Break his Staff and both Uruk-hai Captains fell to a coordinated strike from Gandalf and Imrahil, leaving Rob with only a single Might Point before the game had really got underway.
Despite getting off to a great start, I had completely forgotten that Uruk-hai Berserkers are Fight Value 5, having not played against them since the previous edition of the game – a nasty surprise for my poor Swan Knights, who had charged into the fray thinking they were going to come out on top. This, coupled with Hatred (Man) granted by the “There will be no dawn for Men” special rule, saw my Knights quickly cut down and my army Broken. Thankfully, Imrahil and Gandalf had done sufficient damage between them to claim enough of the battlefield, Break Rob’s army and reduce it to 25%, ending the game 9-4 in favour of the Defenders of the Pelennor.
The end of all things
So, as the dust settled on the weekend, I had finished with a result of four wins and two losses – not bad at all! As it had been a while since I had played any competitively-minded events, it was great to prove to myself that I could still post a solid result, even if I was a little rusty and completely exhausted by the end of the final game!
The highlight of the weekend was seeing so many like-minded hobbyists in one place, engaging in spirited competition and celebrating an incredible standard of gaming, painting, and sportsmanship. The only things left to say really are a massive thank you to the Warhammer World events team for putting on such an excellent event, and congratulations to the following people on their achievements over the weekend!
1st: Jay Acharya
2nd: John Partridge
3rd: Jay Clare
Best Painted Army and Judges' Choice Best Painted Army: Tom Thorpe
Most Sporting Player: Thomas Hodgson
Thanks, Danny! Get ready to play in (or host) an event with the Middle-earth™ Strategy Battle Game: Matched Play Guide – it’s packed with scenarios, guidance for running events, and more.
* We always say it’s not a real tournament unless you’re up late the night before finishing your painting!