UPDATE: An earlier version of this article mistakenly attributed it to the Squad Games YouTube channel. It was actually written by Andy at the Glass Half Dead channel. We sincerely apologise for the mix-up between articles, and we'd like to thank Andy for his hard work.
We think the new Kill Team: Tomb World expansion box is pretty cool. But don’t take our word for it – Andy from the Glass Half Dead YouTube channel has kindly provided his own take on the two teams, mission pack, and rules.
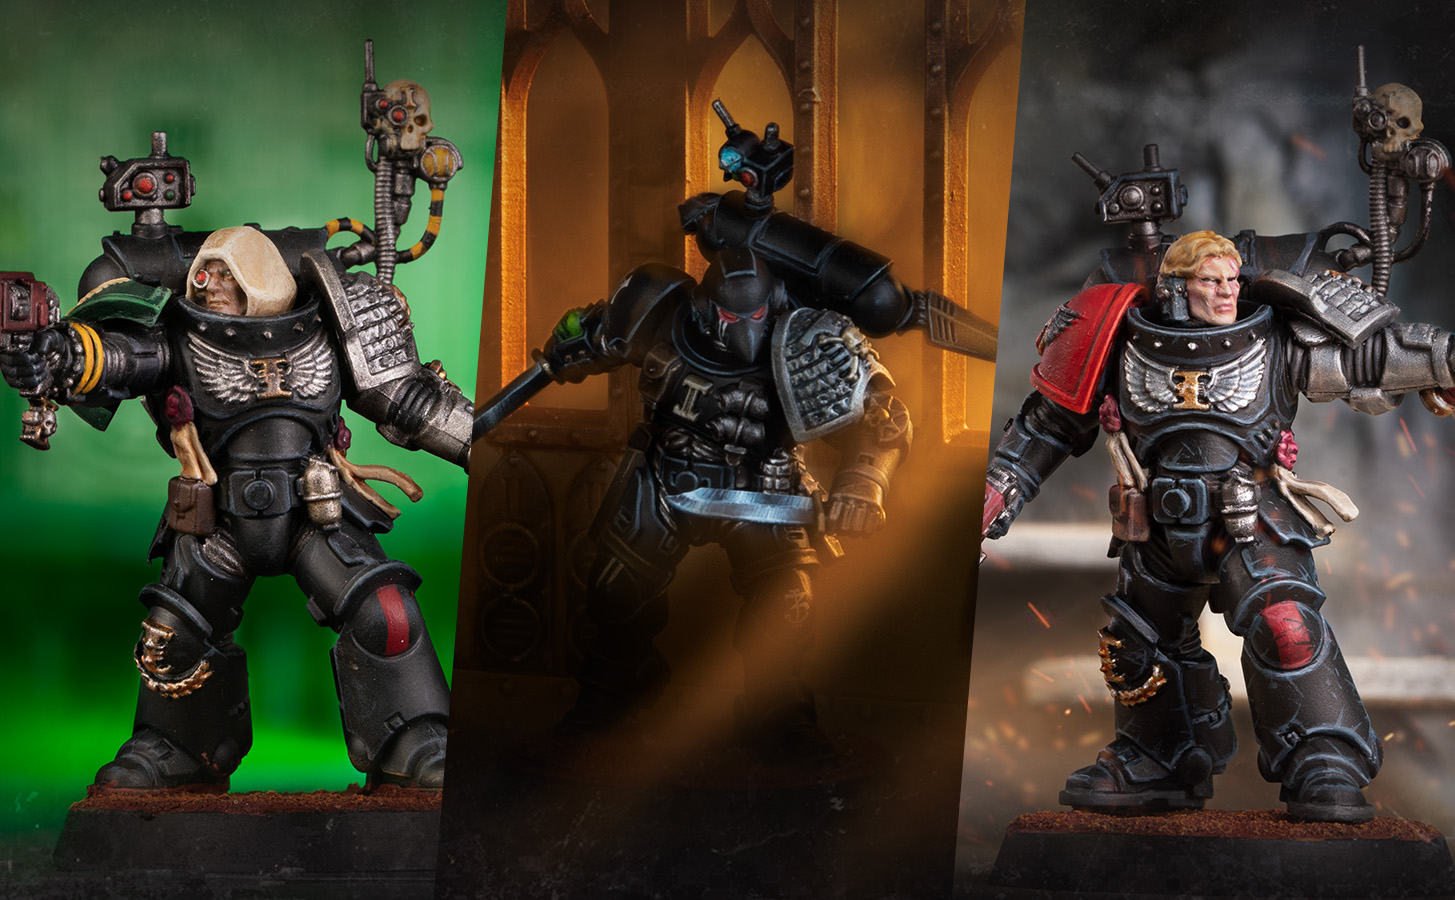
Andy: The most important release for Kill Team is finally here – the game’s namesake, the original special operatives of the 41st Millennium.
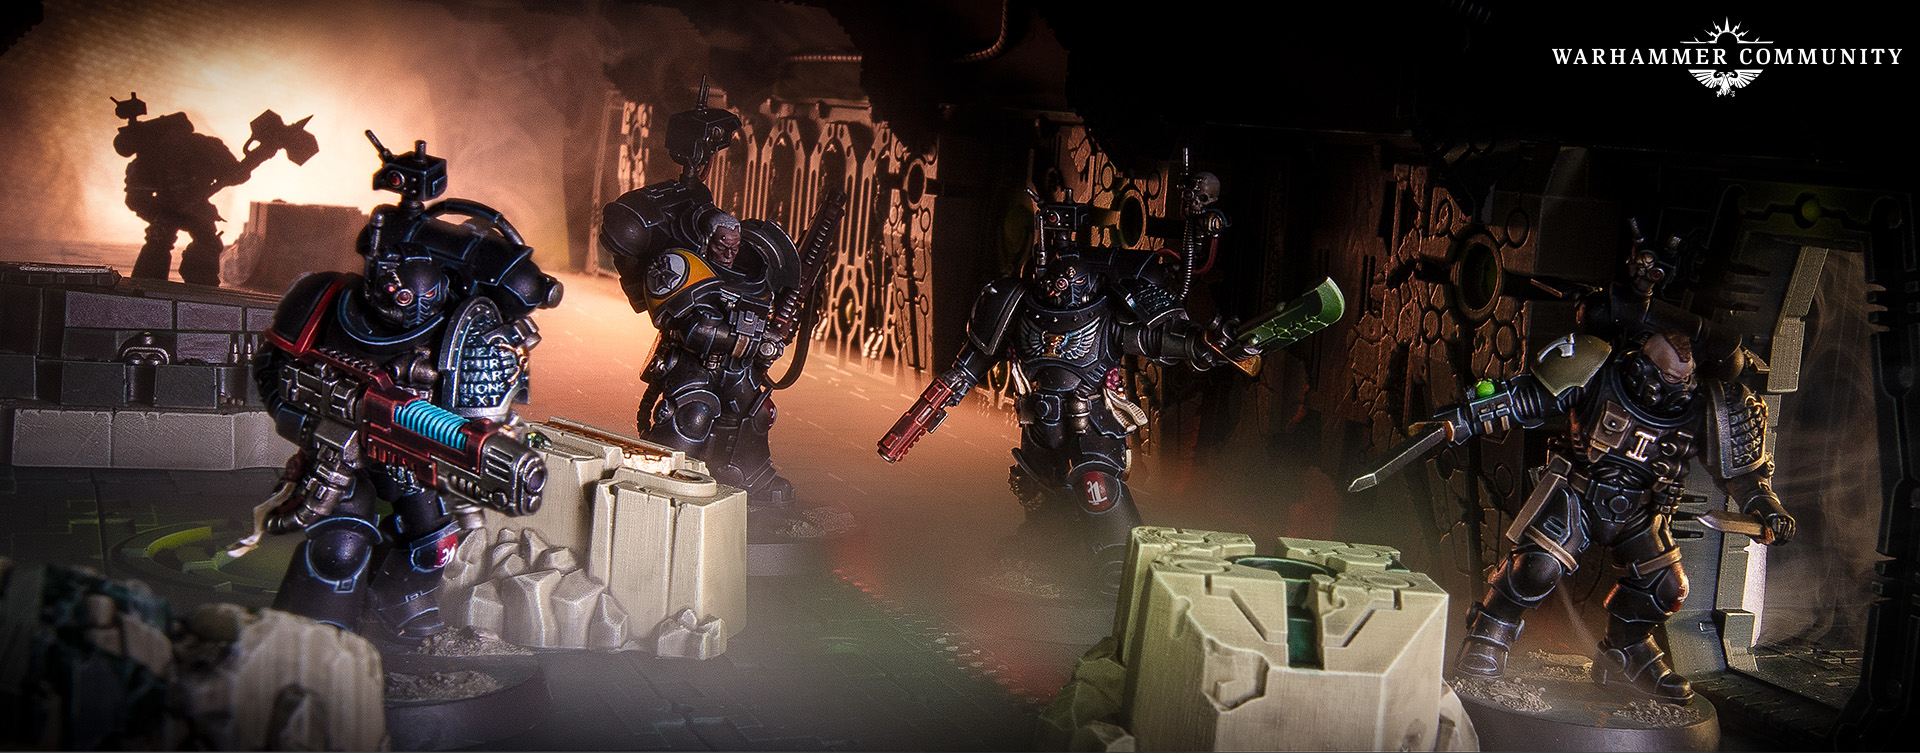
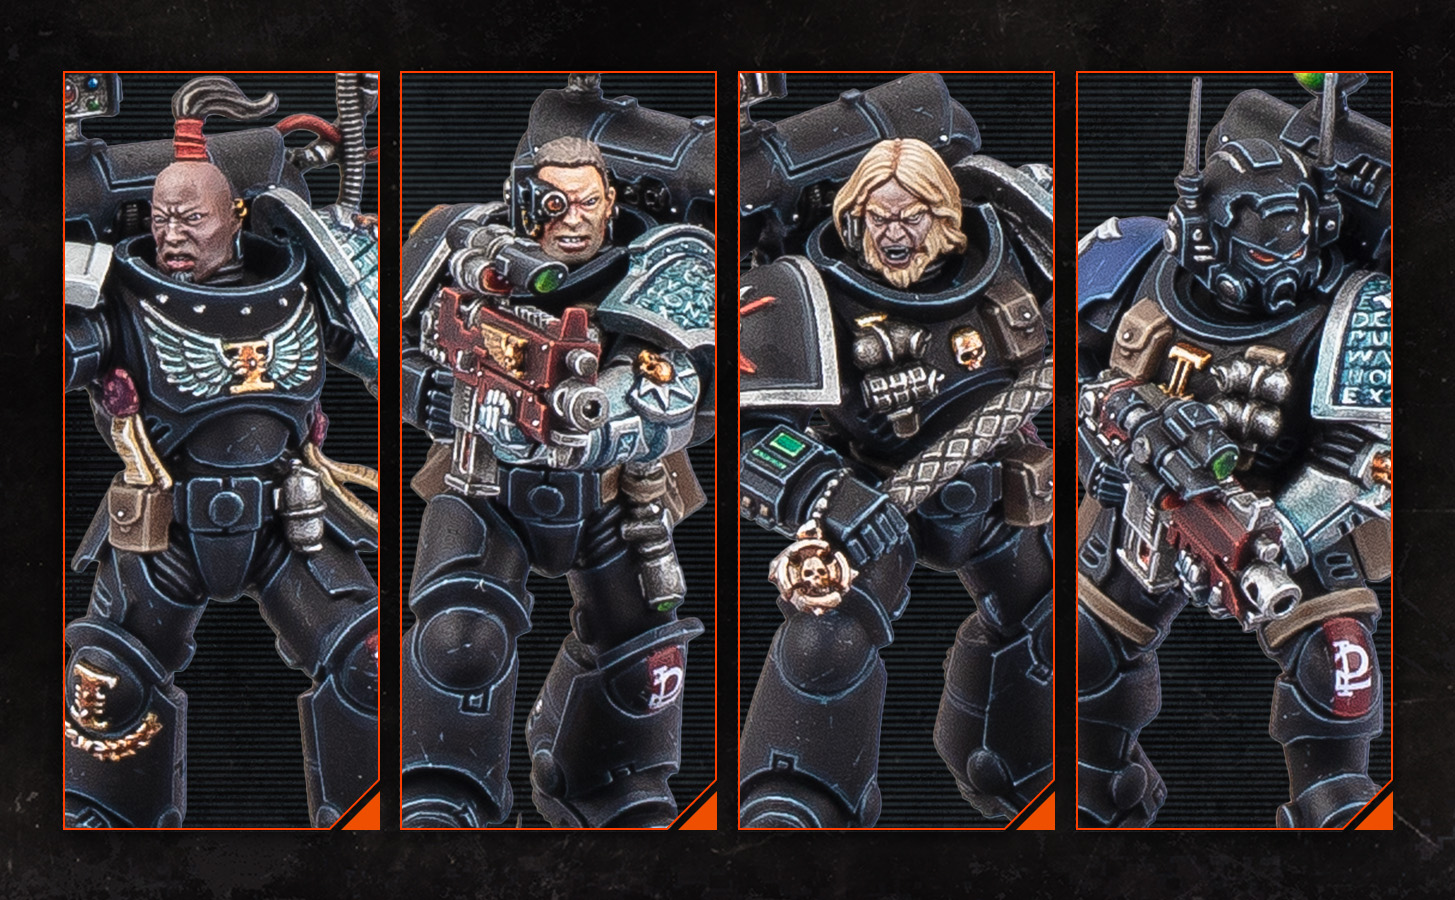
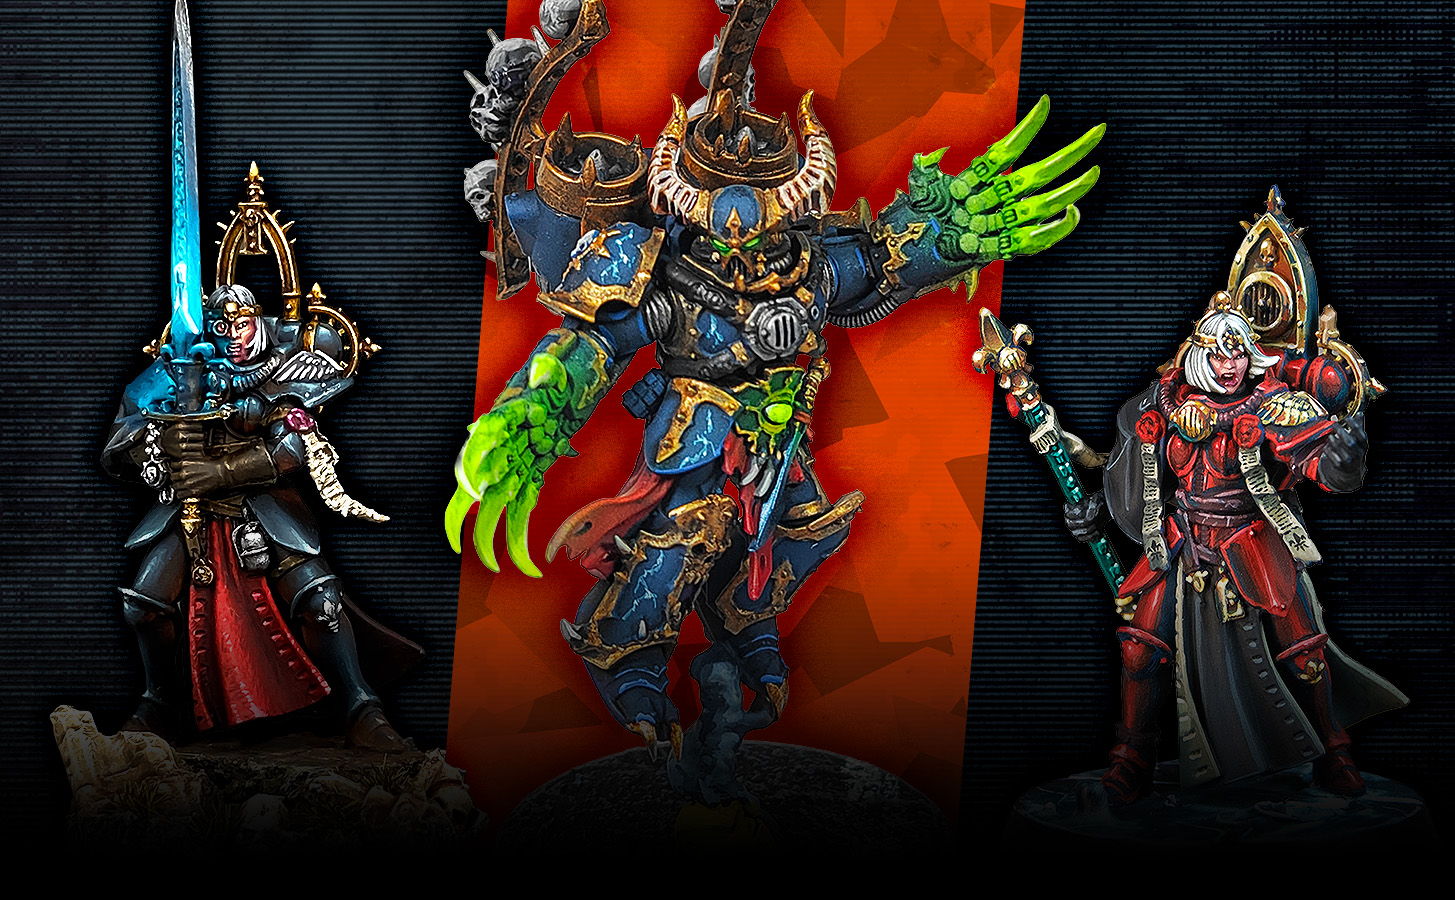
The Deathwatch are the ultimate tactical specialists in the Imperial arsenal, with unrivalled flexibility, able to play as a melee or shooting team in an offensive or defensive style depending on which operatives you bring to the table. Five might not seem like enough, but when every operative is the best at what they do, you will be rewarded for matching enemy threats to their perfect counter.
Every gun can get the job done as they bring their Special Issue Ammunition to the mission, so that even a regular bolt pistol can become the scalpel it needs to be.
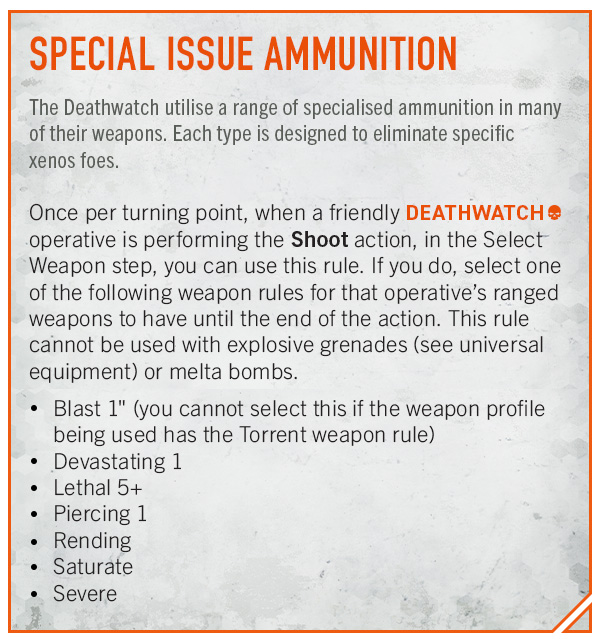
SPECIAL ISSUE AMMUNITION
The Deathwatch utilise a range of specialised ammunition in many of their weapons. Each type is designed to eliminate specific xenos foes.
Once per turning point, when a friendly DEATHWATCH operative is performing the Shoot action, in the Select
Weapon step, you can use this rule. If you do, select one of the following weapon rules for that operative’s ranged weapons to have until the end of the action. This rule cannot be used with explosive grenades (see universal equipment) or melta bombs.
Blast 1" (you cannot select this if the weapon profile being used has the Torrent weapon rule)
Devastating 1
Lethal 5+
Piercing 1
Rending
Saturate
Severe
Sometimes, however, you need a hammer – and for the Deathwatch, that’s the most durable and hard-hitting melee operative in the game: the Demolisher Veteran. He may not get to double block with his storm shield or fight first with his xenophase blade, but the heavy thunder hammer makes for an unstoppable monster. Pair Ceaseless on the charge with The Shield That Slays ploy, and even the mighty Angels of Death Space Marine Captain can only crit for a mere five damage.
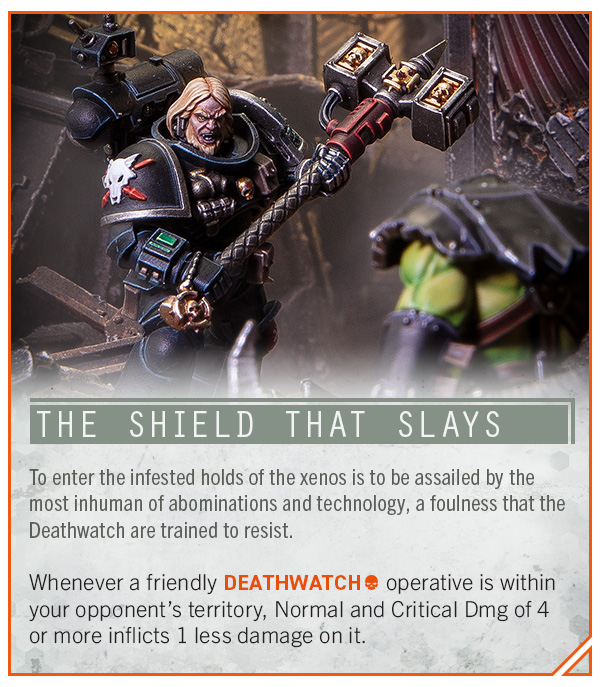
THE SHIELD THAT SLAYS
To enter the infested holds of the xenos is to be assailed by the most inhuman of abominations and technology, a foulness that the Deathwatch are trained to resist.
Whenever a friendly DEATHWATCH operative is within your opponent’s territory, Normal and Critical Dmg of 4 or more inflicts 1 less damage on it.
This team is so flexible, you don’t need to take the actual leader! But you will definitely want to, because his Strategic Command grants free Command Points and an extra equipment option. And don’t forget that even his plasma pistol can use Special Issue Ammunition.
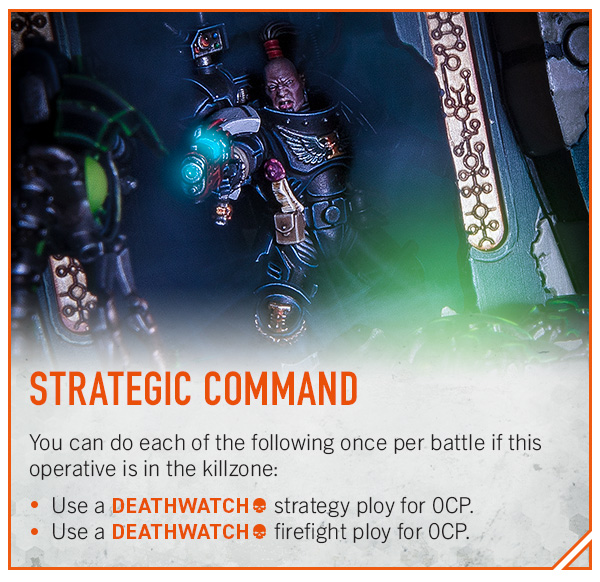
STRATEGIC COMMAND
You can do each of the following once per battle if this operative is in the killzone:
Use a DEATHWATCH strategy ploy for 0CP.
Use a DEATHWATCH firefight ploy for 0CP.
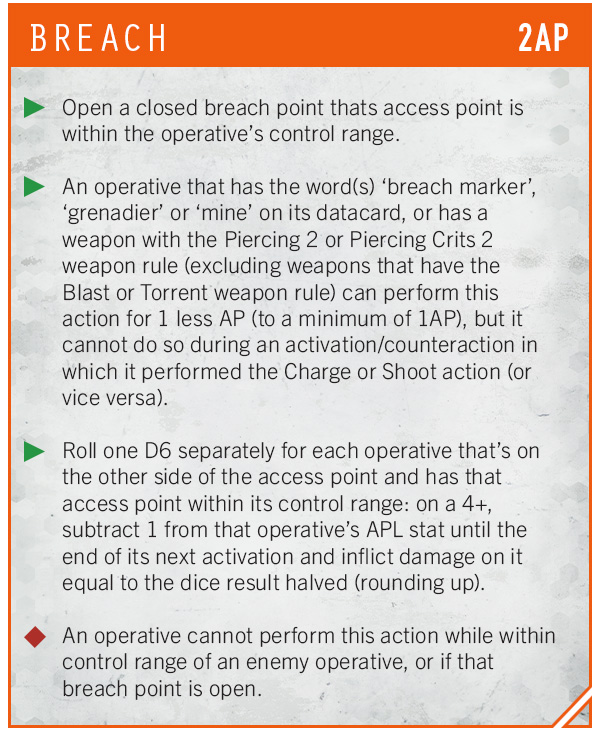
The new killzone has a mission action that costs 2AP: Breach. You can only take one Gravis armour operative, so consider the Breacher Veteran – who can reduce it to 1AP with his melta bomb, which will blow out the wall and leave enemies on the other side stunned (and those Breachable walls are going to be on every Tomb World map).
BREACH – 2AP
Open a closed breach point thats access point is within the operative’s control range.
An operative that has the word(s) ‘breach marker’, ‘grenadier’ or ‘mine’ on its datacard, or has a weapon with the Piercing 2 or Piercing Crits 2 weapon rule (excluding weapons that have the Blast or Torrent weapon rule) can perform this action for 1 less AP (to a minimum of 1AP), but it cannot do so during an activation/counteraction in which it performed the Charge or Shoot action (or vice versa).
Roll one D6 separately for each operative that’s on the other side of the access point and has that access point within its control range: on a 4+, subtract 1 from that operative’s APL stat until the end of its next activation and inflict damage on it equal to the dice result halved (rounding up).
An operative cannot perform this action while within control range of an enemy operative, or if that breach point is open.
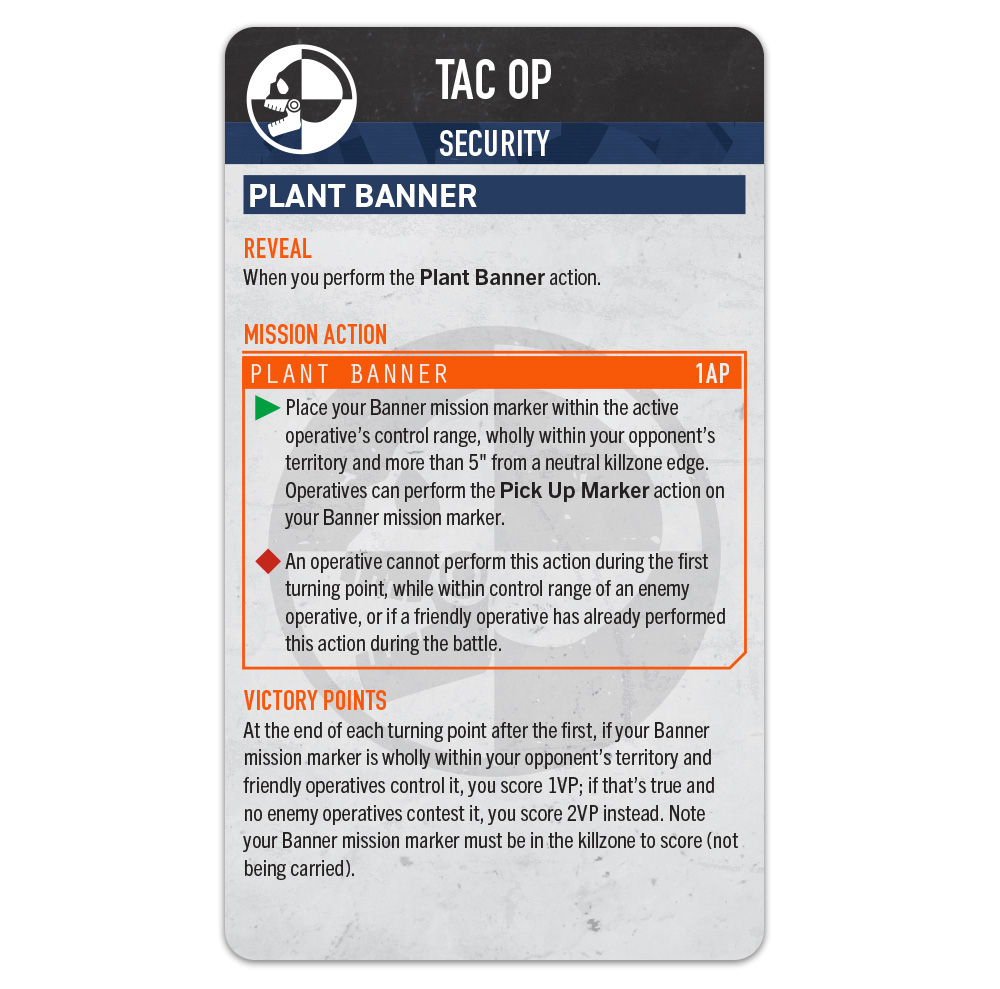
But it can’t be all about the kill op. The Headtaker Veteran can score your kill op by charging, hitting twice before the enemy hits back, and then score your tac op with the new Plant Banner action while staying safe because you’re still on a Conceal.
TAC OP – SECURITY
PLANT BANNER
REVEAL
When you perform the Plant Banner action.
MISSION ACTION
PLANT BANNER – 1AP
Place your Banner mission marker within the active operative’s control range, wholly within your opponent’s territory and more than 5" from a neutral killzone edge. Operatives can perform the Pick Up Marker action on your Banner mission marker.
An operative cannot perform this action during the first turning point, while within control range of an enemy operative, or if a friendly operative has already performed this action during the battle.
VICTORY POINTS
At the end of each turning point after the first, if your Banner mission marker is wholly within your opponent’s territory and friendly operatives control it, you score 1VP; if that’s true and no enemy operatives contest it, you score 2VP instead. Note your Banner mission marker must be in the killzone to score (not being carried).
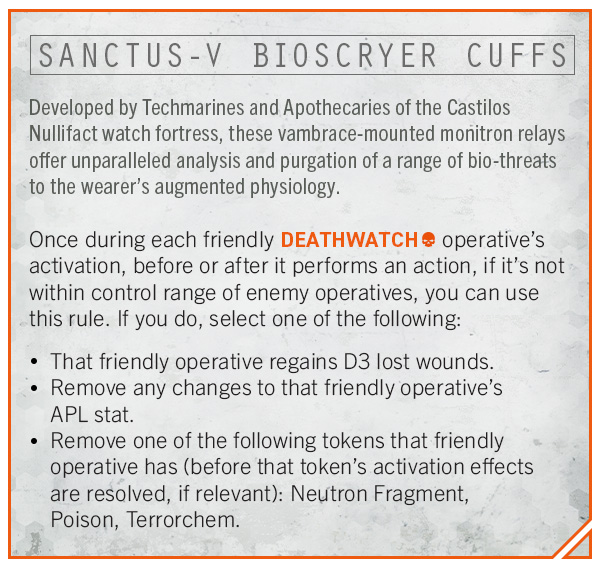
You might have left your veterans in a dangerous position with the sort of aggression the situation requires, so don’t forget to utilise your Deathwatch-approved drug administration devices…
SANCTUS-V BIOSCRYER CUFFS
Developed by Techmarines and Apothecaries of the Castilos Nullifact watch fortress, these vambrace-mounted monitron relays offer unparalleled analysis and purgation of a range of bio-threats to the wearer’s augmented physiology.
Once during each friendly DEATHWATCH operative’s activation, before or after it performs an action, if it’s not within control range of enemy operatives, you can use this rule. If you do, select one of the following:
That friendly operative regains D3 lost wounds.
Remove any changes to that friendly operative’s APL stat.
Remove one of the following tokens that friendly operative has (before that token’s activation effects are resolved, if relevant): Neutron Fragment, Poison, Terrorchem.
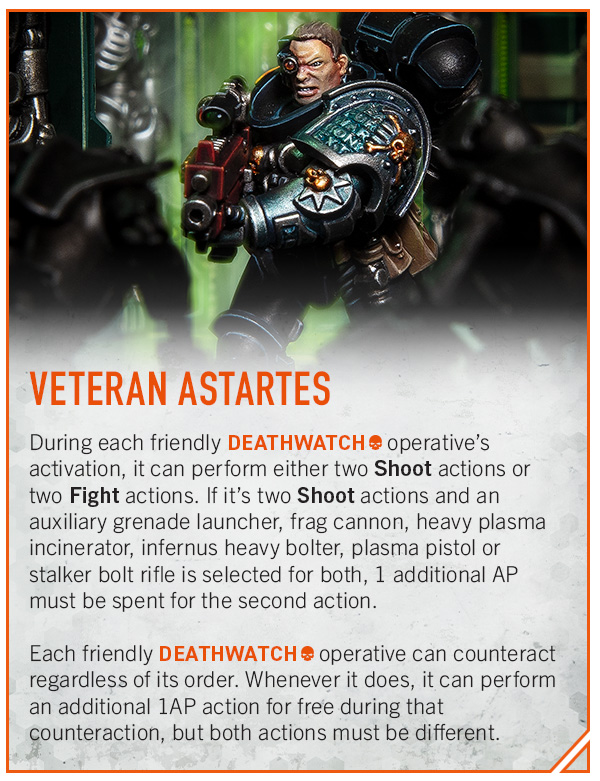
Finally, the mighty Deathwatch get to stay in the fight even after they’ve activated – because they’re not just Astartes, they’re Veteran Astartes. That’s right, you get to perform two actions when you counteract, which will provide major rewards for those who can plan ahead.
VETERAN ASTARTES
During each friendly DEATHWATCH operative’s activation, it can perform either two Shoot actions or two Fight actions. If it’s two Shoot actions and an auxiliary grenade launcher, frag cannon, heavy plasma incinerator, infernus heavy bolter, plasma pistol or stalker bolt rifle is selected for both, 1 additional AP must be spent for the second action.
Each friendly DEATHWATCH operative can counteract regardless of its order. Whenever it does, it can perform an additional 1AP action for free during that counteraction, but both actions must be different.
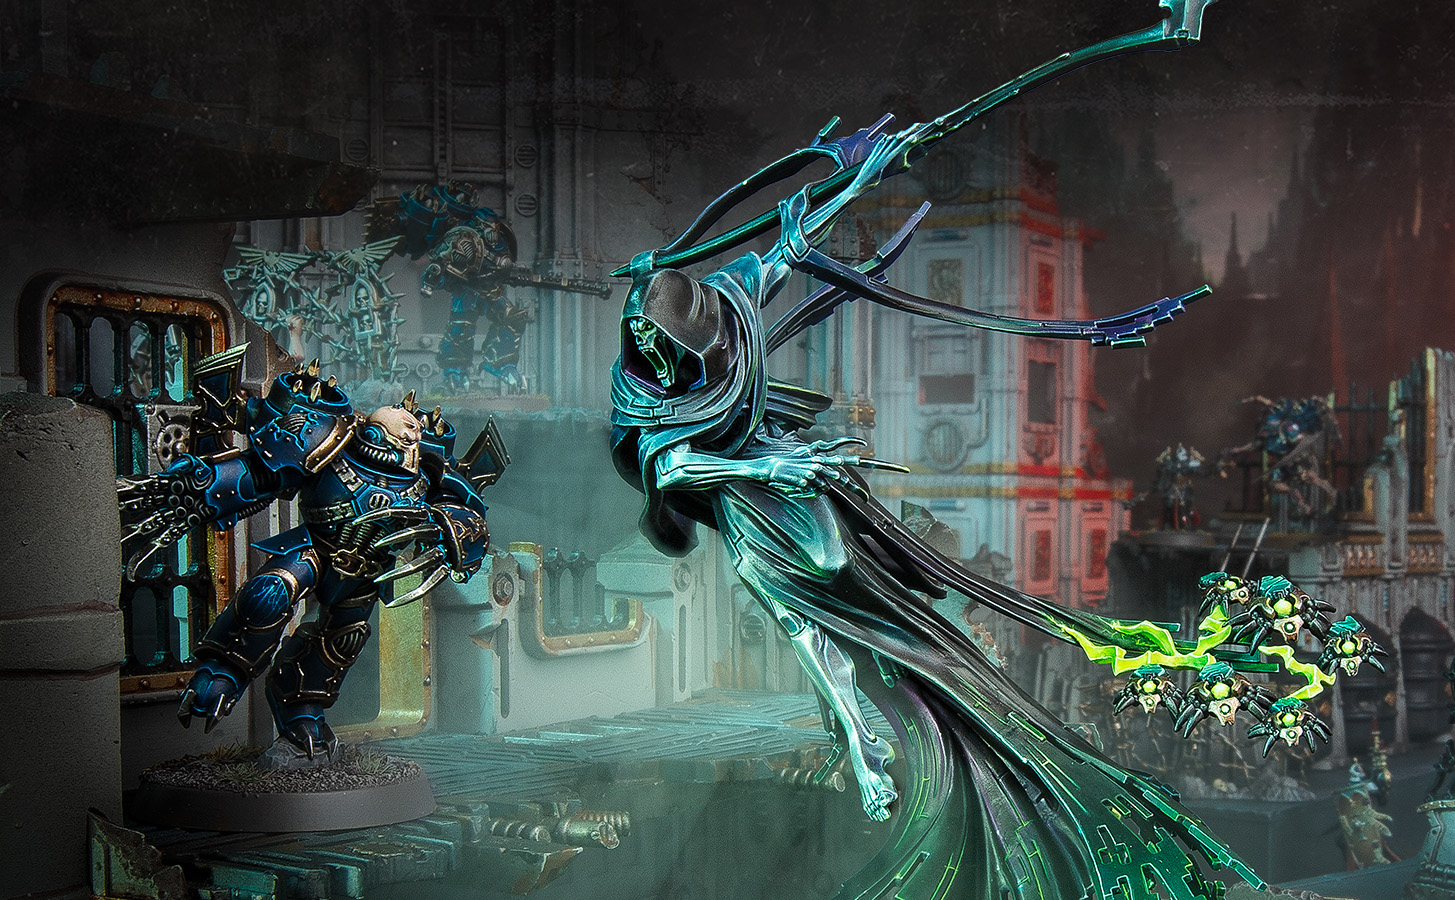
The Canoptek Circle are all about crafty positioning for every operative on the board via their Obelisk Node Matrix, the faction rule that every ploy requires to work. This grants loads of different stuff, including re-rolls in attack and defence, damage reduction, slowing the enemy, and even the opportunity to control objectives without standing on them.
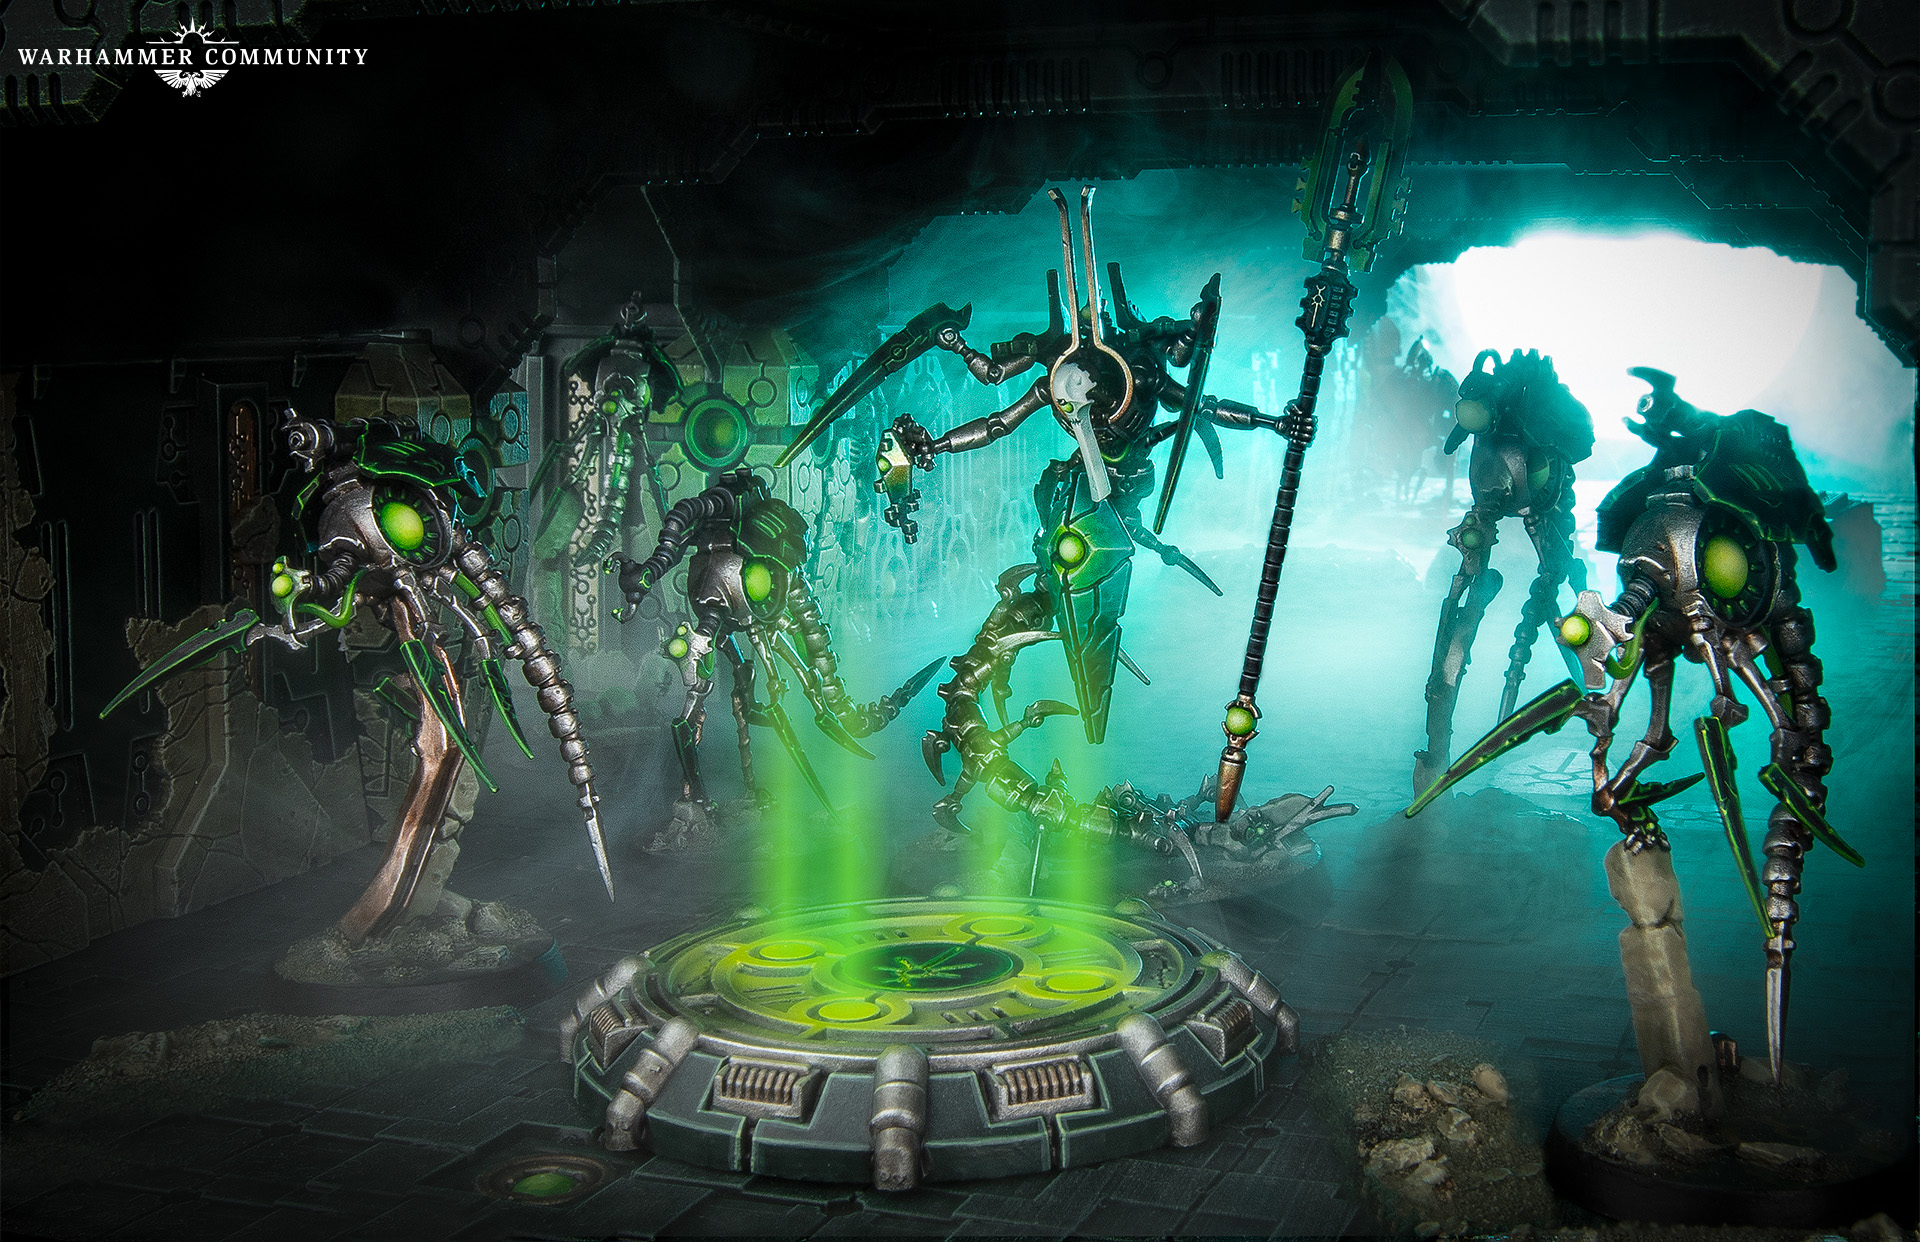
Alongside all of that, it also buffs your operatives with Accurate 2 and +1 APL when you’re standing on it! You can deploy your Obelisk Node markers wholly within your territory – but you want the Node Matrix to be between you and the enemy at all times. If you place it too far forwards, the enemy can run through it, but if you place it too far back, you will have to run through it to score points. It will be a complex decision based on the map, the crit op, and the enemy team, but it will reward overall game knowledge, strong fundamentals, and being able to stick to a plan.
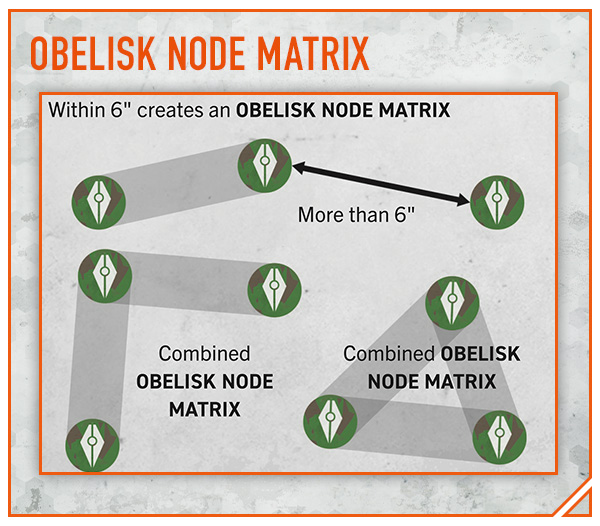
OBELISK NODE MATRIX
Within 6" creates an OBELISK NODE MATRIX
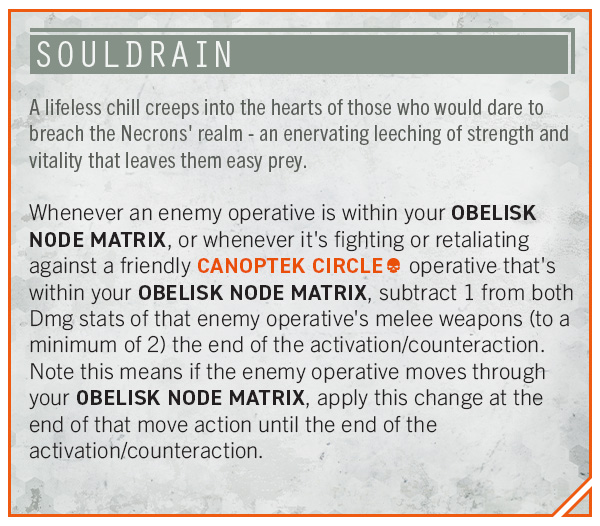
SOULDRAIN
A lifeless chill creeps into the hearts of those who would dare to breach the Necrons' realm - an enervating leeching of strength and vitality that leaves them easy prey.
Whenever an enemy operative is within your OBELISK NODE MATRIX, or whenever it's fighting or retaliating against a friendly CANOPTEK CIRCLE operative that's within your OBELISK NODE MATRIX, subtract 1 from both Dmg stats of that enemy operative's melee weapons (to a minimum of 2) the end of the activation/counteraction. Note this means if the enemy operative moves through your OBELISK NODE MATRIX, apply this change at the end of that move action until the end of the activation/counteraction.
The Geomancer will strike fear into the hearts of every Imperial guardsman – his tremorglaive has Blast 2”, Seek Light, and Stun. The shellshocked survivors won't be safe, either, as he can finish them off with Geomantic Disturbance behind even Heavy terrain.
Of course, the mighty minds of the Necrons aren’t content to simply attack. They need to control, and that’s where even more Obelisk Node synergy and positioning enhances the Geomancer – she can perform mission actions as if she’s standing anywhere along your Obelisk Node Matrix because she extends herself into the matrix!
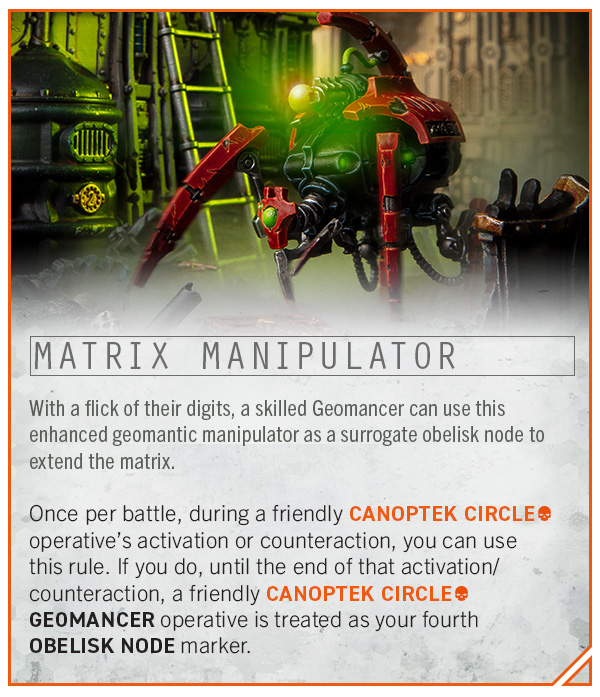
MATRIX MANIPULATOR
With a flick of their digits, a skilled Geomancer can use this enhanced geomantic manipulator as a surrogate obelisk node to extend the matrix.
Once per battle, during a friendly CANOPTEK CIRCLE operative’s activation or counteraction, you can use this rule. If you do, until the end of that activation/counteraction, a friendly CANOPTEK CIRCLE GEOMANCER operative is treated as your fourth OBELISK NODE marker.
The other option is to forget about control and just shoot the enemy into submission with the most advanced technology in the galaxy, and that’s exactly what the Canoptek Tomb Crawlers bring to the table. These steadfast sentinels carry a gun that literally sends your enemy into another dimension, while they pack in 21 wounds and a base so big you can zone the enemy out wherever you like.
The Macrocyte Accelerator and Reanimator have had a massive glow up (must be all the tesseract energy!) from the Hierotek versions, but the Macrocyte Warrior is the utility this team needs to score points. Although their weapons are nothing to shout about, they respawn infinitely, blow up when they are incapacitated, and don’t count towards the enemy’s kill op or any tac ops. What better way to get close enough to score Recon’s new Scout Enemy Movement than with one of the expendables?
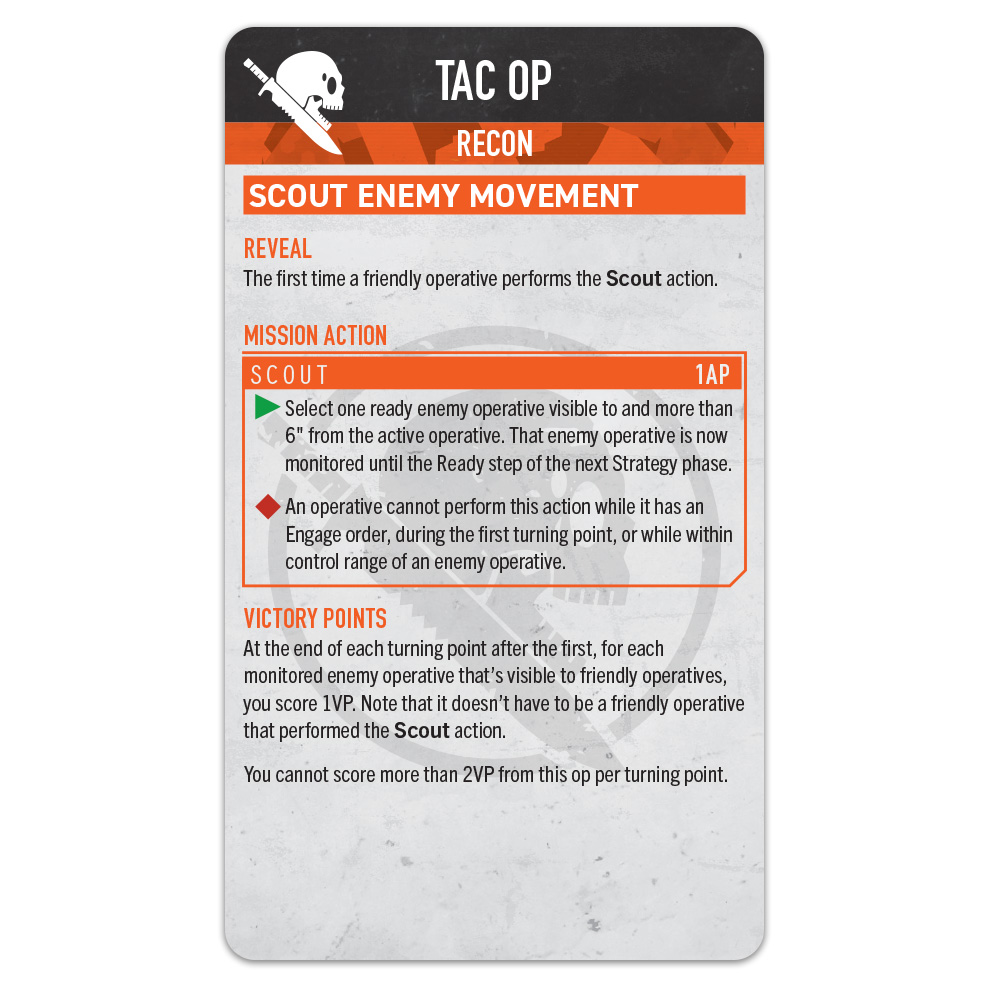
TAC OP – RECON
SCOUT ENEMY MOVEMENT
REVEAL
The first time a friendly operative performs the Scout action.
MISSION ACTION
SCOUT – 1AP
Select one ready enemy operative visible to and more than 6" from the active operative. That enemy operative is now monitored until the Ready step of the next Strategy phase.
An operative cannot perform this action while it has an Engage order, during the first turning point, or while within control range of an enemy operative.
VICTORY POINTS
At the end of each turning point after the first, for each monitored enemy operative that’s visible to friendly operatives, you score 1VP. Note that it doesn’t have to be a friendly operative that performed the Scout action.
You cannot score more than 2VP from this op per turning point.
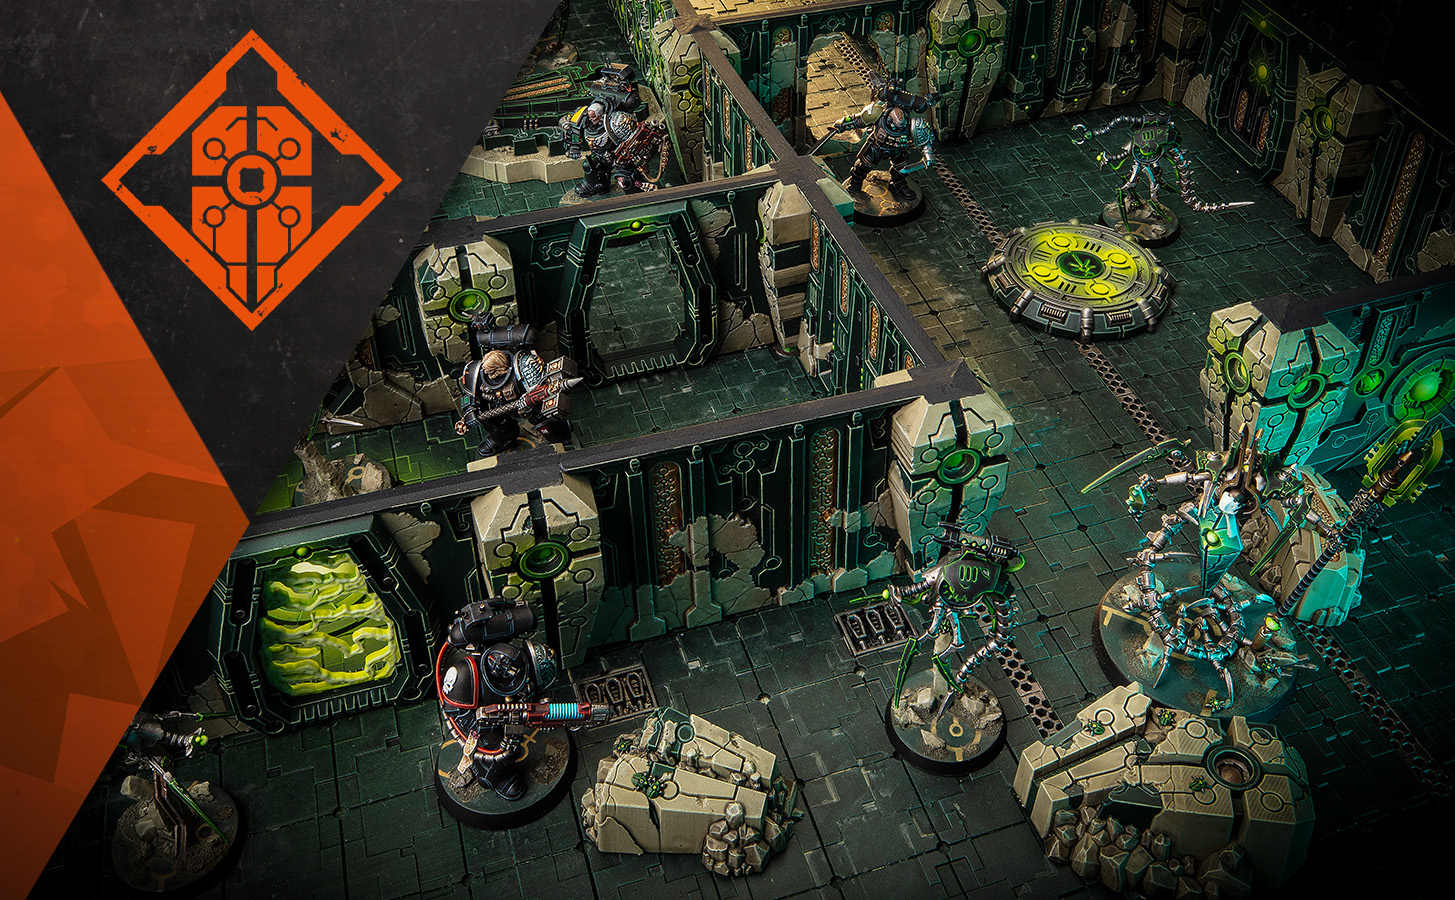
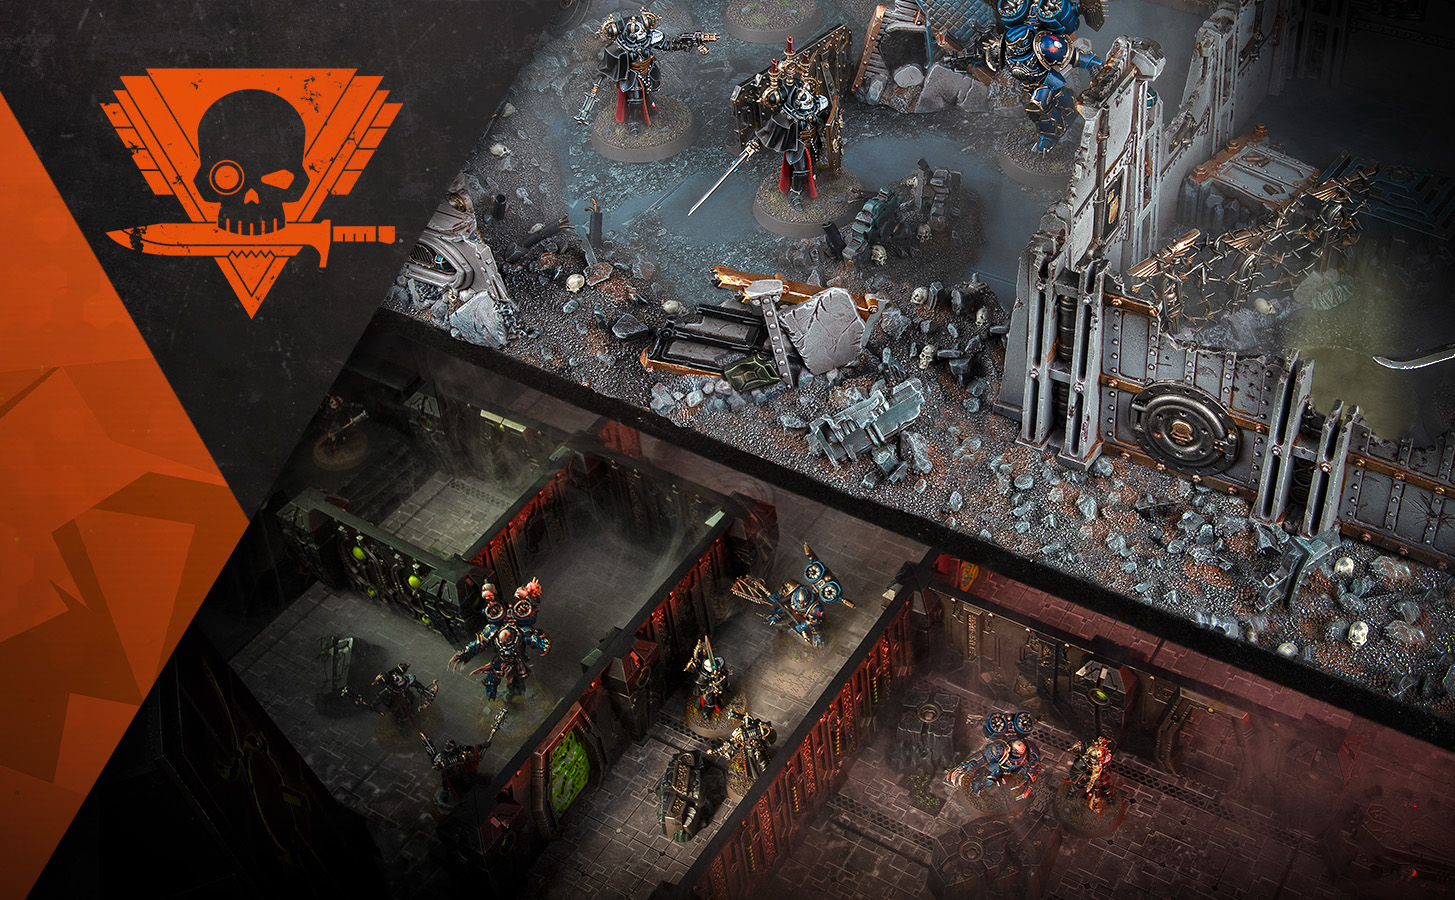
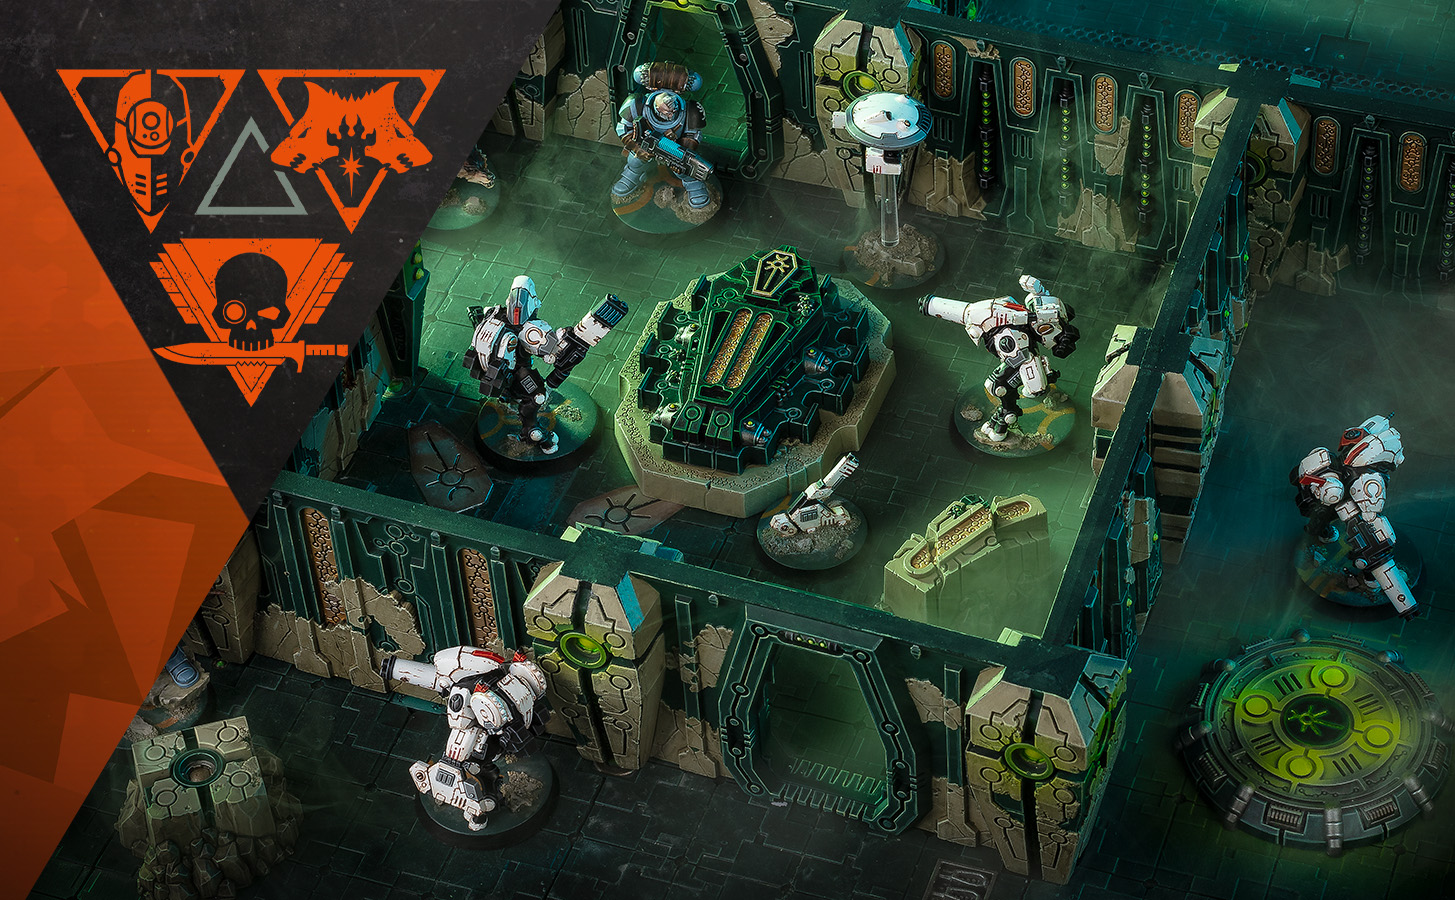
As the Deathwatch are very rudely invading an innocent Tomb World, they will have plenty of new threats to be confused by (as foolish mortals usually are). Oh sure, they can still use a door, guard, and Hatchway Fight, but unlike the wide open spaces of the Gallowdark, the Tomb World is cluttered with breachable walls, plenty of light debris, and now even teleport pads that will all show up in your games of Approved Ops.
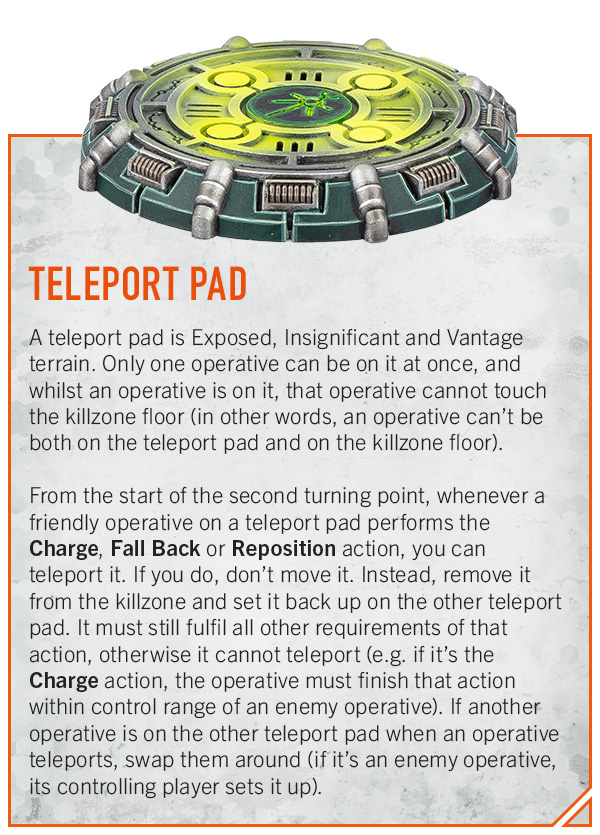
TELEPORT PAD
A teleport pad is Exposed, Insignificant and Vantage terrain. Only one operative can be on it at once, and whilst an operative is on it, that operative cannot touch the killzone floor (in other words, an operative can’t be both on the teleport pad and on the killzone floor).
From the start of the second turning point, whenever a friendly operative on a teleport pad performs the Charge, Fall Back or Reposition action, you can teleport it. If you do, don’t move it. Instead, remove it from the killzone and set it back up on the other teleport pad. It must still fulfil all other requirements of that action, otherwise it cannot teleport (e.g. if it’s the Charge action, the operative must finish that action within control range of an enemy operative). If another operative is on the other teleport pad when an operative teleports, swap them around (if it’s an enemy operative, its controlling player sets it up).
This will be an amazing box for players of all experience levels, with both teams offering an easy way to play and a harder way, and an entire new killzone that is one of the most narratively provocative boards the Warhammer universe has yet seen.
Thanks, guys! Kill Team: Tomb World is available to pre-order on Saturday. You can catch more Kill Team coverage over at the Glass Half Dead YouTube channel.


