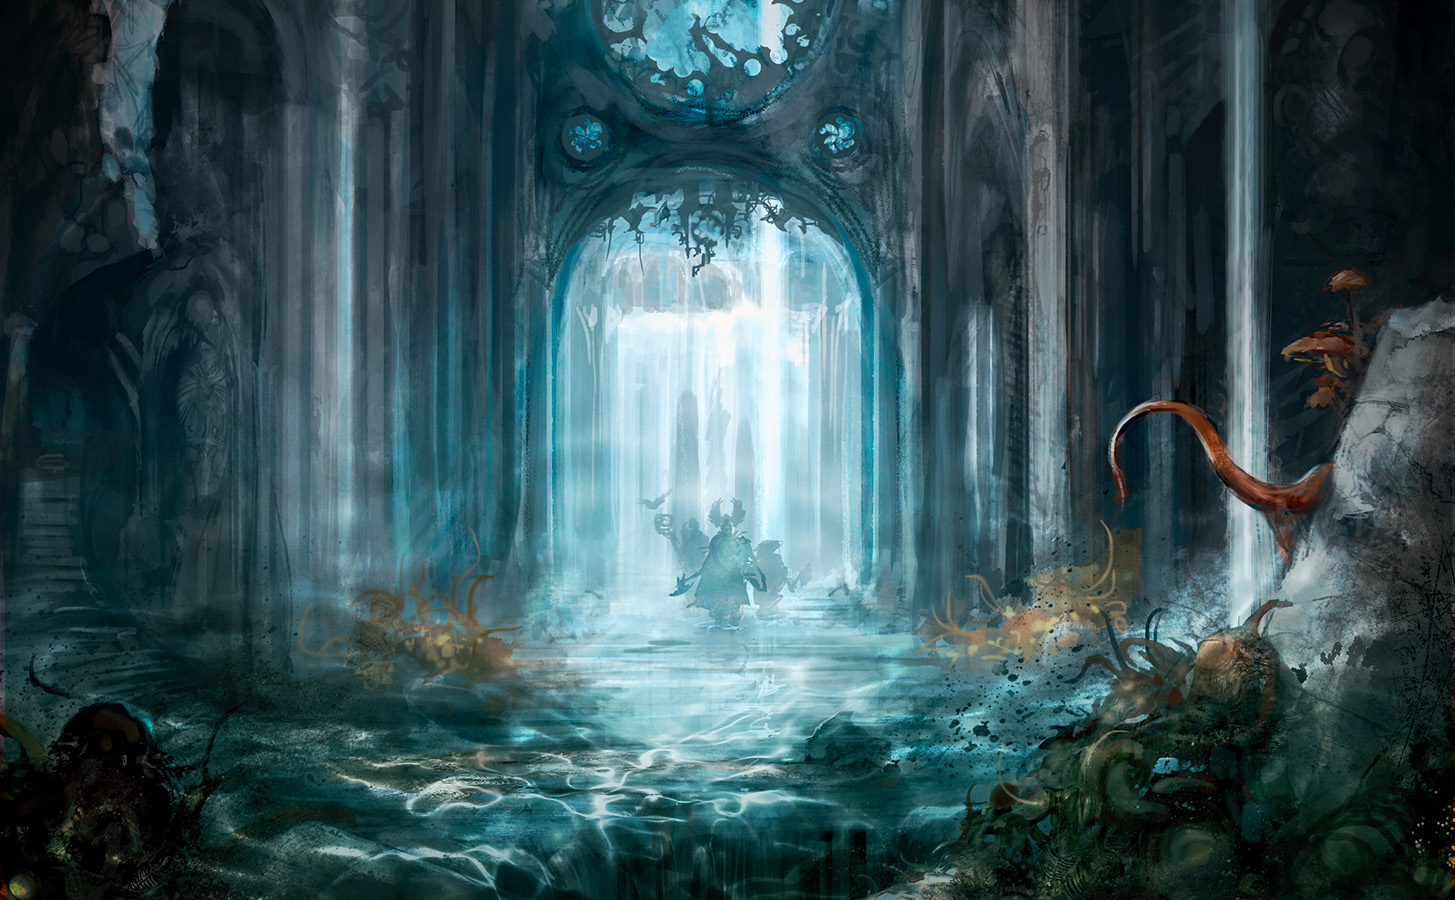

Our adventurer’s guide has so far introduced us to the setting of Warhammer Quest: Darkwater, given us a look at the playstyle of each hero, and provided an overview on how the mechanics of the game work. Now it’s time to cover the actual quest itself – how encounters, skirmishes, and campaigns work.
Kicking off a game of Darkwater is simple. The core campaign takes place across three increasingly difficult acts, and is designed to be extremely replayable. You can also just jump straight in for a skirmish if you want to play a quick encounter, or show the game off to friends and family… which could lead to you all playing a campaign together!
If you’re playing a full campaign – something that will take roughly 10 to 14 hours from start to finish – you’ll start by picking your characters and their equipment, then making two decks – one containing the cards for that act, which include encounters, shorter events, and the three unique boss encounters which go at the end of the deck, and one comprised of reward cards.
To test your skills in a one-off skirmish, you just grab an encounter card and set it up – with some rewards to power you up if you choose an encounter card from later acts. There is a scoring method for skirmishes, so you can replay them to try and beat your best attempts.
Encounters are the core gameplay to Warhammer Quest: Darkwater, and each is generated by a card, which tells you the map you’re playing on, the victory conditions, set up, and any special rules. To start your campaign, you’ll draw two cards from your shuffled deck of encounters and events, and pick one to play. Luck of the draw means we’re starting with…
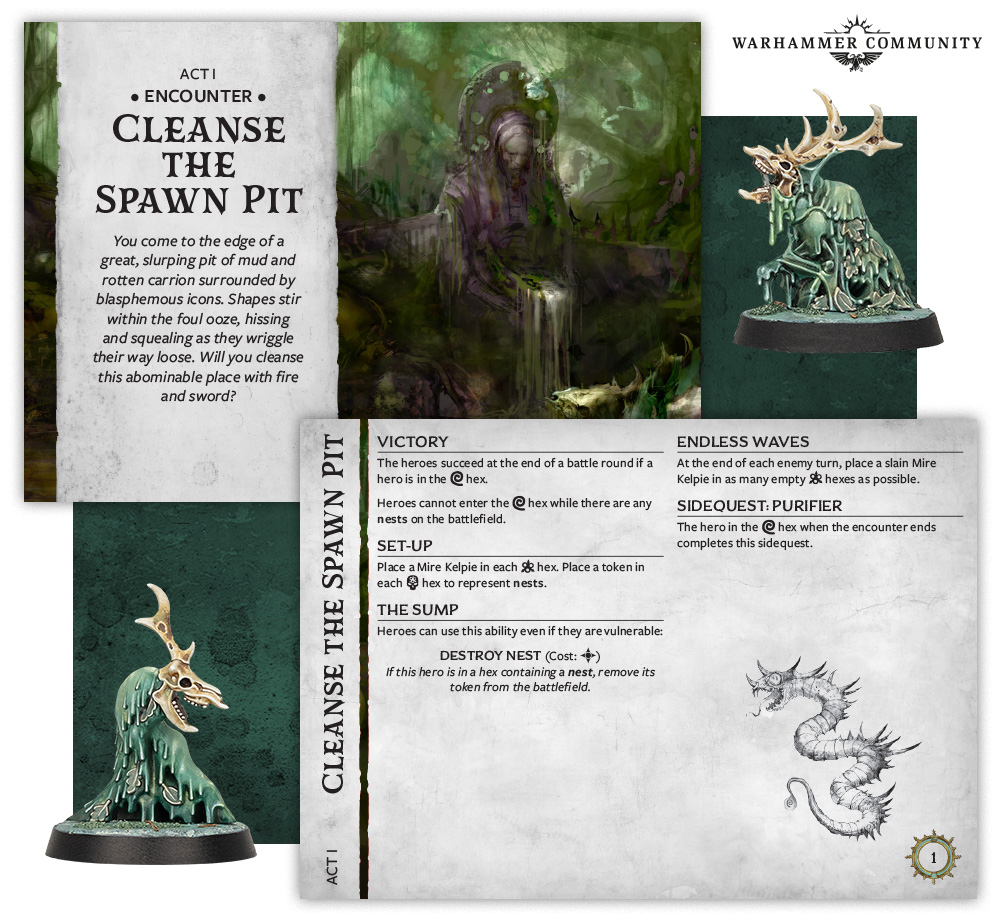
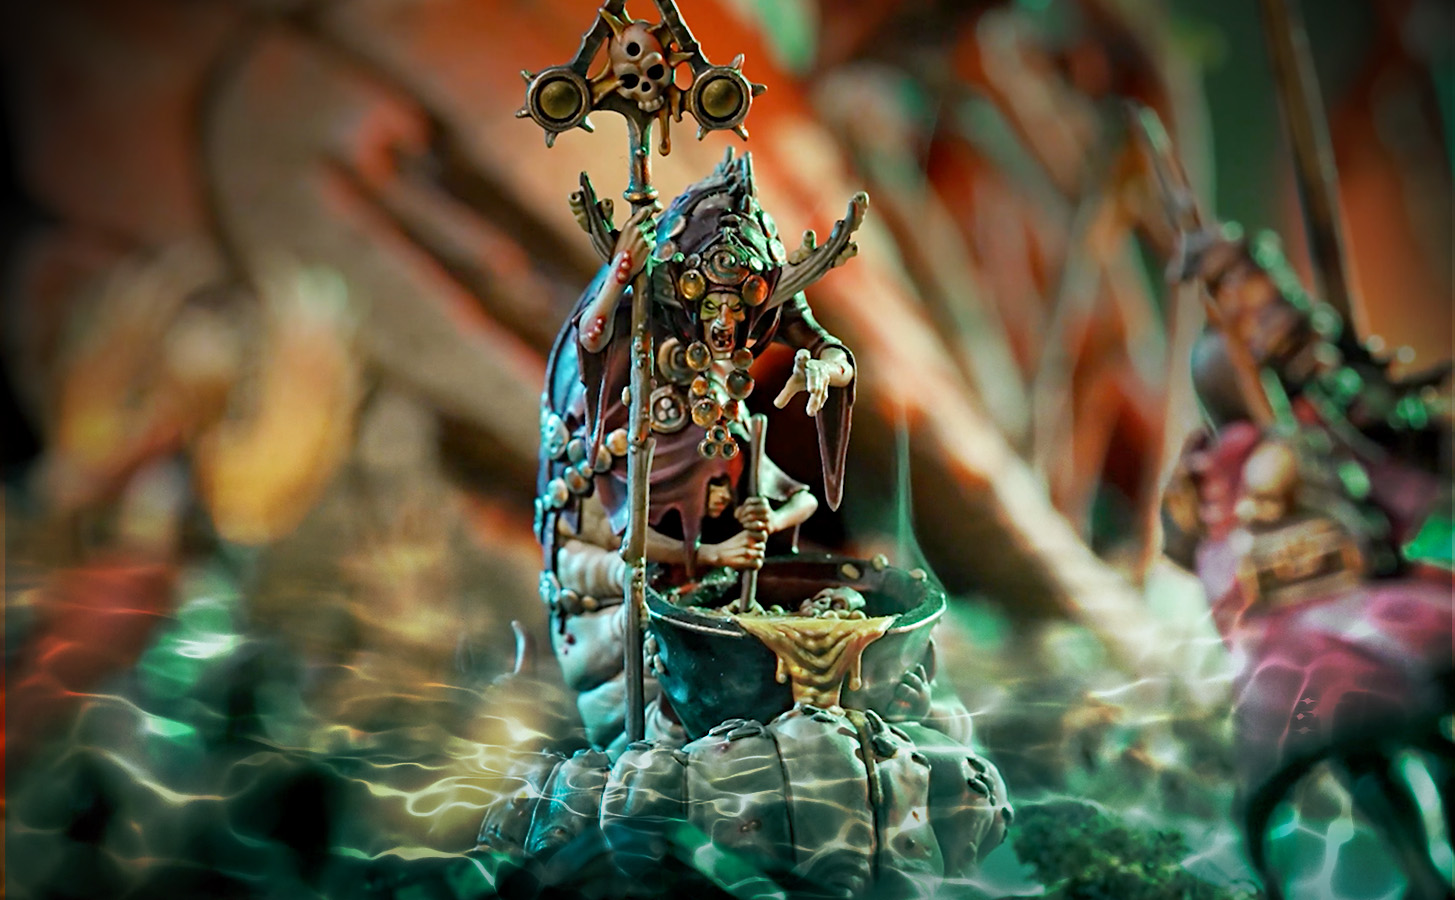
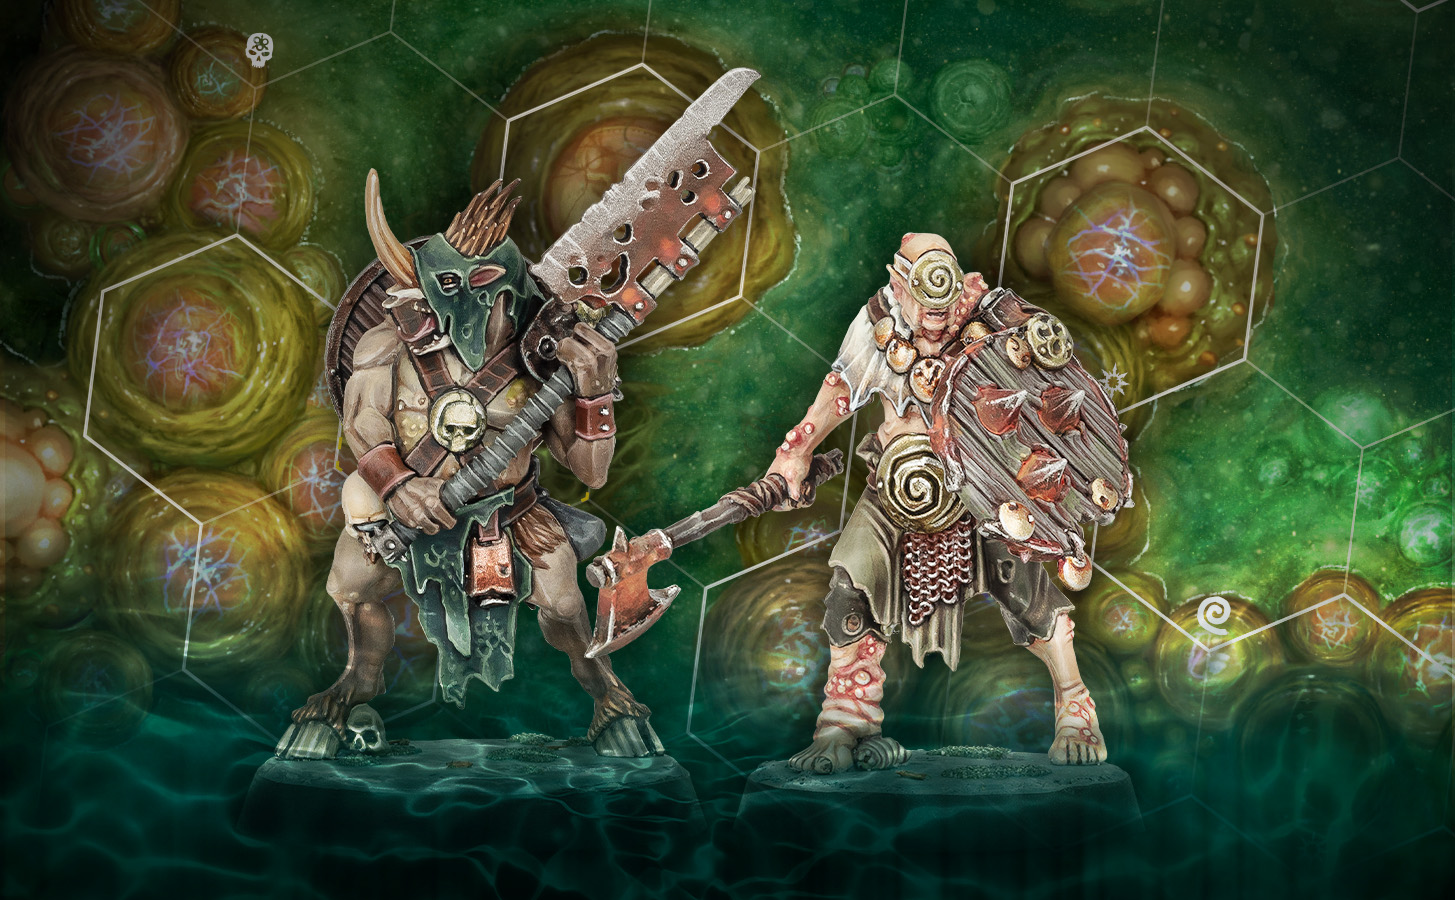
Cleanse the Spawn Pit takes place on map 1 in the lay-flat map book, as your heroes come to the edge of a vile pit of mud and rotten carrion that is writhing with Mire Kelpies. The only way is through, so you better have a decent peg ready for your nose and some rubber gloves on hand for clean-up.
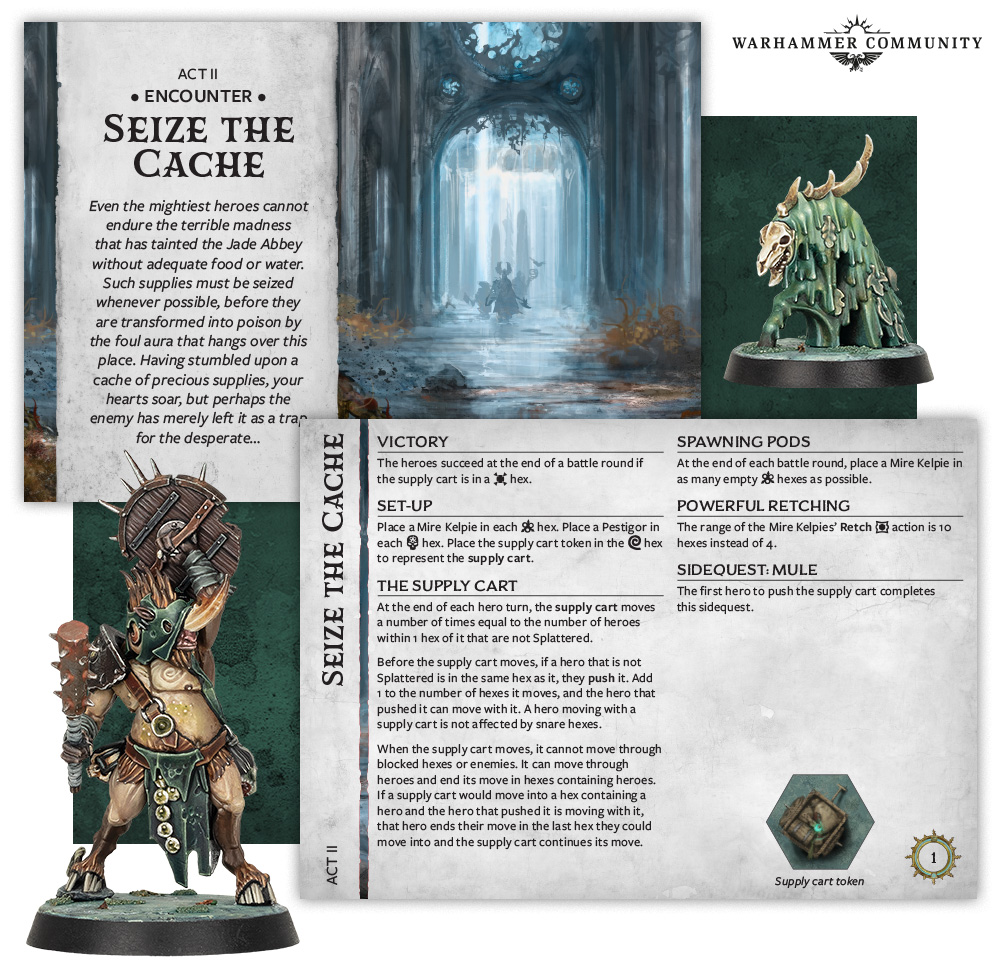
Each map in the book supports multiple encounter cards, which change up the action. The Act II mission Seize the Cache takes place on the same map as Cleanse the Spawn Pit, but adds Pestigors into the mix, buffs the Mire Kelpies, and tasks you with pushing a supply cart through the cloying mire. It’ll require totally different tactics to conquer, and you’ll probably have different equipment too.
Back to our Cleanse the Spawn Pit encounter: winning is simple, all you have to do is get a hero into the hex denoted by a spiral glyph, but heroes cannot enter that hex if there are any nests left on the battlefield. You’ll need to wade through the muck and put these nests to the torch while dealing with endless waves of Mire Kelpies – no matter how many you squish, they just keep coming.
The Destroy Nest ability has a cost associated with it too. Given your limited energy per activation, you won’t want to spend too long smelling the roses – they’re all rotten anyway. Once you’ve eradicated the nests, you’ll need to get to the special spiral hex to complete the cleansing.

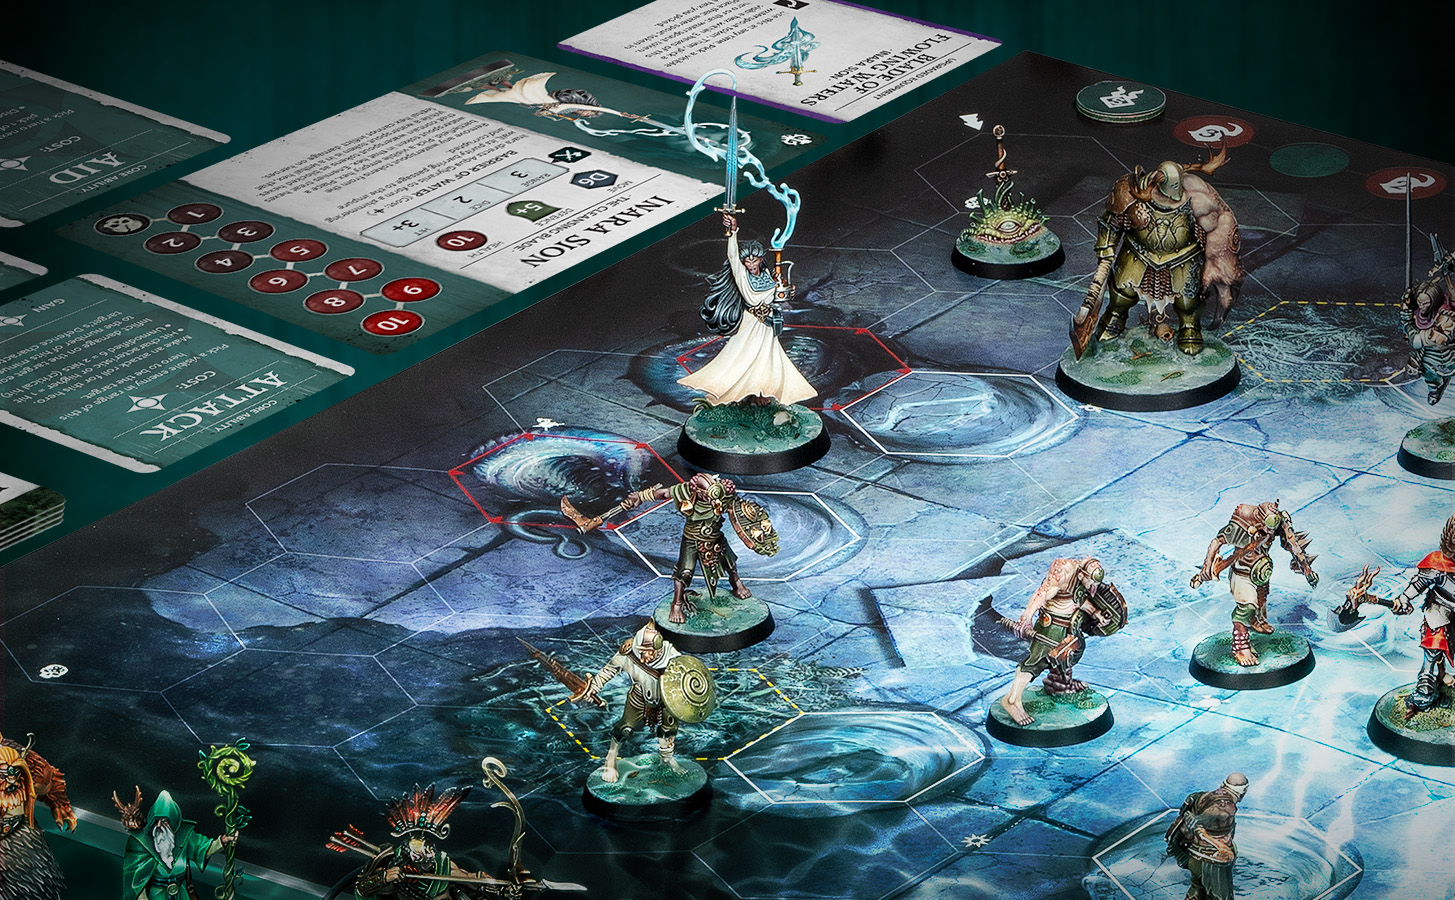
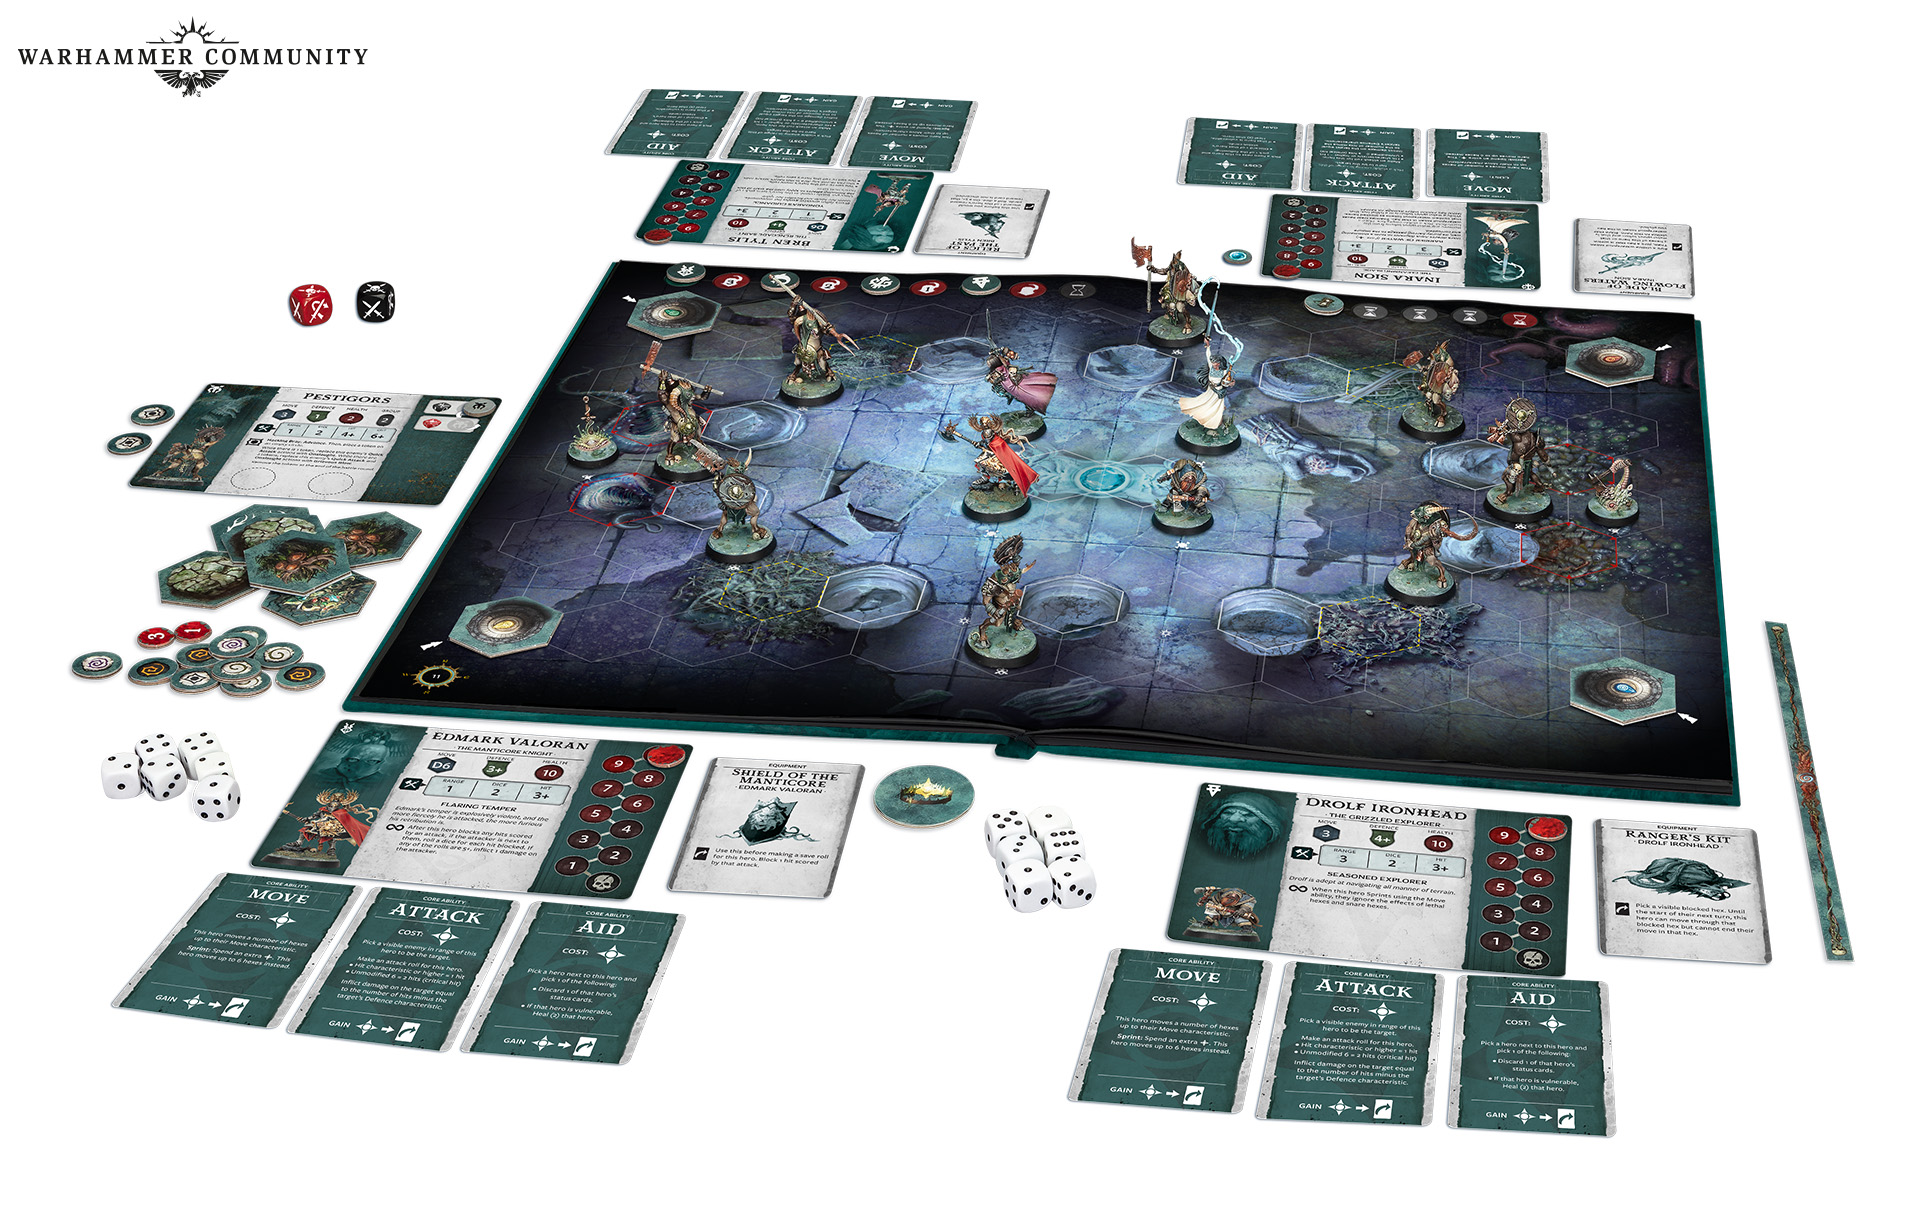
Each map is covered in gorgeous, and sometimes quite grotesque, art, because Nurgle has never been known for beautifying things. The first thing to note is the initiative track on the top right, which has four spaces for the heroes interspersed with enemy spots. The leader always gets to choose where to place themselves on the initiative track first, with other players deciding in clockwise order. At the end of the track is the timer icon, and when you reach that you’ll move the timer on the map down by one. The red spot indicates the final round, and not all maps have the same length of timer.

There are also a variety of hex types on each map. Hexes marked by white outlines are obstacles you can’t normally move through, though some equipment can change this. Hexes with a yellow-dashed outline are snares that reduce a hero’s movement by one, and red-outlined hexes are lethal hexes that hurt you if you move through them or are placed on one.
There are all sorts of little markings on the map that will relate to the setup instructions on an encounter card. Of particular interest to all adventurers is the treasure token hex, where you’ll place treasure tokens that can be looted by avaricious players. It costs an action, which will eat into your ability to complete objectives, but imagine what rare goodies might be hiding in the squelching mire…
If you manage to succeed against the odds and complete your objectives, you’ve won the encounter – congratulations! Your party heals a little, and you draw five reward cards – six if no-one was vulnerable – and each player gets a chance to pick one in turn. If you looted anything, you get to add that card to the pool when it’s your turn to pick a card. Each player only gets one reward, so you’ll need to choose wisely. Their rarity is also marked by colour, handy for those who just want the shiniest stuff.
If you fail because time runs out, or all the heroes become vulnerable, you will have a chance to discard four reward cards your party currently owns in order to heal up a little and try again. If you can’t, you’ll need to retreat and start a fresh campaign.
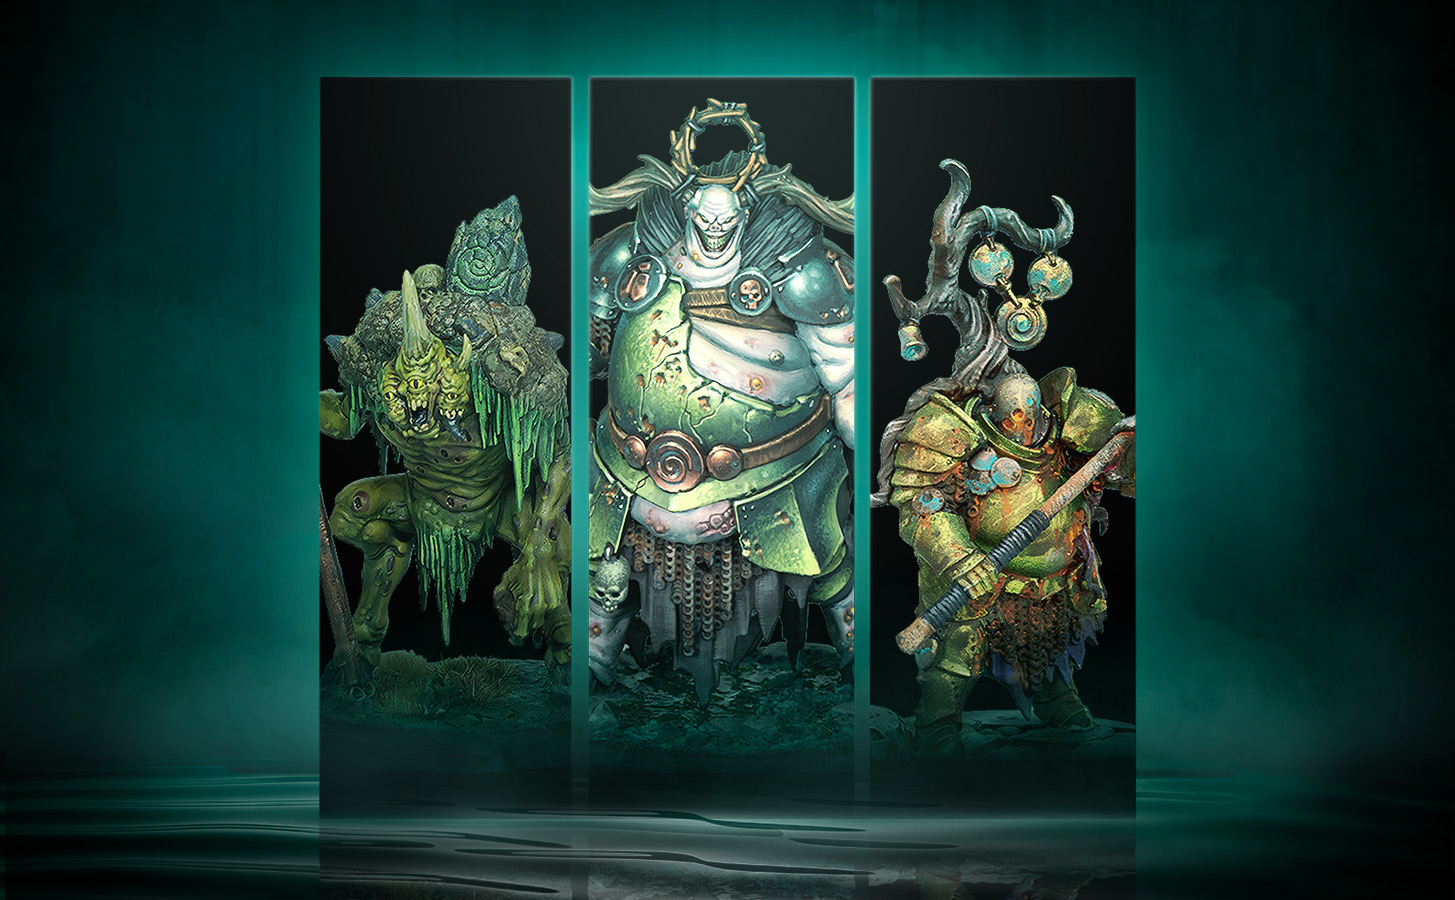
Encounters in Darkwater range from simple puzzles that require cooperation and a cool head while Nurgle worshippers swarm towards you, tough challenges against bloated Blight Templars who can absorb ungodly damage, and terrifying boss encounters that will stretch your skills to their limits – we never said beating Gelgus Pust was going to be easy, but it will be fun.

With each act deck comprising a pool of 16 encounters, plus separate boss encounters, a selection of events and a couple of rest spots, as well as rewards unique to the act, plus the combination of heroes you play, you’ll likely never have two campaigns play out exactly the same way. Your choices outside the encounters will also affect the way things develop just as much as your actions within them. Will you risk an encounter while already wounded, or take a detour to a rest spot or low stakes event – even if you know you won’t succeed without those crucial rewards…? Well, that’s up to you.
If you want to put a campaign on hold after an event or encounter, then never fear: Darkwater comes with a series of boxes for collecting all your cards and tokens. There’s one for each hero, one for the reward deck, and one for the act, which makes pausing and returning at a later date easy. It’s okay, Nurgle can wait. He’s patient like that.
There are lots of intricacies to the rules that we’ve not covered, but we’d be spoiling the fun if we just reprinted the rulebook. The journey will be yours to take soon. Until then, you can sign up to our special newsletter and Forge Your Destiny as you make your first journey through the ruins of Darkwater. It’s a branching adventure just like the game itself, and you’ll get to decide how to proceed in each encounter.
-g7kobk80zo.jpg)