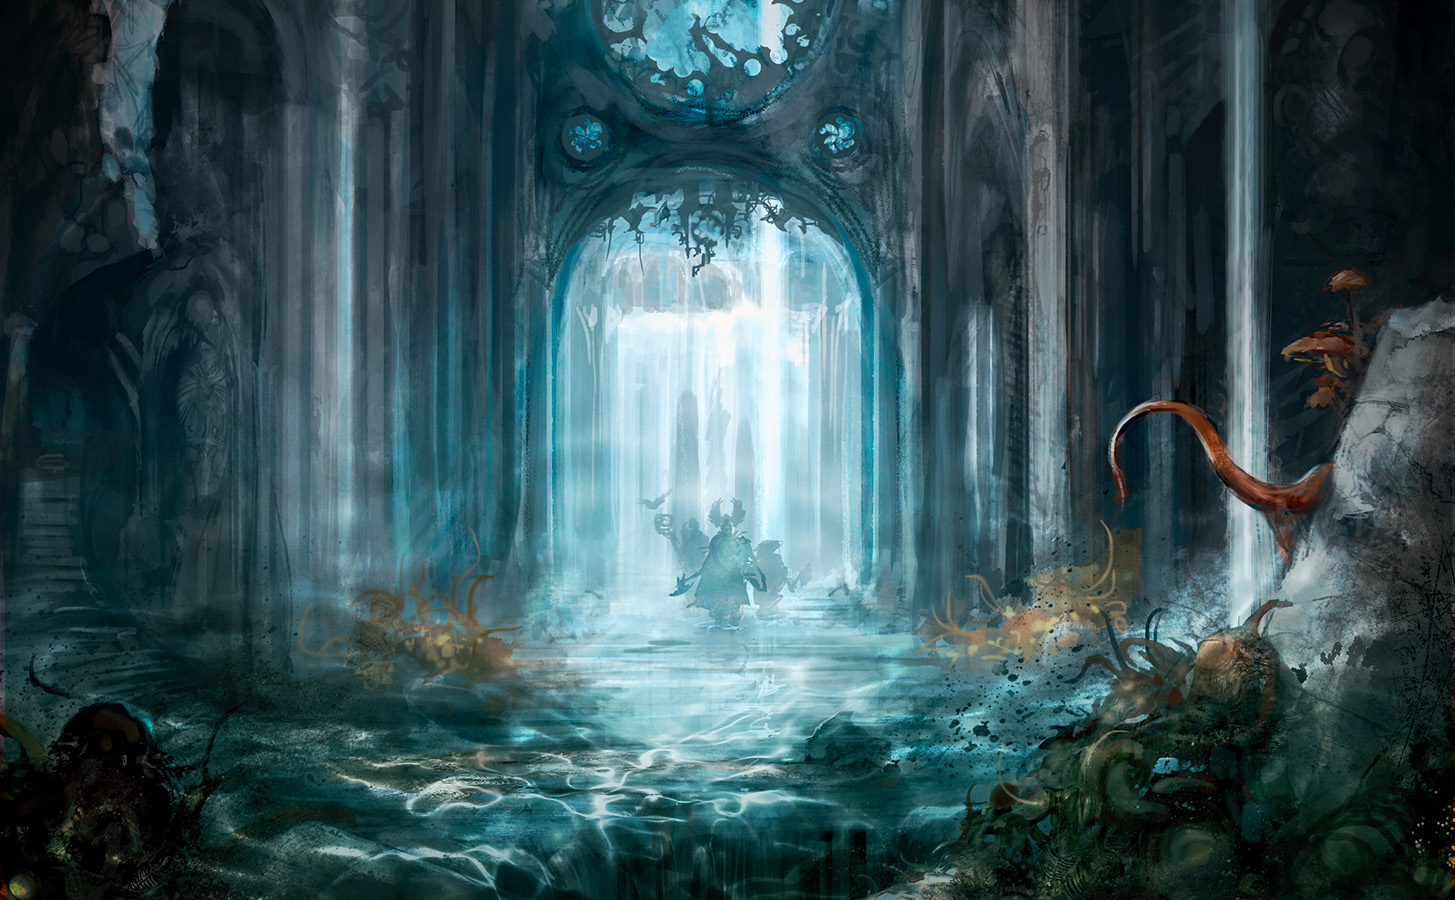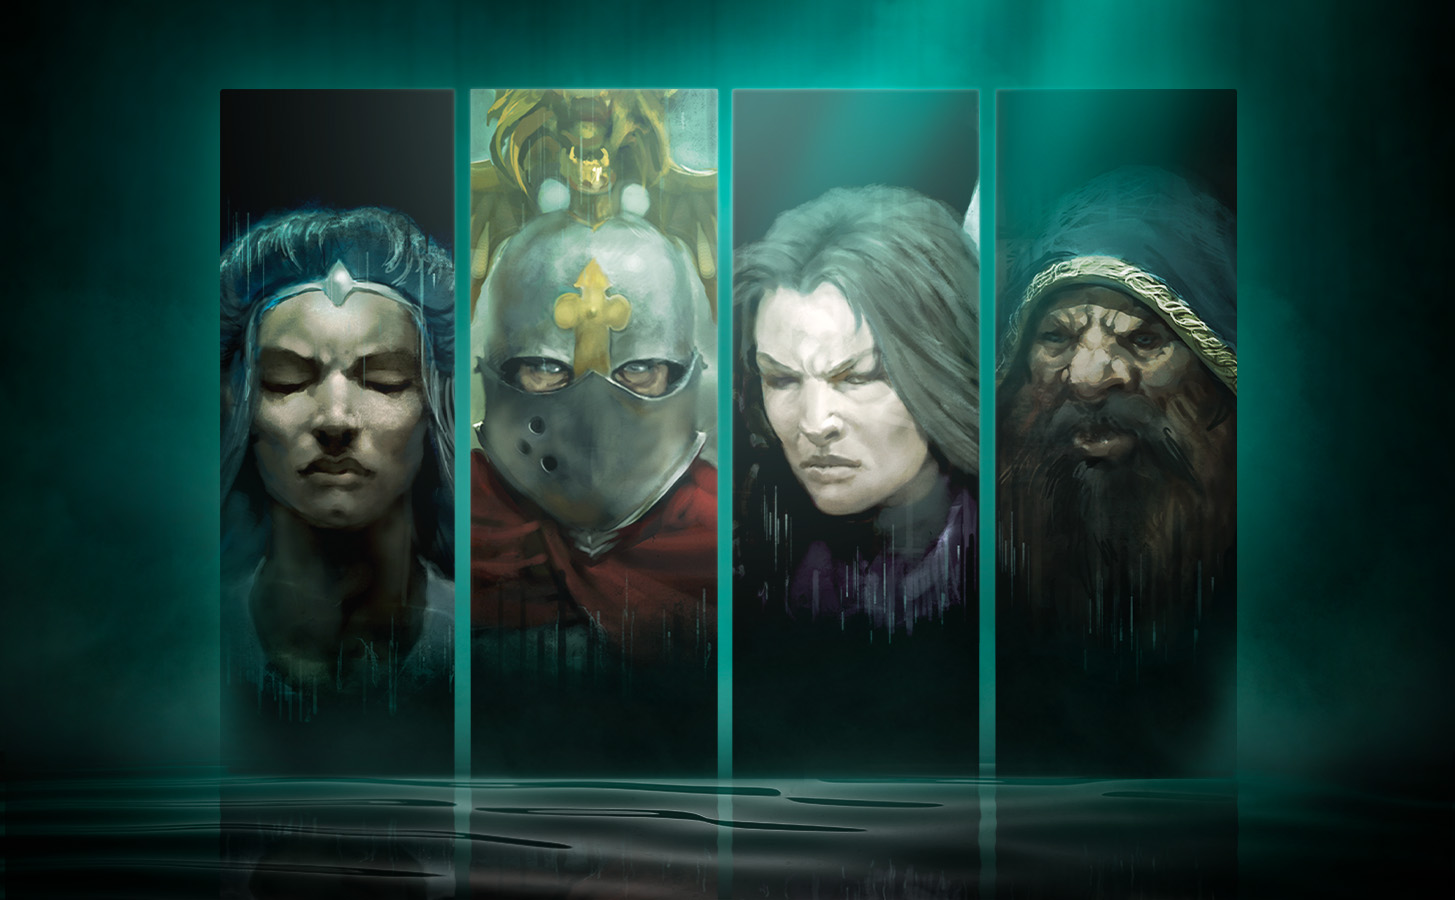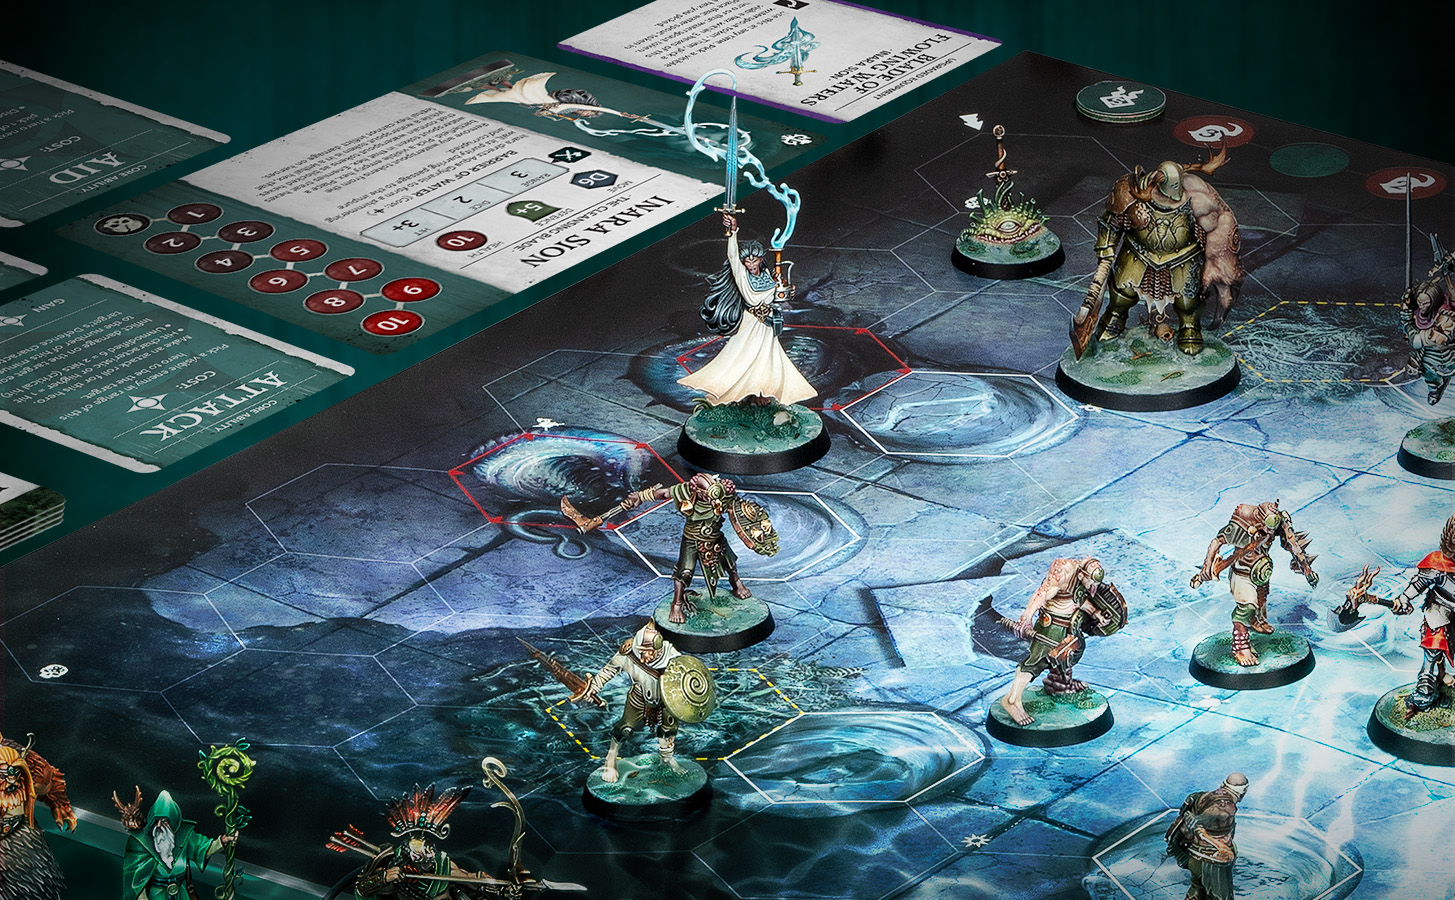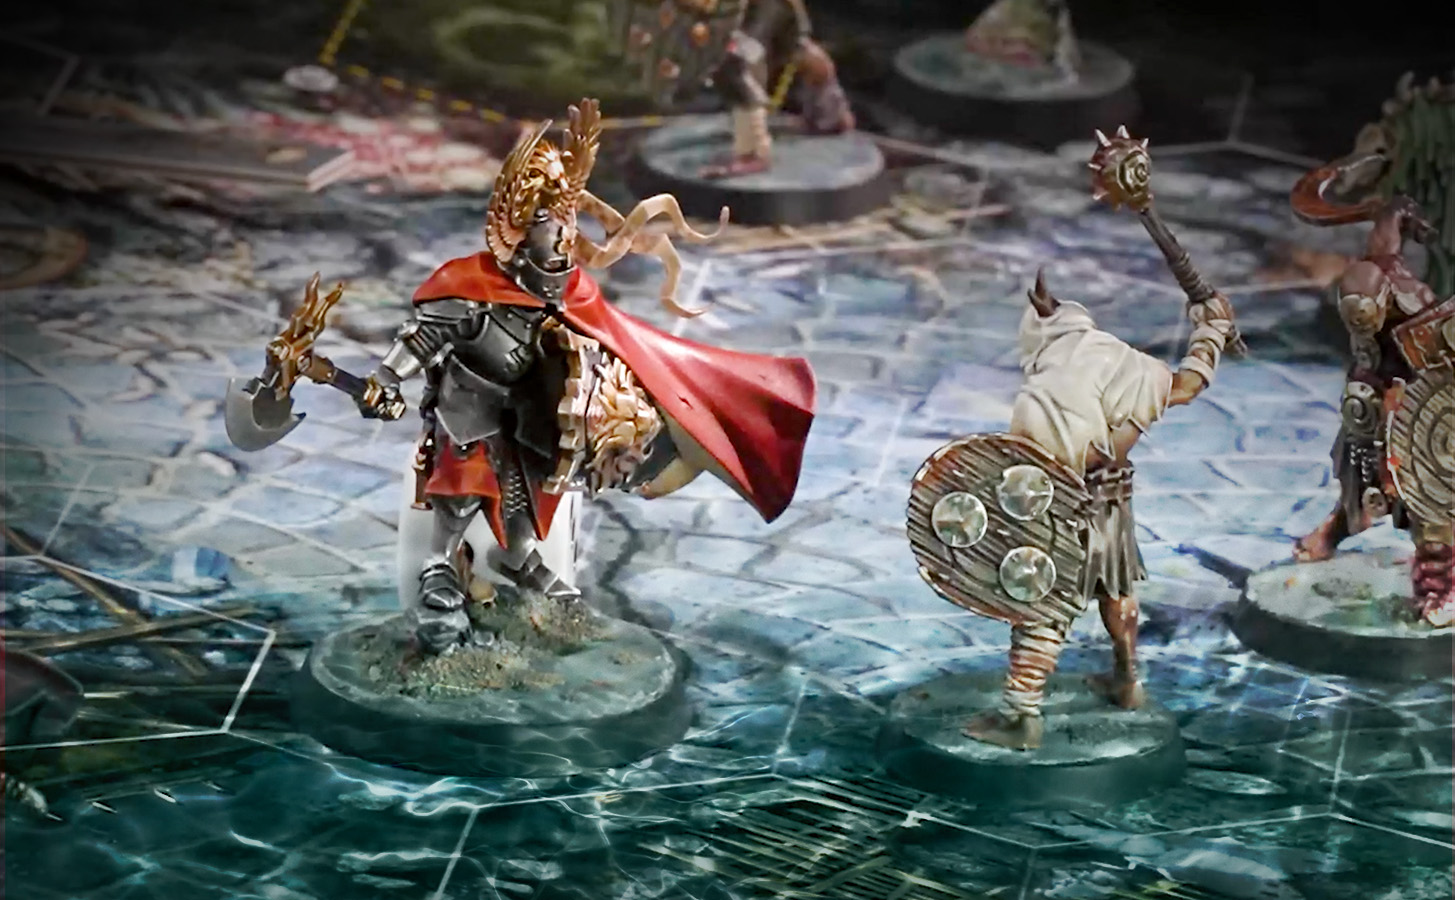

We’ve taken a guided tour of the Jade Abbey and peered a little into its history, been introduced to the heroes and given an inkling of their roles, and now it’s time to dig into the bones and find out how Warhammer Quest: Darkwater actually plays in the moment to moment action of an encounter.
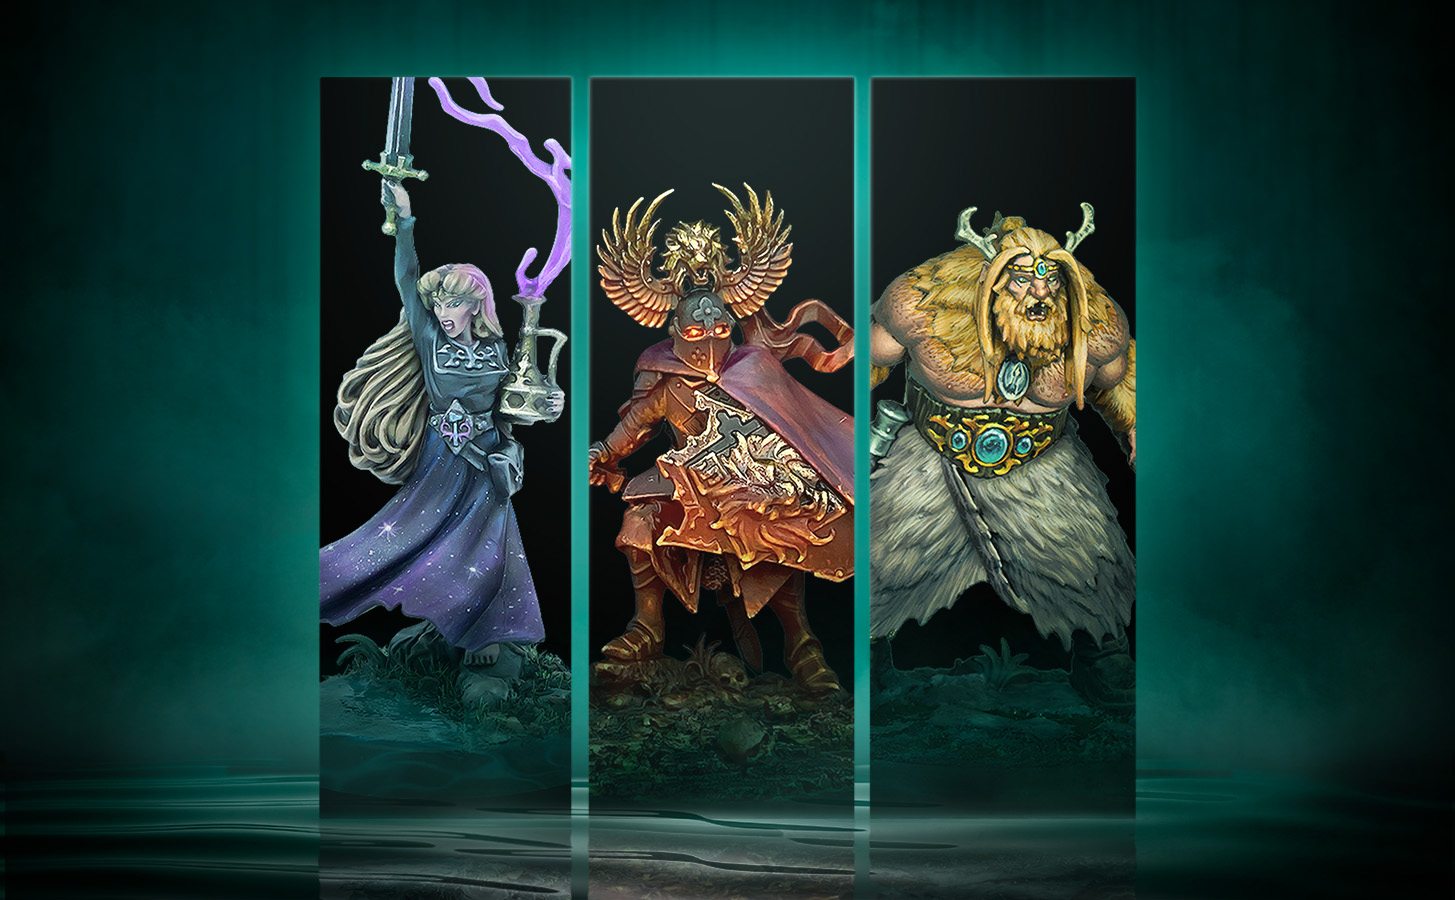
Edmark Valoran, the arrogant and temperamental warrior known as the Manticore Knight is front and centre on the box, and has a massive hat, so it’s only fair he is our example.*
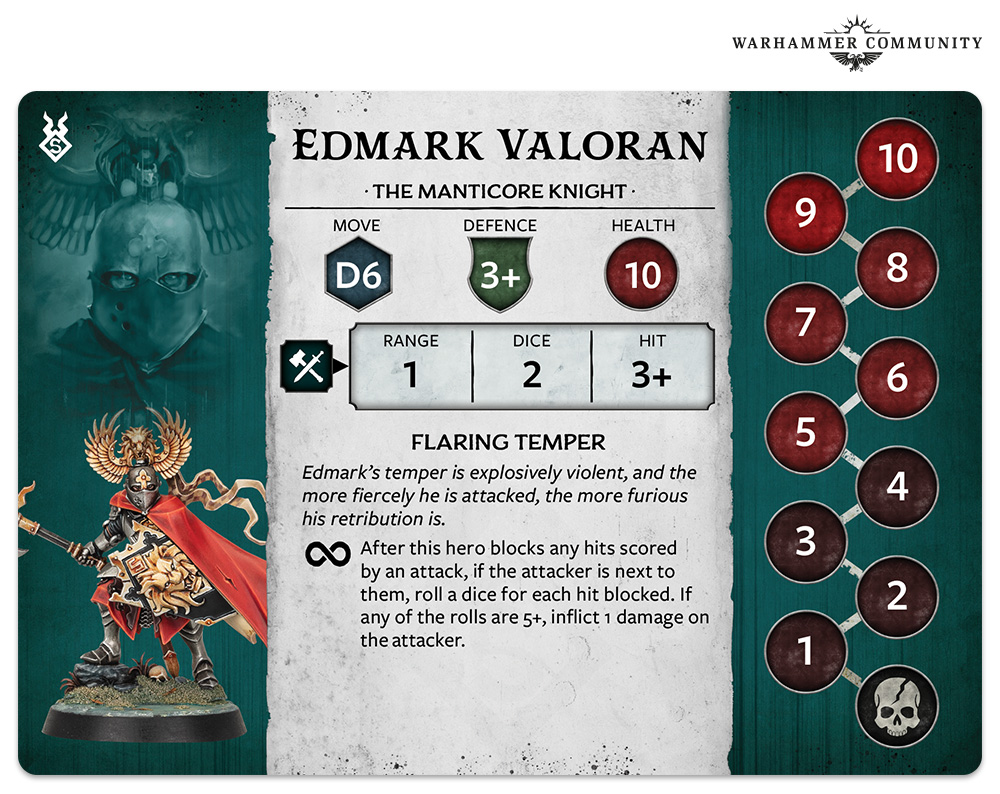
Every hero has a Movement characteristic – in most cases random – a Defence characteristic that is the save roll they need to make in order to block damage, and a Health characteristic. They also have a combat profile: Edmark can swing his axe at enemies in adjacent hexes, rolling two dice and hitting on a 3+.
Each hero also has a unique ability on their card – Edmark’s passive ability Flaring Temper is used any time he blocks a hit, letting him lash out and deal damage in response on roll of 5+ – and a piece of signature equipment. The Manticore Knight fittingly has the Shield of the Manticore, which you expend – that’s the arrow icon – before making a save roll to automatically block one incoming hit. Flaring Temper can even trigger in response to hits blocked by his shield!

Shield of the Manticore
Edmark Valoran
Use this before making a save roll for this hero. Block 1 hit scored by that attack. (Expend)
On top of their unique ability and equipment, every hero has three core ability cards: Move, Attack, and Aid, which each show one or more actions you can take. Energy is everything in Darkwater, and you primarily gain it by expending your core ability cards. Abilities can be used multiple times so long as you have energy to use them. Once a core ability card is expended to create energy, it can’t be expended or used again until refreshed. All expended cards refresh at the start of a hero's turn, including equipment cards that have to be expended to be used, like the Shield of the Manticore.
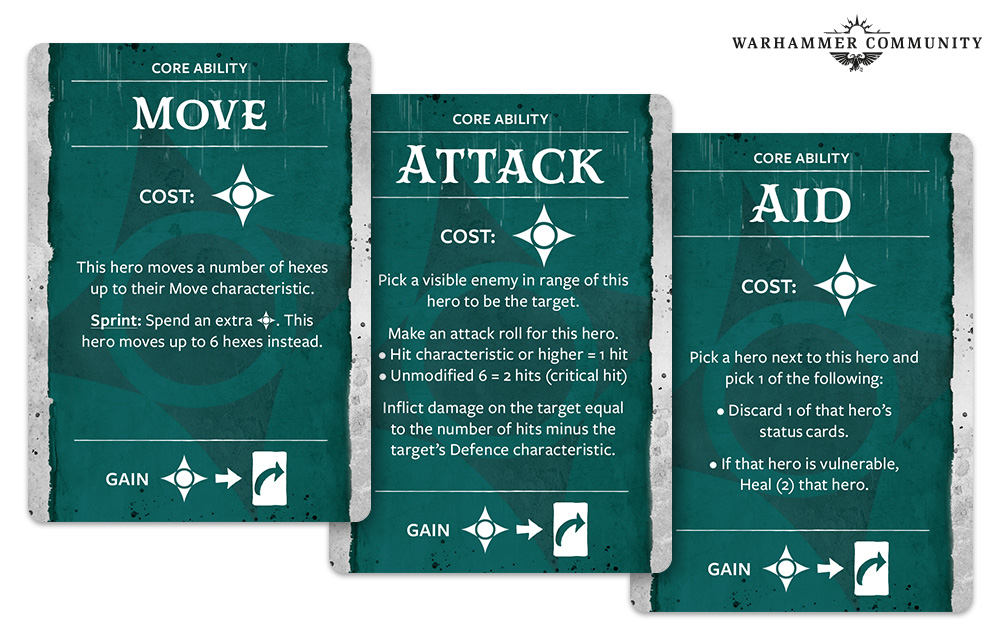
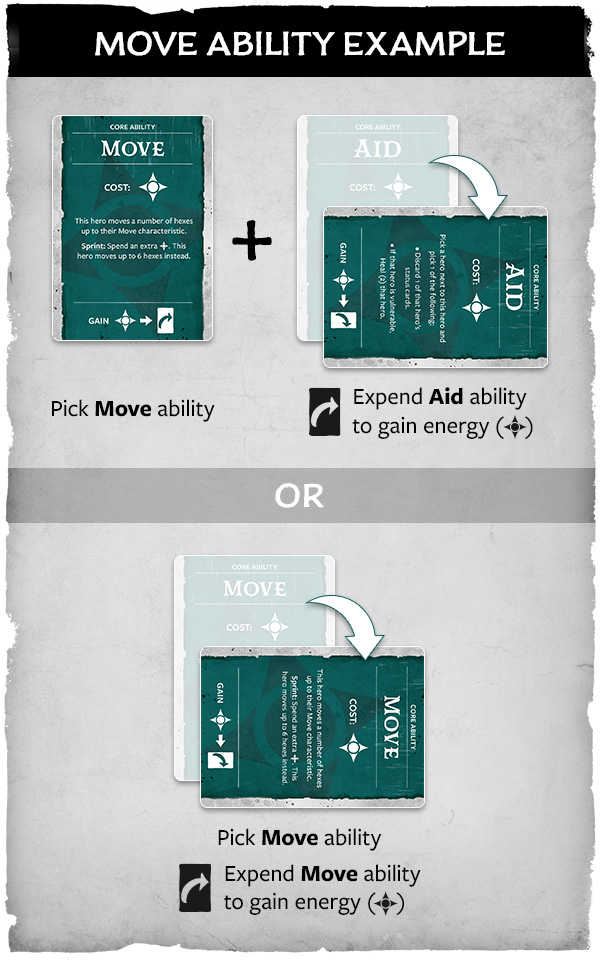
In a turn, it’s likely you’ll want to Move towards an enemy and Attack them (just like in all games of Warhammer really – it’s not Diplomacyhammer after all). To Move, you need to expend energy. Aid is an ideal candidate for this early on, usually a free source of energy unless someone needs urgent medical attention. Let’s say the player controlling Edmark wants to move four hexes to get close to an enemy. They pick Move, expend Aid, and roll the dice. Drat! As with every crucial roll, the dice has landed on a 1 – but they’re not without options.
The player in control can then pick the Move card again, and expend the Move card to generate energy, rolling a 5 this time and choosing to Move 3 hexes to end up next to their target. With Move and Aid expended, but Attack still available, they can expend the Attack card to swing at their foe. If they’d managed to roll high enough on the first move, they’d still have both Move and Attack available to expend so they could attack twice by expending Move first, then Attack.
Move Ability Example
Pick Move ability. Expend Aid ability to gain energy.
Or
Pick Move ability. Expend Move ability to gain energy
The other option for Edmark in this scenario was to Sprint – an action on the Move card – then Attack. Sprint takes two energy, but guarantees a move of 6. You’ll have to weigh up when to gamble on rolling high. Choosing which cards to use, which to expend, and in what order to do everything is crucial to victory, or so we keep telling our team…
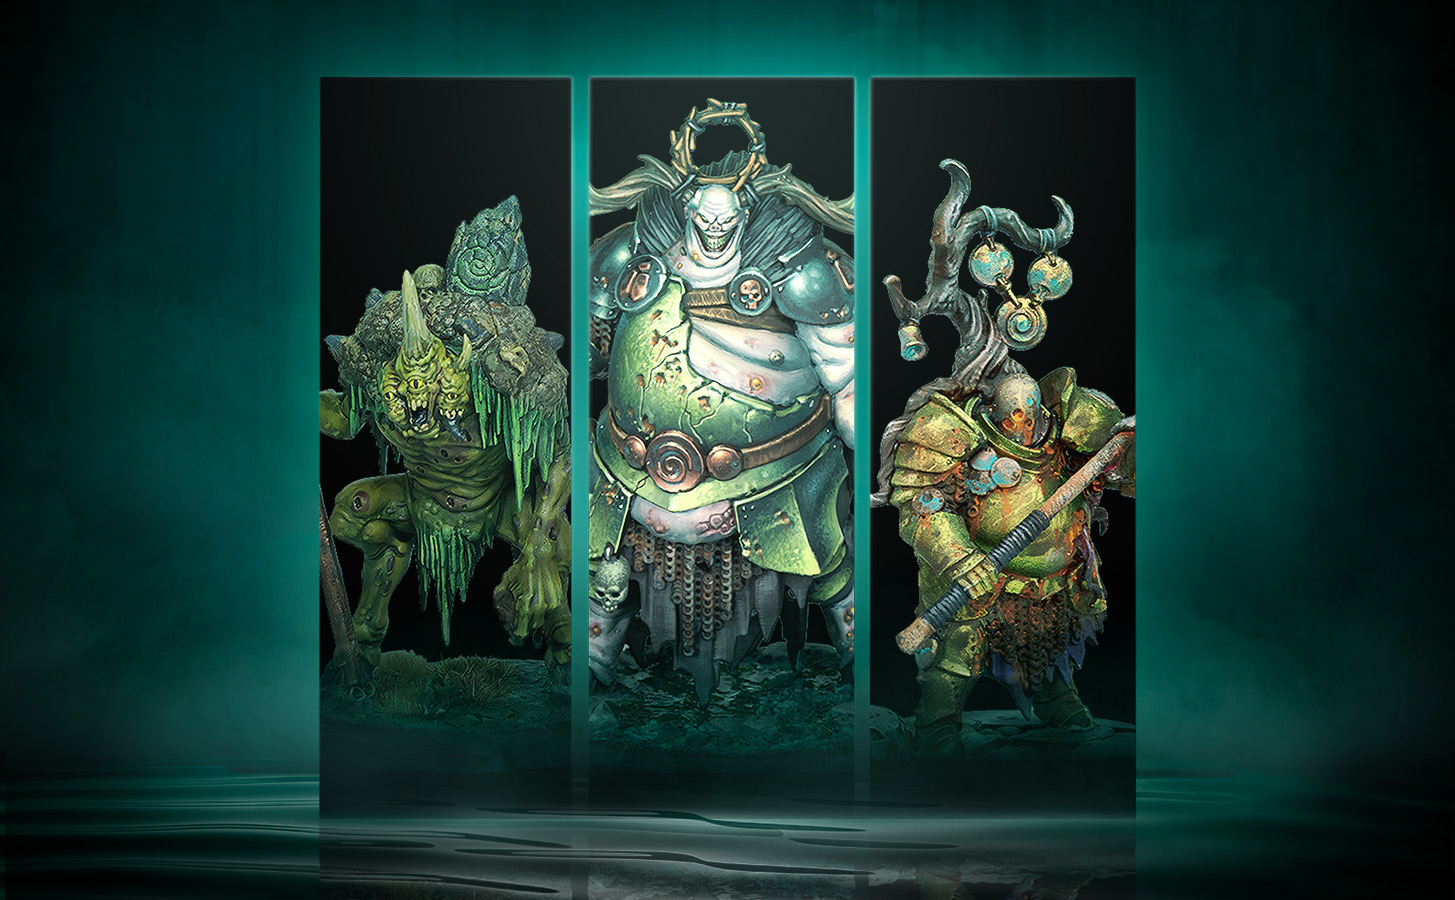
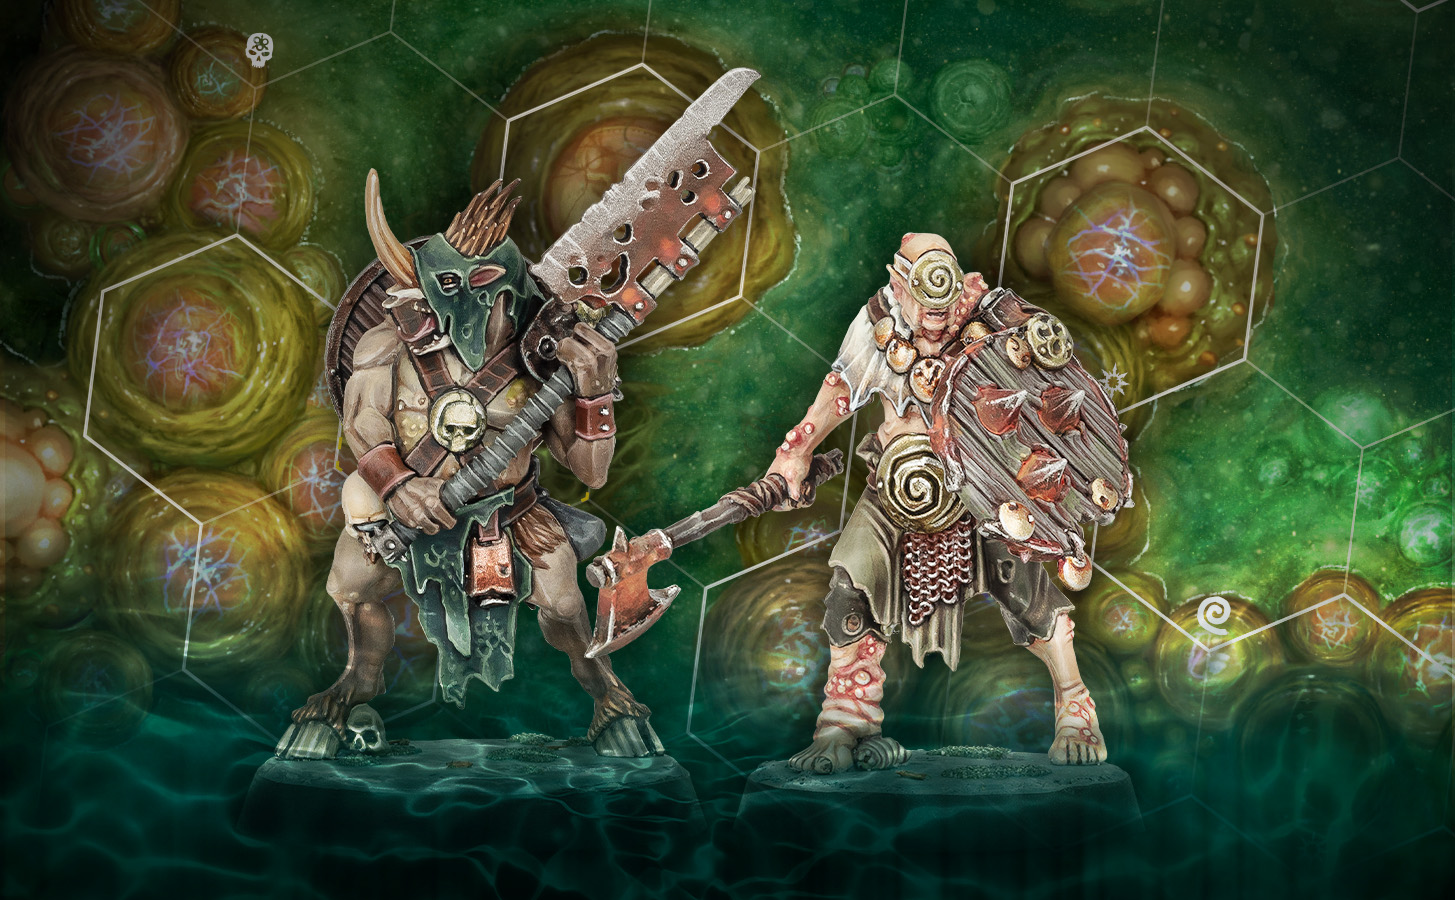
All this talk of attacking and we’ve still not looked at an enemy card. Heroes and enemies make alternate activations in Darkwater, so even small groups can be deadly. Here’s the humble Mire Kelpie as an example.
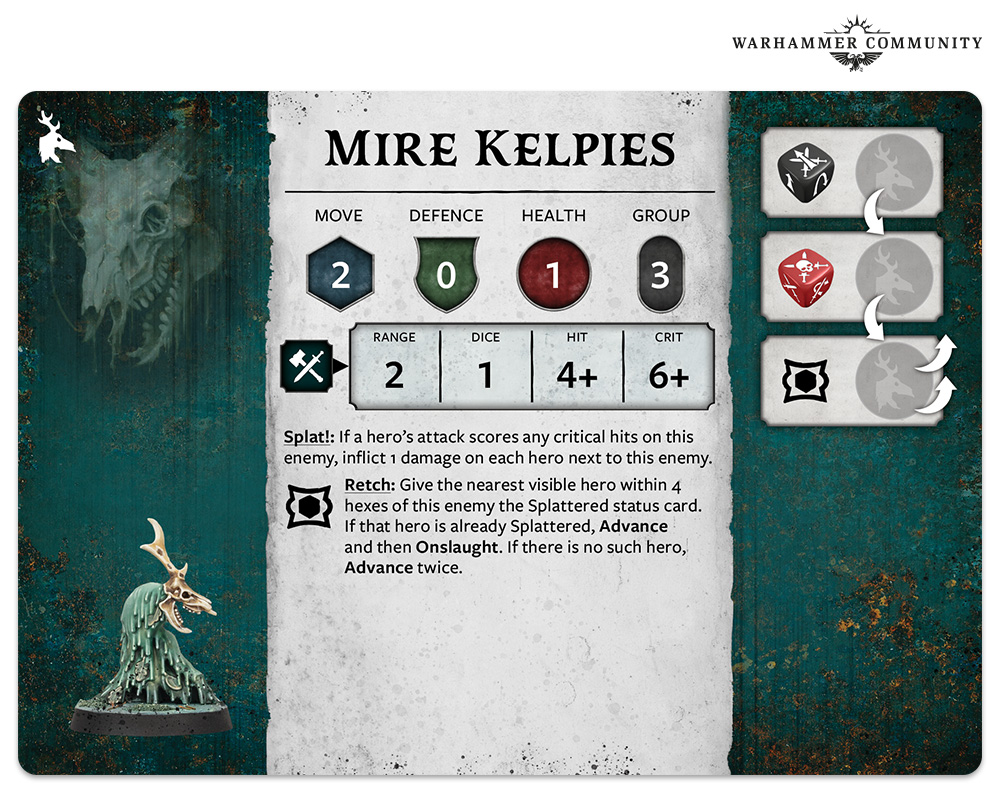
There are a few key differences between hero cards and enemy cards. Enemies tend to have more predictable Movement, and they have a flat Defence characteristic which you can think of as a guaranteed save roll success. Edmark rolls two dice as default when attacking, so if both results are 3+ he would score two hits against a Mire Kelpie, whose defence of 0 doesn’t nullify any of those successes, thus causing two damage. If he was up against a Pestigor with Defence 1, one of those hits would be nullified, so he’d only cause one damage.
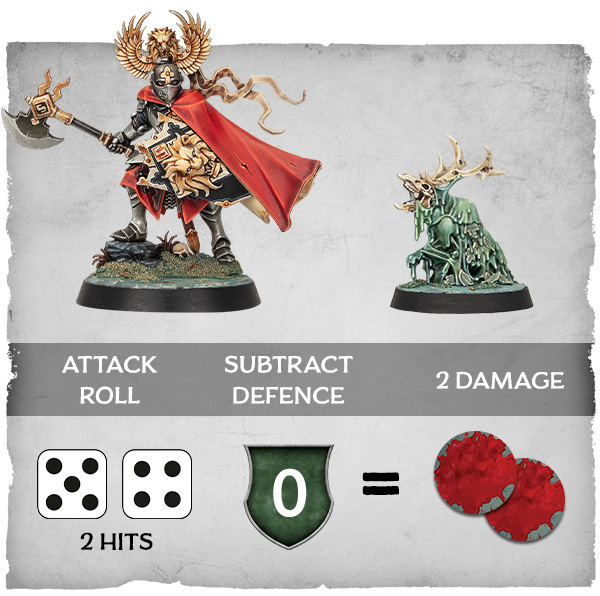
Edmark vs Mire Kelpie
Attack Roll | Subtract Defence | = Damage |
5, 4 = 2 hits | 0 | 2 |
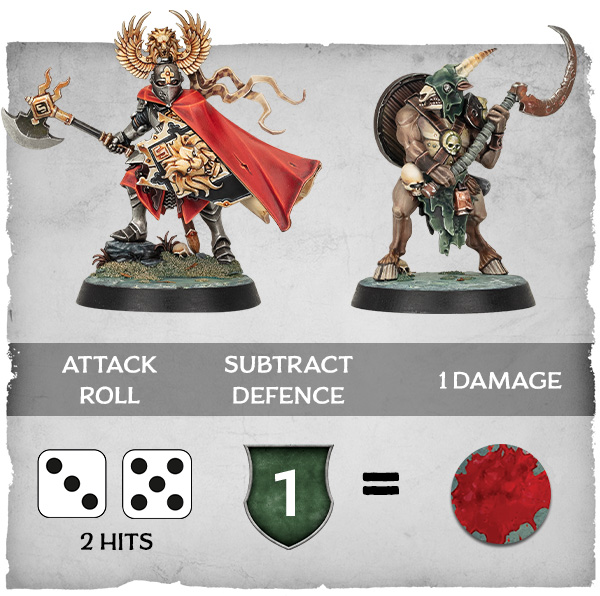
Edmark vs Pestigor
Attack Roll | Subtract Defence | = Damage |
3, 5 = 2 hits | 1 | 1 |
Just like games of Warhammer Age of Sigmar, rolling a 6 as a hero scores a critical hit, which in Darkwater means you score two hits, useful for cleaving through those enemies. Some foes can score critical hits on even lower rolls… nasty stuff.
Enemies don’t just stand around, or move at the whims of the players, they follow a behaviour system – the track on the right of the card – which is governed by a set of two dice, and special abilities on their card. In the first round of an encounter involving Mire Kelpies, three of them will activate in the enemy turn (that’s what the Group characteristic is for) and the lead player will roll a black enemy action dice for each.
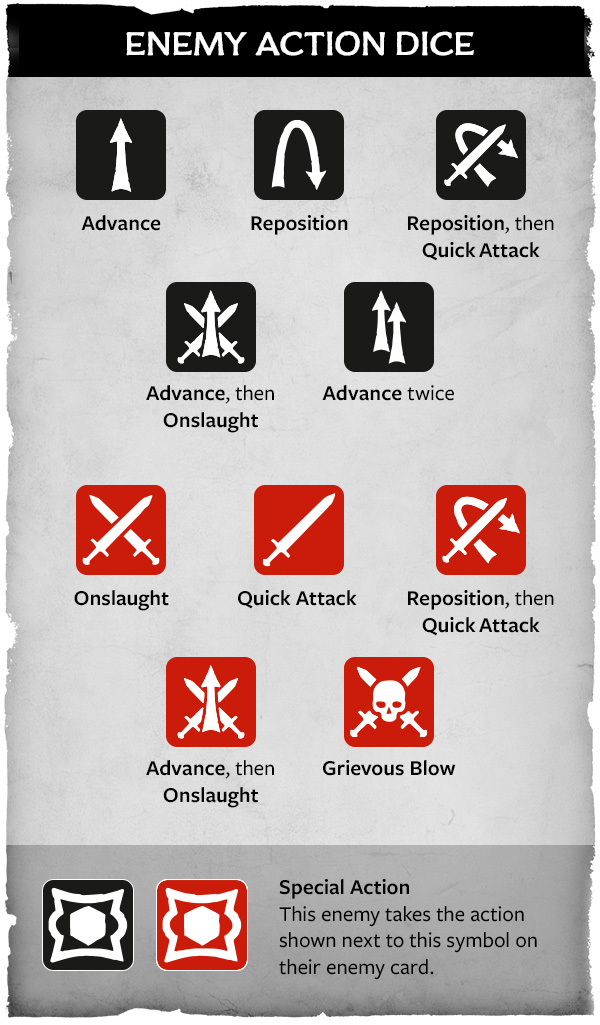
This enemy action dice has a number of instructions on, such as Advance: move to the nearest hero, and Reposition: find the furthest enemy hero they could attack after moving and move towards them. There are also combo abilities like Reposition, then Quick Attack; Advance, then Onslaught; or Advance twice. Quick Attacks are weaker assaults where critical hits are turned into normal hits, while Onslaught is your standard attack action that can score critical hits.
Don’t think rolling Advance or Advance twice will save you if the enemy is already next to you – they will perform Quick Attacks instead of Advances, and there is a detailed chart governing all the possible behaviours in the rules. There’s also a Special Action symbol on the dice, which triggers each enemy’s ability. When the round progresses, the enemy behaviour moves on – to the red enemy action dice in the case of Mire Kelpies, which includes different faces, including Grievous Blow, an attack that turns all successful hits into critical hits.
On the next turn, a group of three Mire Kelpies will all Retch and give an enemy the Splattered status card, which prevents them from acting until they spend an energy to clean themselves off. There are other status cards to watch out for as well, and not all are quite so lenient as Splattered. There are instructions on what to do if your whole party is already covered head to toe in effluence, or if you’re all wisely hiding out of sight. After the third round, the behaviour track resets and you’re back to black enemy action dice.
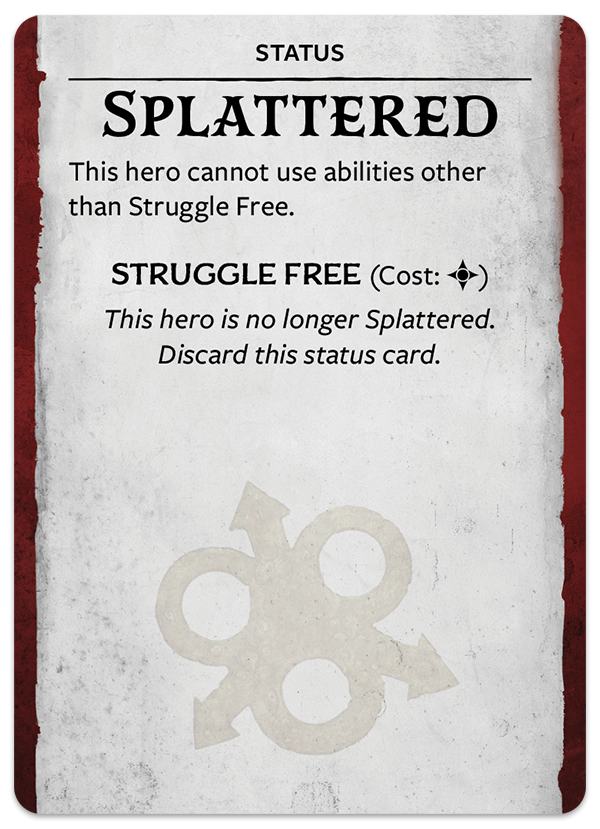
Splattered
This hero cannot use abilities other than Struggle Free.
Struggle Free (Cost: 1 Energy)
This hero is no longer Splattered. Discard this status card.
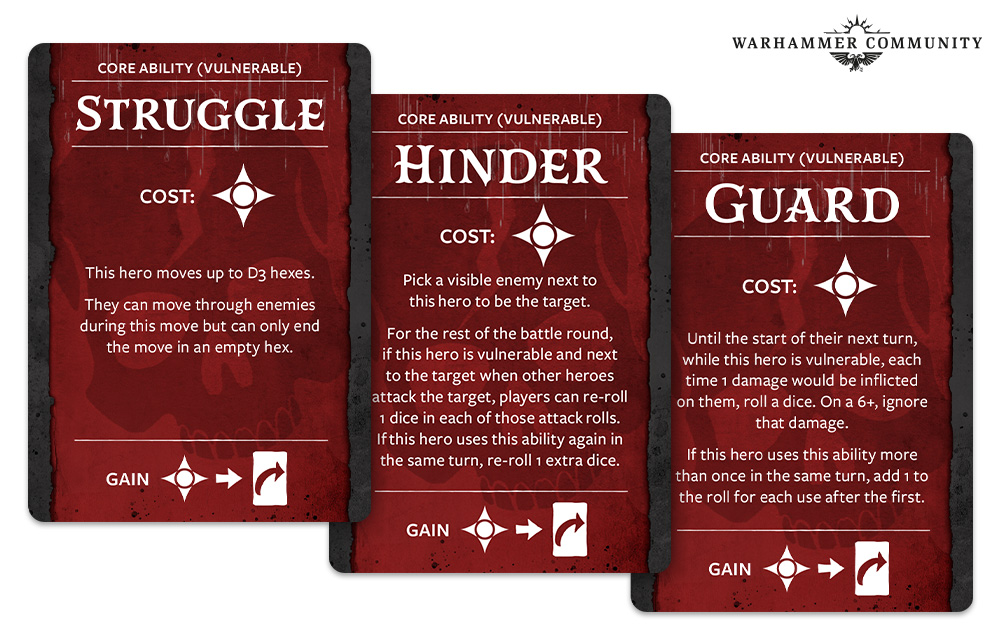
Now if you splat a Mire Kelpie they’re gone for good – at least until a nest spawns a new one – but if a hero is reduced to 0 health they are down but not out, becoming Vulnerable. In this state, they flip their core abilities over. Move becomes Struggle, Attack becomes Hinder, Aid becomes Guard. These less useful abilities allow the hero to contribute to the fight, but they’re still in danger.
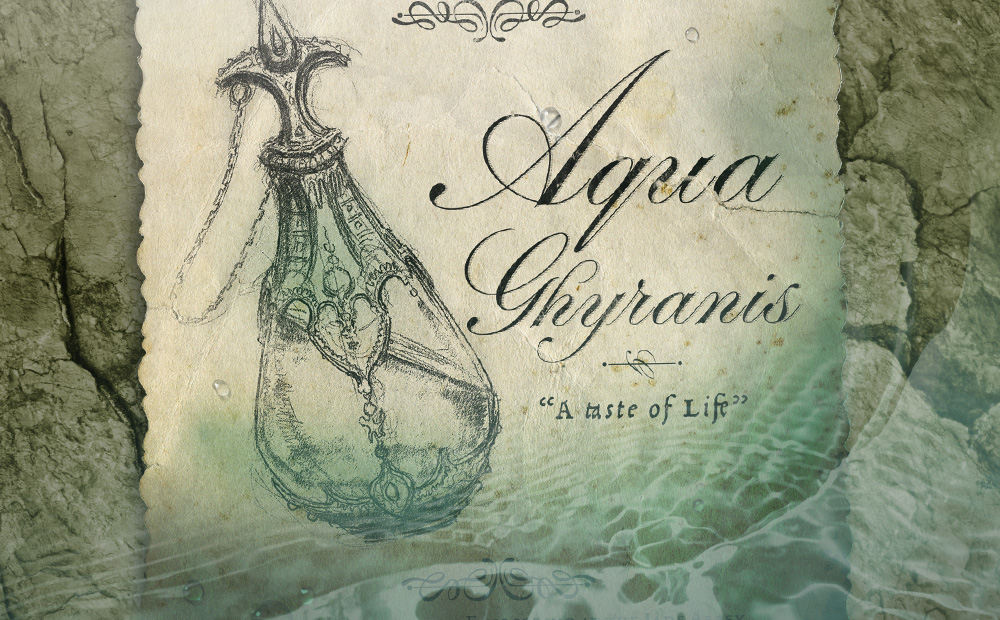
If a hero takes damage while Vulnerable, one of their abilities becomes infected – and requires two energy to use instead of one. If all a hero's abilities are infected, enemies will ignore them while moving and attacking, believing rot and entropy will sort the rest out. Thankfully, healing through Aid, or via a Sip of Aqua Ghyranis reward card**, or just through a free small D3 heal after each encounter gets them back on their feet and ready to fight again, though being in such a precipitous state doesn’t bode well for the next encounter…
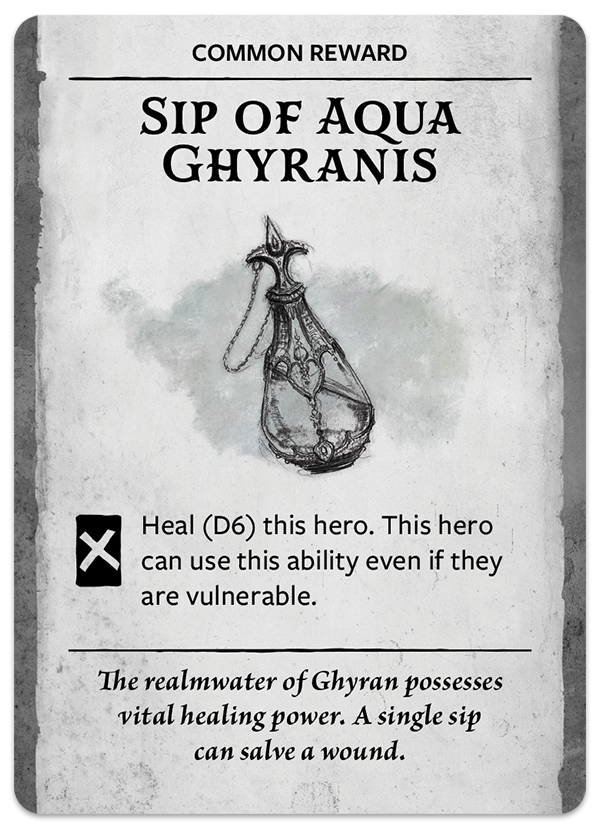
Sip of Aqua Ghyranis
Heal (D6) this hero. This hero can use this ability even if they are vulnerable. (Discard)
The realmwater of Ghyran possesses vital healing power. A single sip can salve a wound.
These are just the basic rules for Warhammer Quest: Darkwater, and there are plenty of intricacies. As you earn more reward cards, the actions your heroes can take will change, future enemies won’t be as simple as Mire Kelpies, and scenarios will impose special conditions that you’ll need to consider. Next time on the adventurer’s guide we’ll be taking a look at scenarios and the map book itself, and see how the campaign structure works.
Until then, don’t forget to sign up for our email newsletter and Forge Your Destiny as you take your first steps into the ruins of the Jade Abbey. Each week you’ll find yourself in a scenario with two actions to take – find out where the journey takes you by checking back to see the outcome of your choices.
* He asked, we obliged. We’re not risking it.
** The X symbol on the card means you discard it to use it. Once it’s used, it’s gone forever. Unless you’re Bren Tylis…
-g7kobk80zo.jpg)