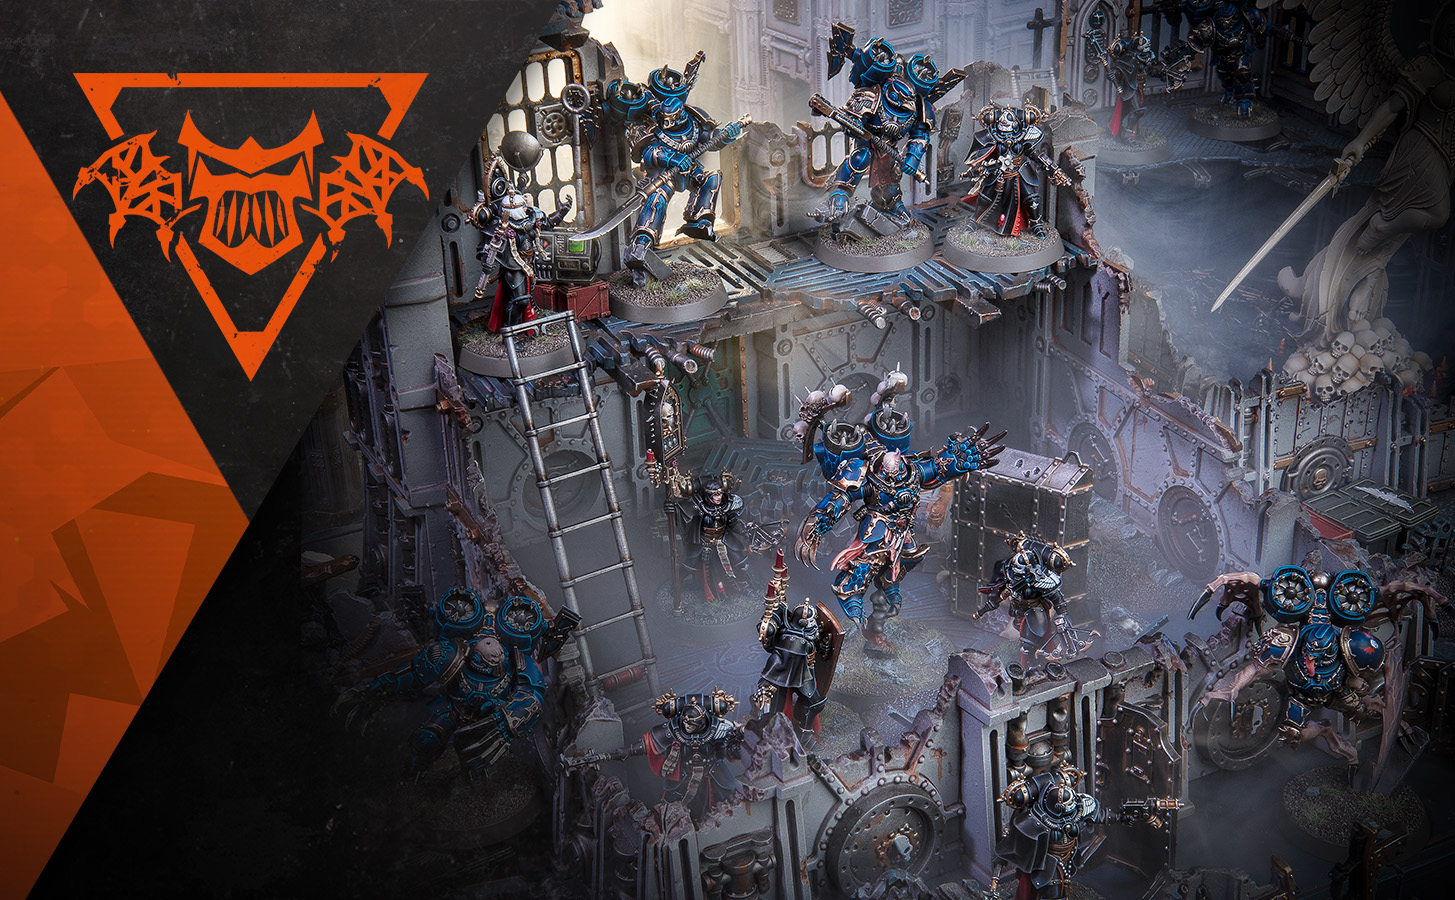
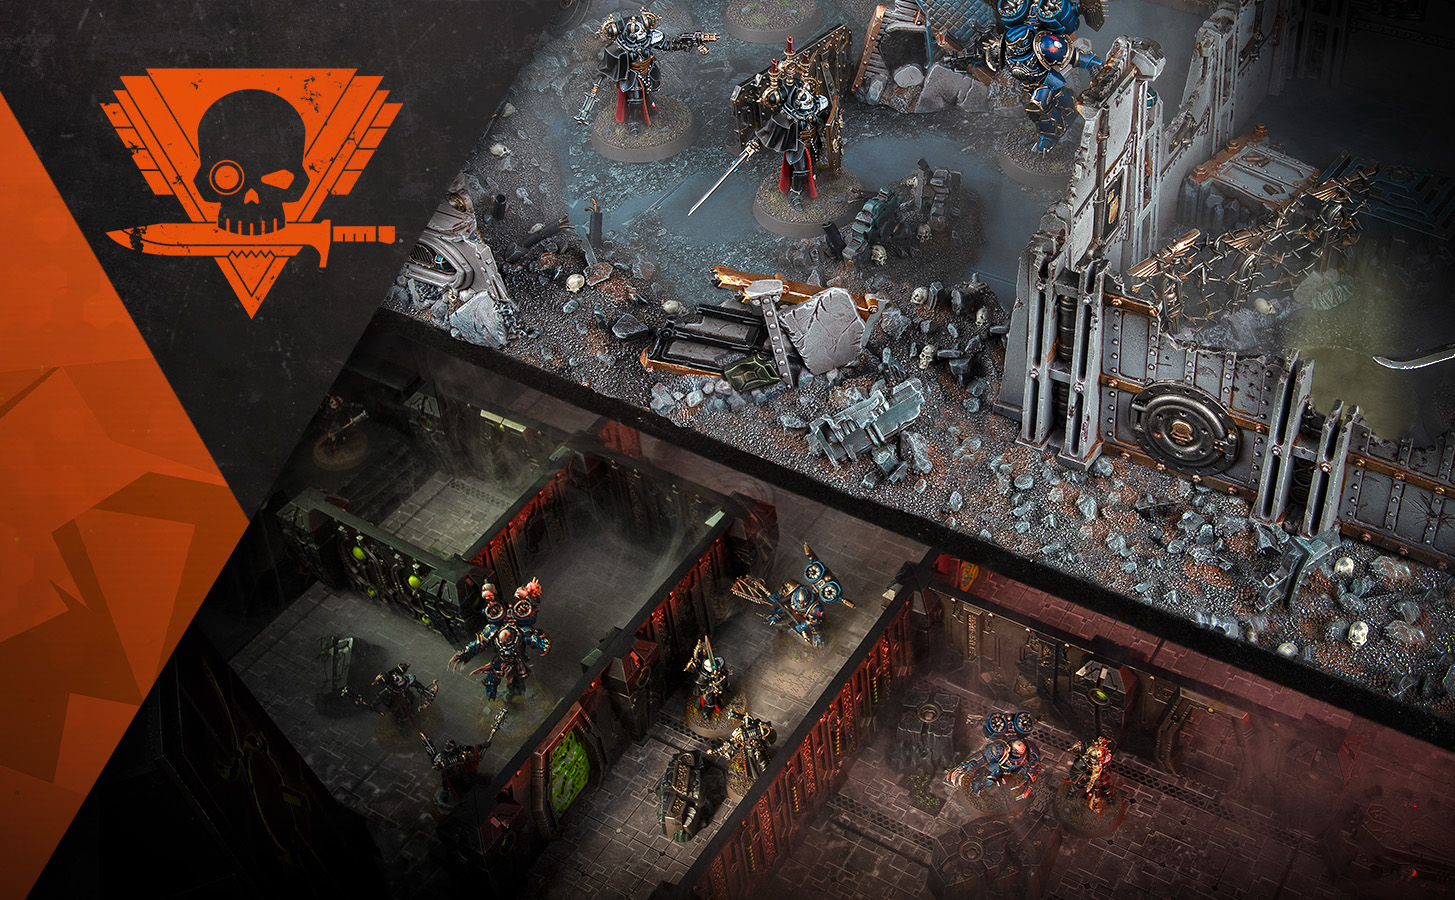
You’ve fought in the shattered ruins of an Imperial bastion world, you’ve dodged gauss fire in the silent warrens of a Necron tomb, but have you ever done both at the same time? You can soon, as Kill Team: Shadowhunt is bringing a whole new way of playing to the table, which will test your tactical skills to the limit as operatives dodge enemies on all sides and leap between boards in search of victory.
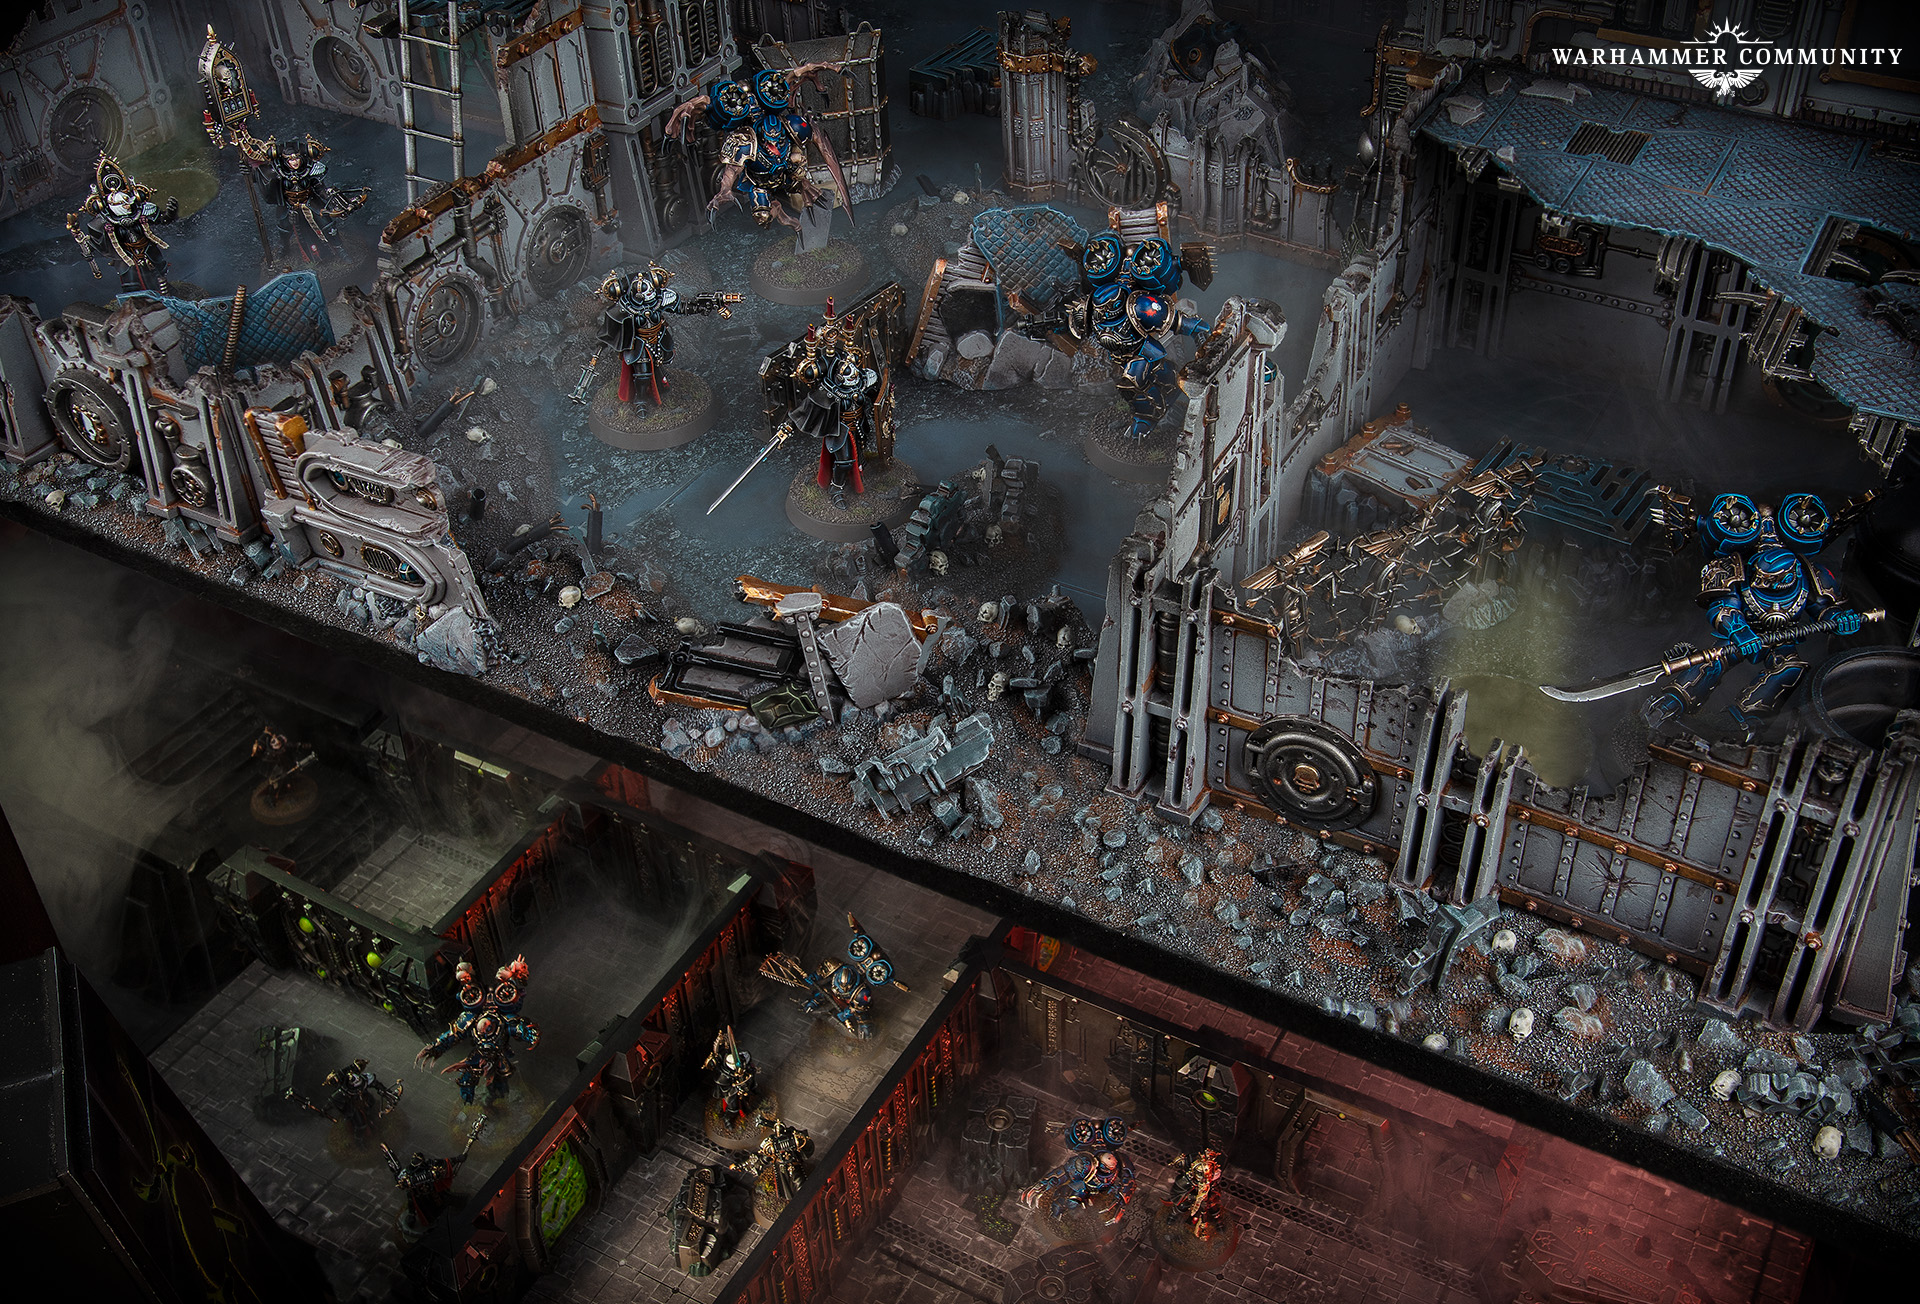
Known as Descent killzones, these multi-faceted battlefields mix the best bits of two entirely different rule sets to create an arena full of surprises. We won’t sugarcoat it – they’re a real challenge, as you’ll need to juggle the specific rules for both killzones and know how best to use your operatives on one or the other. You won’t win the game by camping in your favourite half.
Each side uses a smaller board than usual so your operatives aren’t too spread out, with ‘outside’ areas like Killzone: Volkus folding their usual board in half, while close quarters areas like Killzone: Tomb World use a 6x4 grid – measured with the square tiles underfoot – instead of the full shebang. Otherwise, you’ll stick to the usual rules for that killzone, with the addition of a few key markers called Entryways.
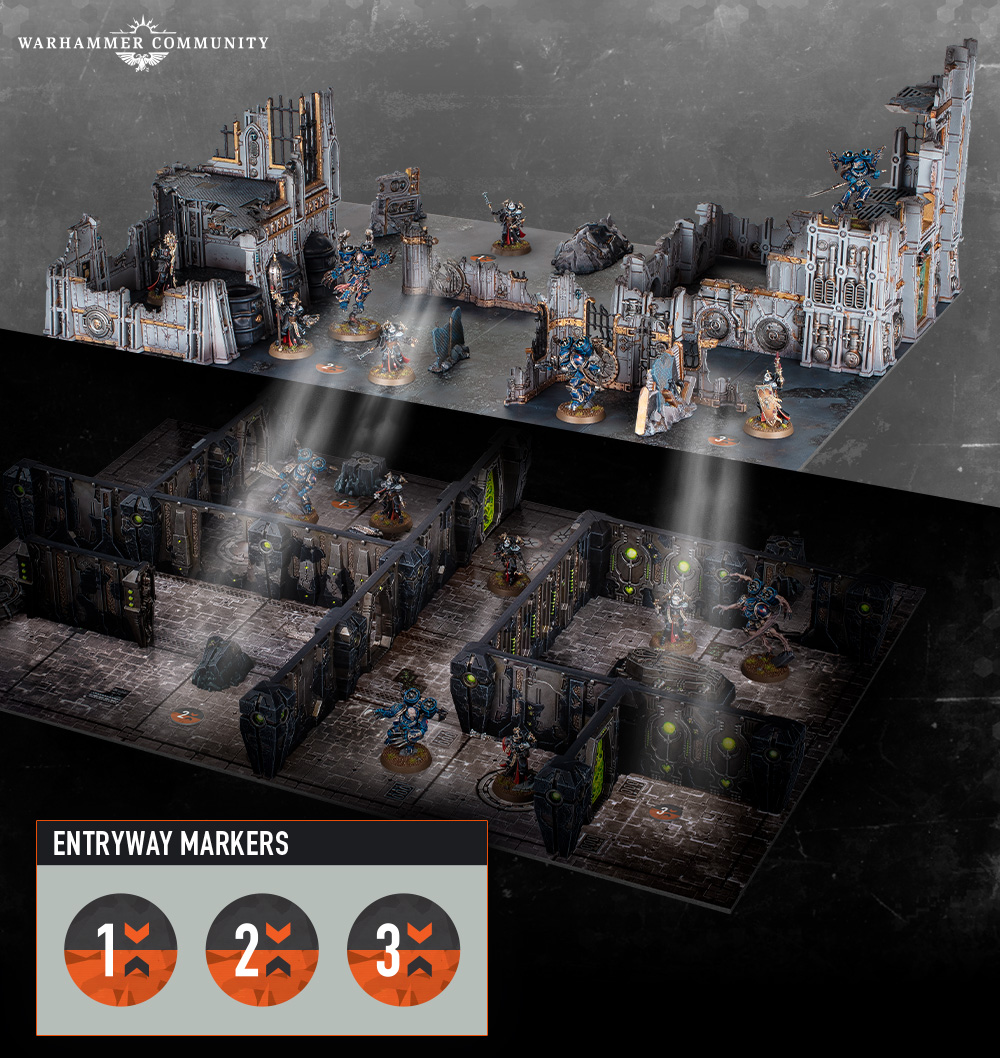
These little tokens are the most important part of a Descent killzone. They’re how you get from one board to the other, creating vital secondary ‘objectives’, as operatives seek to control access above and below. When one of the Entryways is in your control range, you can simply shunt to the corresponding marker for the low, low price of 3” of movement before continuing your move on the other side.
This still obeys all the normal rules for movement, so if an enemy operative is sitting on the opposite side of an Entryway to you, you can’t just move past them like they’re not there. That’d be rude. In such a situation, you can always Charge through and give them a good hiding, and if you want to Shoot instead, enemy operatives on the opposite Entryway marker are valid targets.*
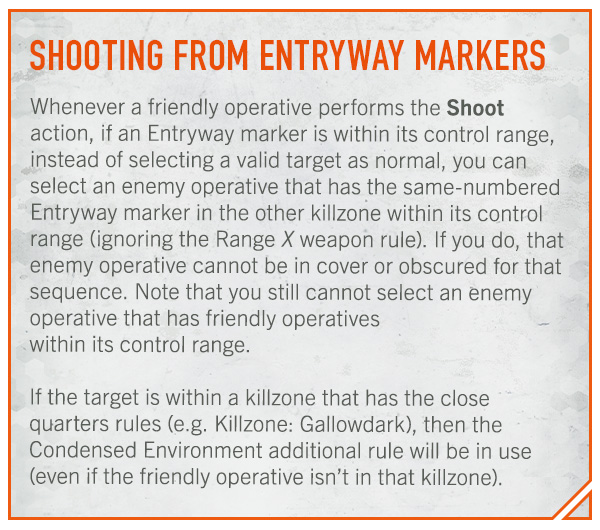
SHOOTING FROM ENTRYWAY MARKERS
Whenever a friendly operative performs the Shoot action, if an Entryway marker is within its control range, instead of selecting a valid target as normal, you can select an enemy operative that has the same-numbered Entryway marker in the other killzone within its control range (ignoring the Range X weapon rule). If you do, that enemy operative cannot be in cover or obscured for that sequence. Note that you still cannot select an enemy operative that has friendly operatives
within its control range.
If the target is within a killzone that has the close quarters rules (e.g. Killzone: Gallowdark), then the Condensed Environment additional rule will be in use (even if the friendly operative isn’t in that killzone).
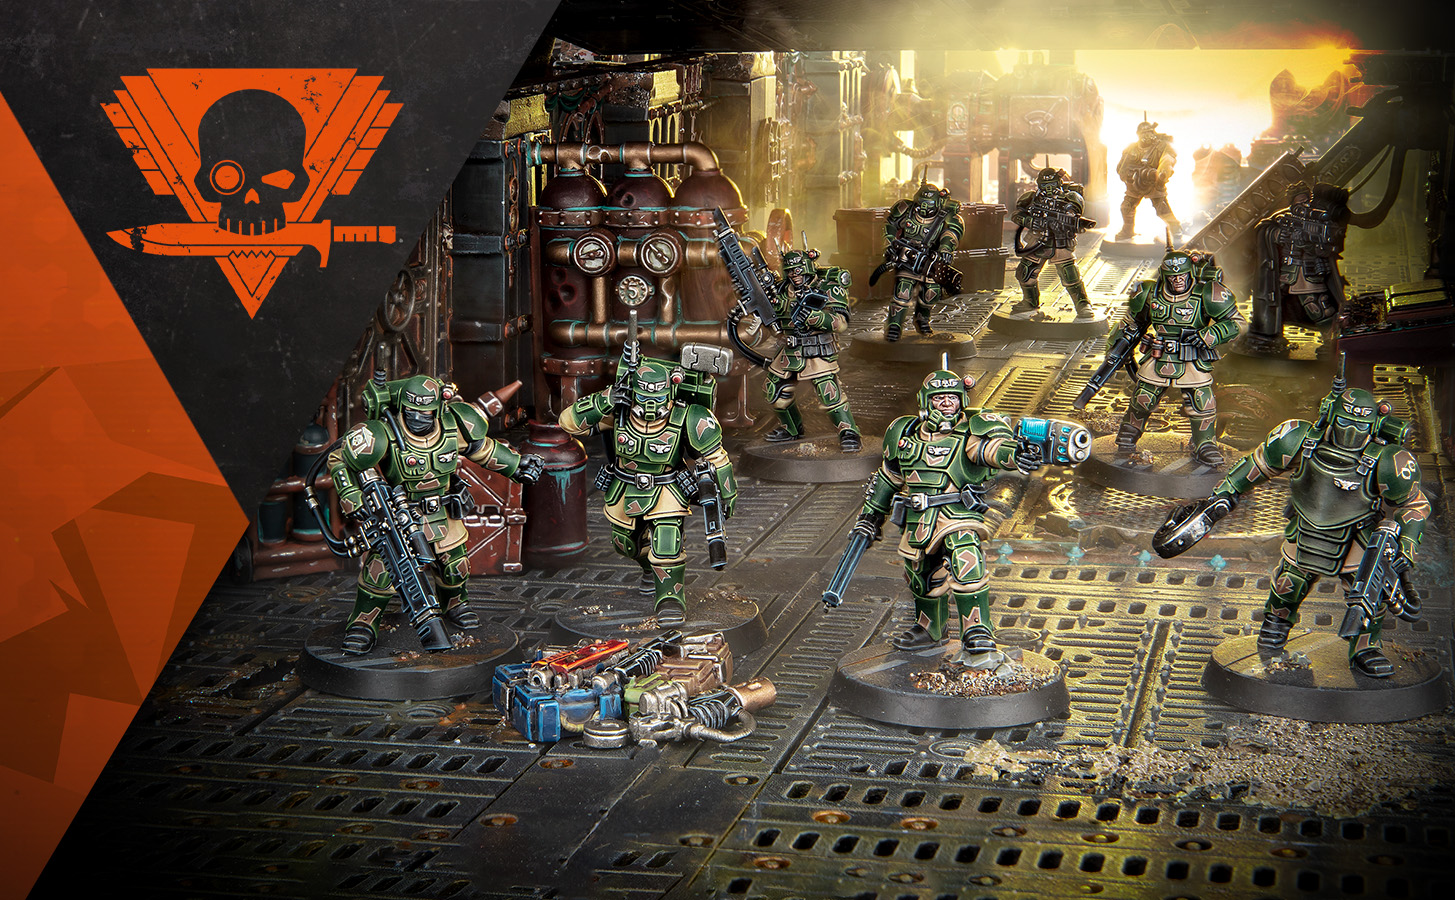
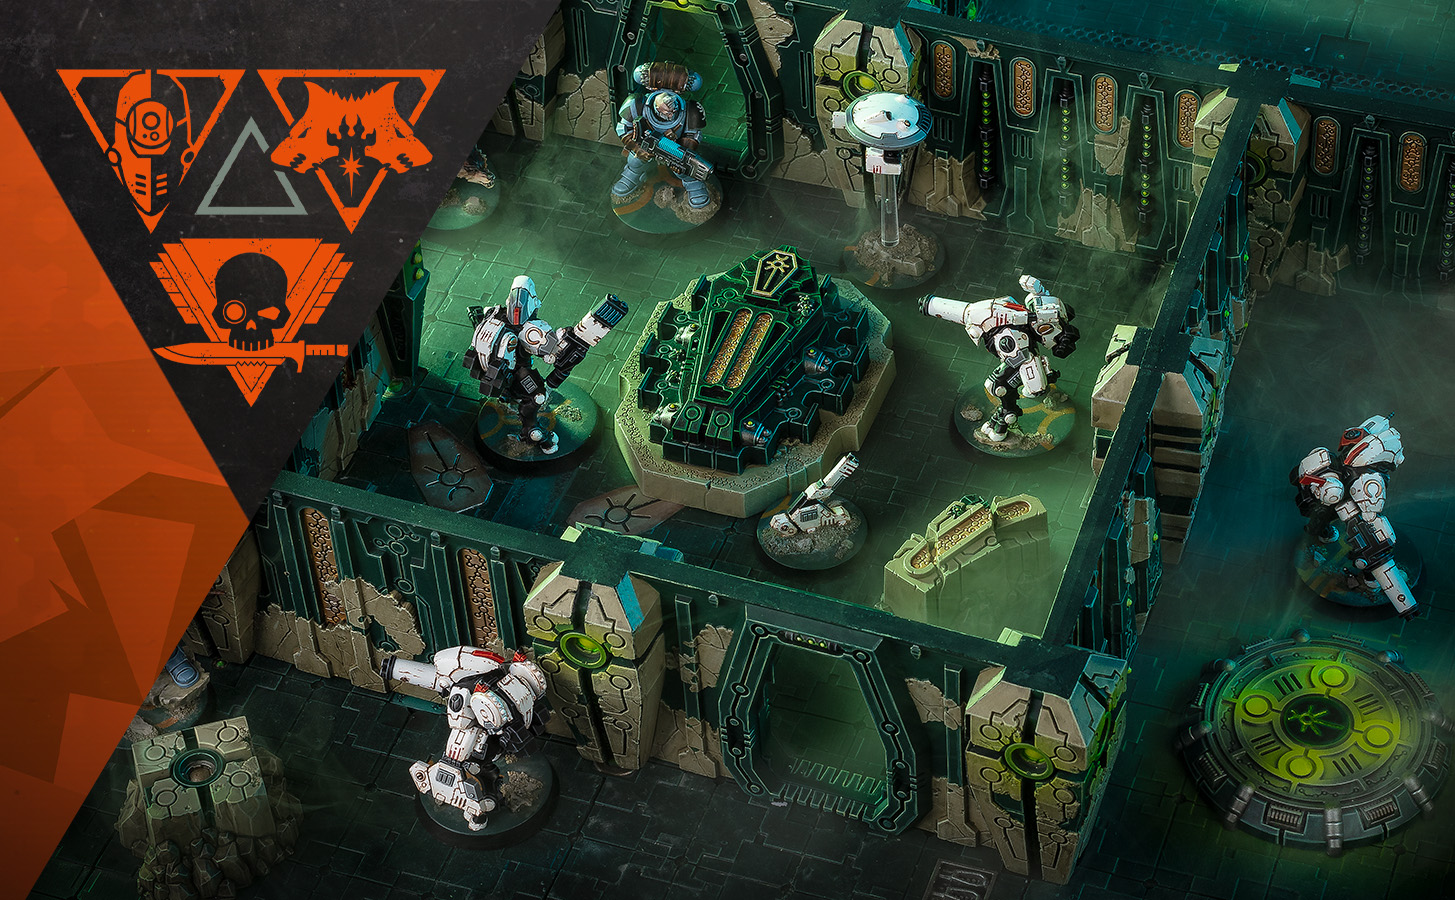
The Kill Team: Shadowhunt Dossier contains three missions each for both Adversary Ops – PvP games that include enemies who attack both sides – and Joint Ops – co-op games against AI enemies – mission packs, which tell the story of an ill-fated expedition into a long-lost tomb where a horrifying entity slumbers in its sarcophagus. If you remember all the way back when we first revealed Shadowhunt, you’ll have an inkling what it is.
The Adversary Ops missions in particular are a ton of fun, as the addition of roving Necron NPOs turns the best laid plans into complete chaos. Mission 2 has each kill team racing to open a single vault door underground and hold it while Canoptek reinforcements swarm in, ramping up the stakes as each turning point ticks away, and last-minute dashes for control can decide the game.
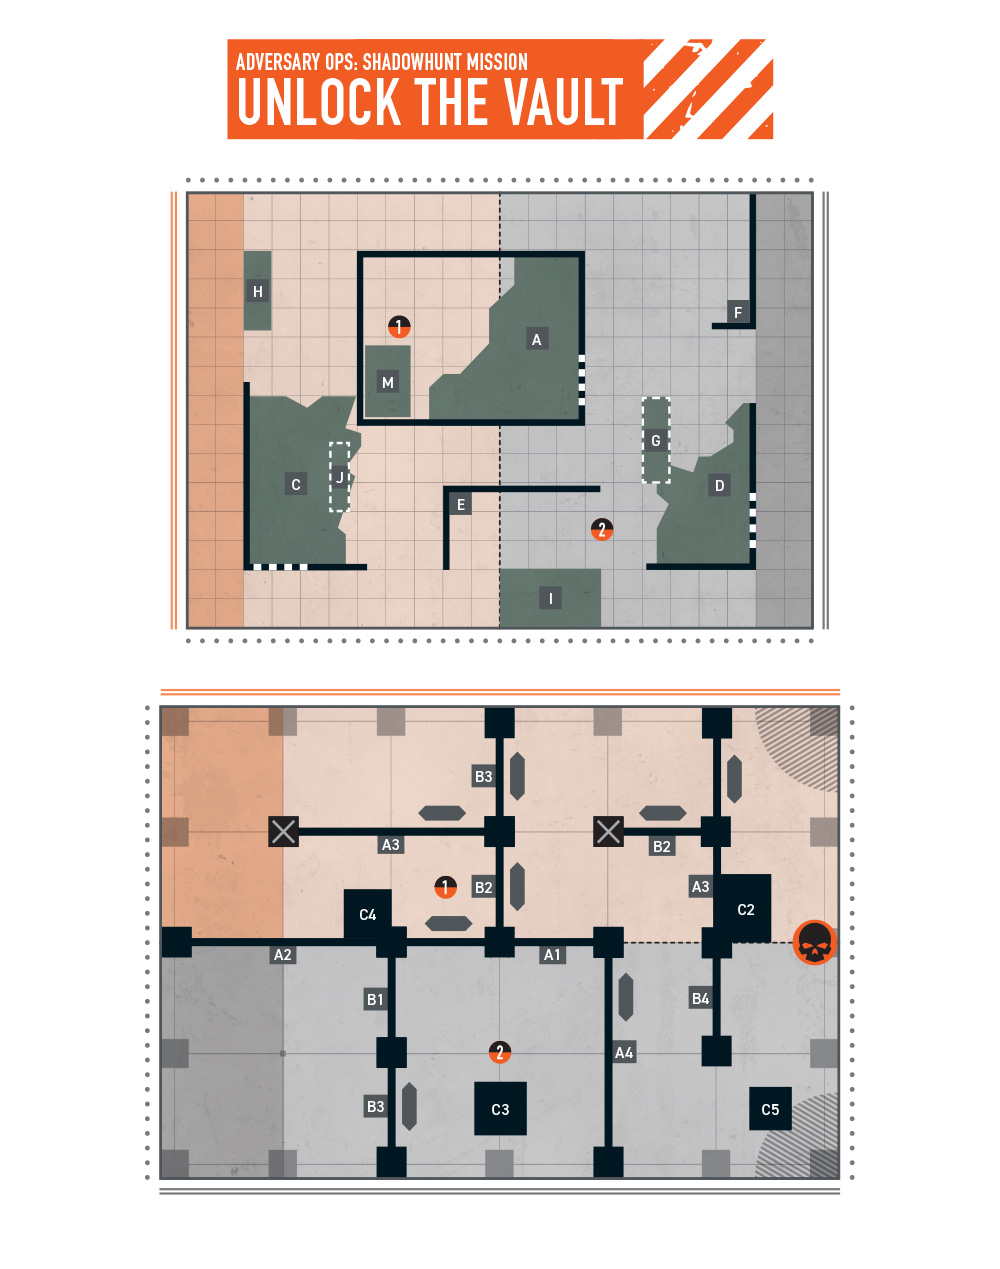
The book also includes six additional Descent killzone maps to use in regular games of Kill Team, set up with three objectives so you can use a wide range of mission rules, from those found in the core book to the latest Approved Ops card pack.
You can even take the concept and build your own maps using any two killzones you like, with a little elbow grease. A Killzone: Bheta-Decima board on top might represent hanging gangways above a busy manufactorum below, with clouds of industrial smog obscuring shots between platforms. We’d love to see what you come up with.
Kill Team: Shadowhunt goes up for pre-order this Saturday, and includes two smaller boards perfectly sized for Descent killzone games. It’s as if we planned it all along!
* So long as you both have the markers within your control ranges. A gunfight through a trapdoor sounds like a riot!