Raveners and Servitors are about to do battle in Kill Team: Typhon, so to whet your appetite we got in touch with Brad and Vic from Mountainside Tabletop to find out what they make of this new expansion.

Kill Team Typhon is nearly here, and this new expansion brings two teams with extremely different playstyles. The Raveners ask the question, “How are you going to deal with 101 wounds worth of tunnelling monsters?”, to which the Battleclade servitors reply, “01110010 01101111 01101100 01101100 00100000 01110011 01101001 01111000 01100101 01110011”.*
Both of the teams in Kill Team: Typhon represent an aggressive departure from any play styles we’ve seen before. As such, both will take time to master, but will be extremely rewarding when you can orchestrate and execute the plans that make them tick.
Raveners

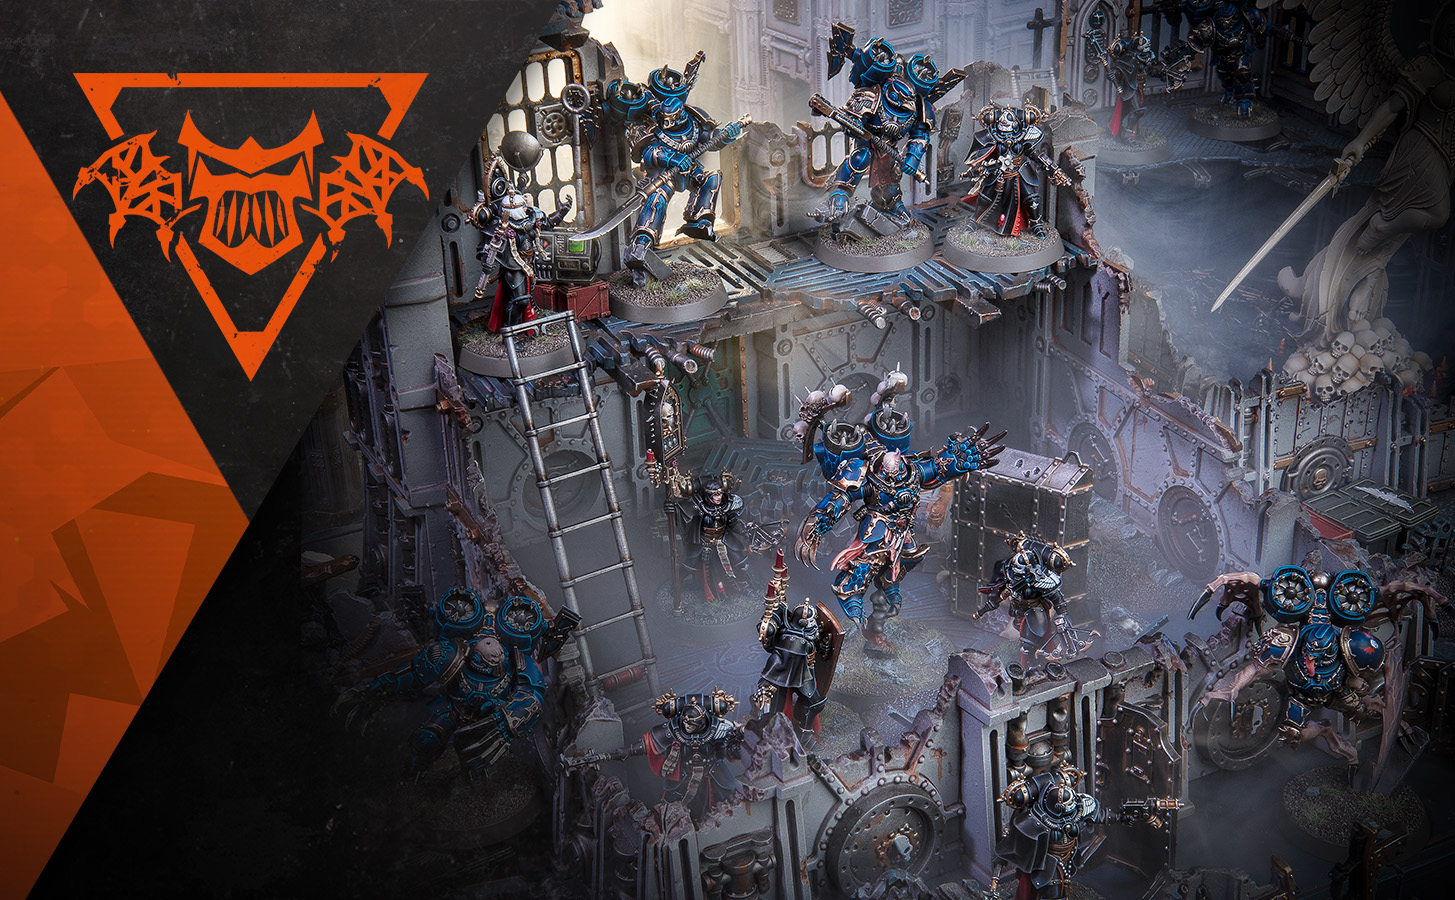
Tyranids have finally burst into Kill Team with our first five operative team! While they offer a massive toolbox of tricks, their 5+ saves make them stand out among the other elites in the game by giving their opponent the incentive to take them on in a firefight. They will take wounds, but with a high-octane mix of mobility and melee they can fight battles on their own terms.
Faction Rules: High-stakes Whack-A-Mole
The Raveners boast an impressive trio of faction rules, which allow them to claim an ever-growing chunk of the battlefield while challenging their opponent to do something about it.
The Tunnel is a path you carve across the battlefield. In each turning point, the Tunnel can extend up to 5”, meaning it can comfortably probe deep into the battlefield. Burrow is the action that lets the team pop in and out of the tunnel, which comes at the expense of 2” of movement and 1 AP – but on a team with 3 APL and 7” of movement, it’s well worth the trade-off.

BURROW 1AP
If this operative is underground, set it up on your TUNNEL in a location it can be placed (it’s no longer underground, and it can be set up within control range of enemy operatives). Until the end of the activation/ counteraction, subtract 2" from its Move stat.
Alternatively, instead of resolving the above effect, if this operative is in the killzone and on your TUNNEL, remove it from the killzone: it’s now underground.
An operative cannot perform this action while carrying a marker.
In this example, operative A is on your TUNNEL as it’s on the area between markers 0 and 1. Operative B is also on your TUNNEL as it’s touching one of your Tunnel markers. Operative C is not on your TUNNEL as markers 1 and 3 are not sequential, so the area between those markers is not part of your TUNNEL.
Predatory Instincts ties it all together. Along with providing Raveners the ability to Fight twice per activation, it allows them to change their order and Burrow for free during counteracts. Just think: a Ravener charges 9” to tie up a couple of operatives, dispatches them in melee, survives one retaliatory shot, and then as a counteract gets to shoot back and hop underground again. Nasty stuff!
Key operative: Venomspitter

Though all of the Raveners are highly capable, the Venomspitter stands out as one of the most important pieces on the team. On top of solid melee output, its ranged attack is an absolute killer. Paired with the Distend Dorsal Sac ability, the Venom Bolt is one of the best all-round guns in the game, and since the rest of the team’s ranged attacks cap out at 6” range and 4 damage the Venomspitter will be an essential tool for board control.
Standout ploy: Writhe Out Of Sight

WRITHE OUT OF SIGHT
Few organisms are as capable of slithering away into darkness in the blink of an eye as Raveners. The question then is, where did they go…?
Select one friendly RAVENER operative. That friendly operative can immediately perform a free Burrow action. If it’s within 2" of your TUNNEL, it can immediately perform a free Fall Back or Reposition action before it does so.
This is one of those ploys that will be the difference between winning and losing games, as it lets the team either hide a vulnerable operative or stage an explosive first activation. The beautiful utility of this ploy is that it is equally useful whether you win or lose the initiative – if your opponent wins you won’t need to wait for that Melta shot against your biggest threat, as long as you stay near enough to your tunnel.
Surprisingly (but not Disgustingly) Resilient
Even with 20 wounds each, a 5+ save leaves the Raveners vulnerable to high-volume fire and chip damage, but there are a few ways to balance this out. Tunnel Lurkers is a Strategy Ploy that pairs extremely well with the Chromatospore Camouflage equipment. All of a sudden, 5+ saves aren’t so bad when you’re retaining two before rolling any dice. This combo does assume that the operative is standing on their Tunnel, but most of the team’s utility requires that anyway.
Other noteworthy biomass

The Tremorscythe operative is a nasty piece of board control, as you can keep the Raveners underground to maintain the threat of an outrageous charge and interrupt any enemy foolish enough to stray close to the Tunnel. Don’t underestimate the length of the Tunnel either – in a straight line, it can get well into enemy territory by the late game. This team may struggle for board presence in the early game, and can suffer if they lose an operative early, but all of the Tunnel synergy and explosiveness in combat will be enough to turn the tide in a lot of battles.
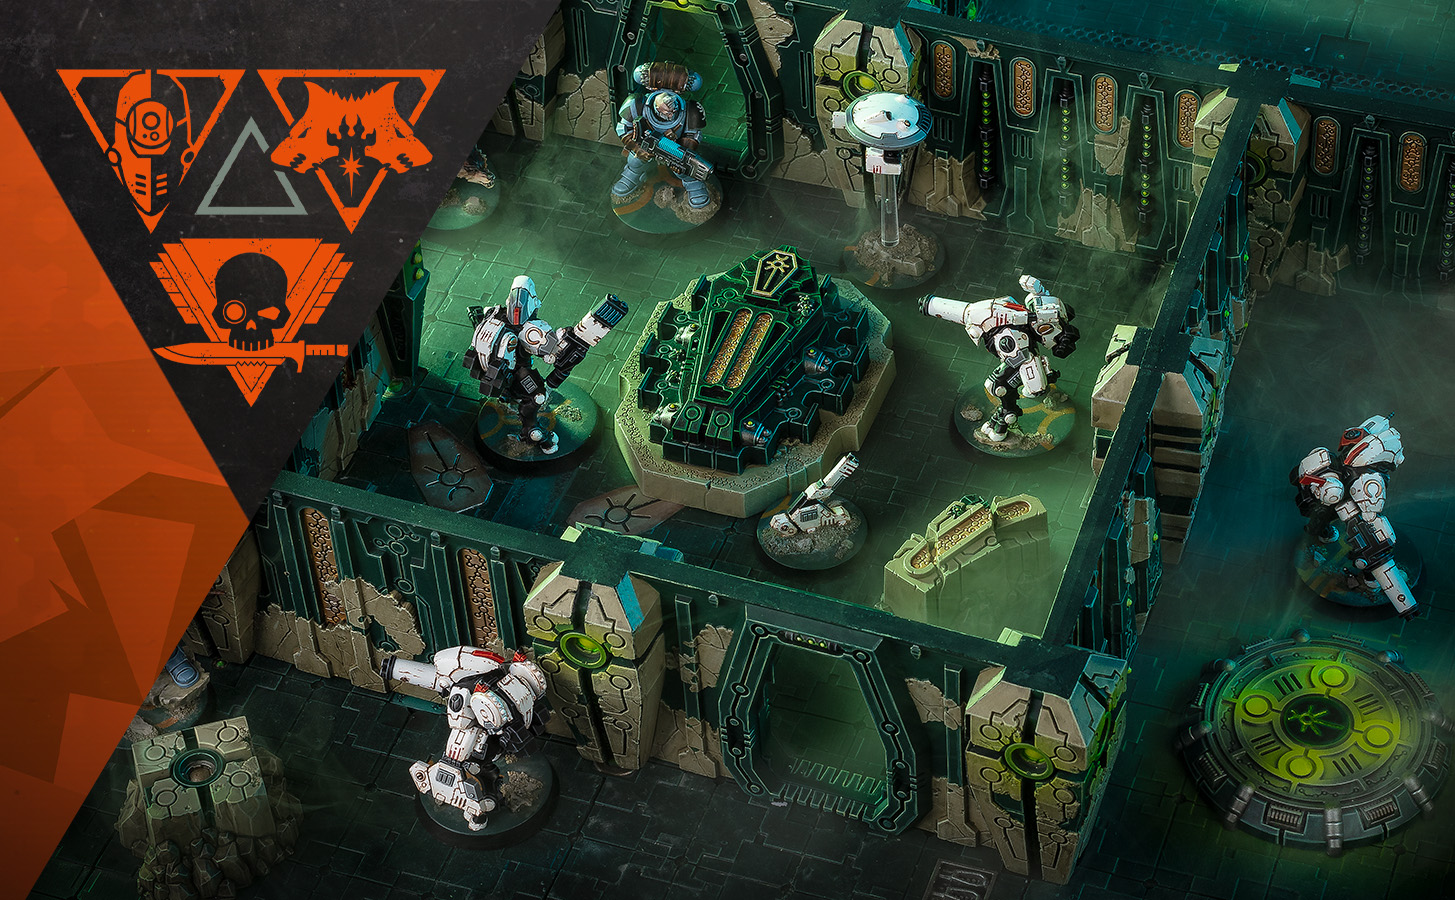
Battleclade

The Battleclade pairs impressive firepower with radical flexibility and a deep toolbox. You are the Omnissiah’s will, in control of a small army of insentient servitors whose strings you can pull to outwit your opponent and surprise even the cagiest Kill Team veterans.
Although most of these operatives only move 5”, there are ways to speed them up – but you’ll still require a solid plan to be able to pilot them well. The payoff of a well executed game plan is immensely satisfying, and can devastate an opponent before they have a chance to meaningfully react.
Faction rule: Lots of threats… everywhere!
Although there is only one faction rule, the Battleclade’s Noospheric Network is more than enough to give this team a tactical edge and totally unique identity. The eight Servitors can each spend 1 AP to allow a fellow Servitor to Network Counteract, performing a 1 AP action for free – with some restrictions.
This turns the team into an unpredictable nightmare, as seemingly dormant Servitors suddenly awaken to unleash a devastating attack, perform a key action, or change their order to alter the state of the battlefield.
An important part of this team’s power comes from the fact that their opponent will be chasing ghosts the whole game. Never sure where the next attack is coming from, they’ll be forced to prepare and react to unexpected threats – potentially leaving themselves open to a catastrophic attack.
Key operative: Servitor Underseer

Unlike most other high-synergy teams – Hierotek Circle, Sanctifiers, and Warpcoven come to mind – the Battleclade doesn’t get its instructions from the Leader, but instead the Servitor Underseer. Their Network Override action lets one of the Servitors do a network counteraction, which can be followed up with the Noospheric Spur action to jump back into safety to avoid a retaliation. Honourable mention goes to the Auto-Proxy Servitor, who fills the “assistant-to-the-assistant” role by acting as a conduit for the Underseer’s support.
Standout ploy: Noospheric Possession

NOOSPHERIC POSSESSION
By broadcasting portions of their neural architecture into their thralls, sometimes via a well-positioned relay, manipulative Servitor Underseers effectively possess their tools to better direct the Omnissiah’s wrath.
SUPPORT. Whenever a friendly BATTLECLADE SERVITOR operative is within 6" of a friendly BATTLECLADE AUTO-PROXY or BATTLECLADE SERVITOR UNDERSEER operative,that friendly SERVITOR operative’s weapons have the Accurate 1 weapon rule.
For the purposes of this SUPPORT rule and the Comms Device equipment, the AUTO-PROXY or SERVITOR UNDERSEER operative must control your Comms Device marker to add 3" to its distance requirement for this rule.
A new ploy that will likely come up in most games is Noospheric Possession. It gives a shooting boost to operatives close to the Servitor Underseer and Auto-Proxy Servitor, in the form of Accurate 1. The strongest guns on this team all hit on 4+, so the extra accuracy is a big deal! Since it has the Support designation, the Comms Device universal equipment can boost its range to 9”, potentially giving a huge chunk of your team the buff.
An outlier among the collective

One of the most compelling aspects of the team is the role of the Technoarcheologist. This Tech-Priest leads the team to battle, but other than having the Leader keyword, they’re very much working independently outside the network of other operatives. They’re capable of keeping themself safe, scoring their own points, and dealing plenty of damage when they need to.
Other pieces of scrap-code

DUTY OF RECLAMATION
Embedded in Battleclade operatives are lurking strands of enhanced binharic doctrine. These instructions await the moment to activate, triggered by the proximity of a Tech-Priest’s designated prize.
Once per action, you can use the Command Re-roll firefight ploy for 0CP if the attack or defence dice was rolled for a friendly BATTLECLADE operative that contests an objective marker or one of your mission markers.

NEUROCYCLIC RESERVE CELLS
Battleclades are granted these devices to accelerate servitor capabilities.
After revealing this equipment option, roll one D3. A number of times during the battle equal to the result, whenever you TRANSFER POWER, you can use this rule. If you do, don’t subtract 1 from the operative’s APL stat, but it cannot perform Fight or Shoot actions during that activation (this takes precedence over the normal Noospheric Network rules).
Duty of Reclamation is a great ploy to help those of us who like to spend too much time on Command Re-rolls, while Neurocyclic Reserve Cells is a potentially great piece of faction equipment – though the inherent randomness of relying on a single D3 roll at the beginning of the game can make it extremely swingy. Due to the number of Support rules, Comms Device seems as close to an auto-include piece of universal equipment as you’re ever going to see.
In summary
Overall, Typhon brings two long awaited and beloved teams to Kill Team. With them is a well-stocked Killzone supplement which sets the stage for a characterful series of battles amidst the growing tendrils of a Tyranid infestation. Plus, six new NPO datacards expand the ever-growing list of resources for Joint Ops, which we love!

Both teams exemplify our favourite parts of this game – they’re thematic, with rules and mechanics that bring their lore presence to life on the tabletop. They also have loads of tricks and counterplay, which will keep players on the edge of their seats during both theirs and their opponents’ turns.
The Tyranids have been the subject of much speculation and anticipation, and it feels appropriate that the biggest outliers in the galaxy bring a radically new team construction to the game. The Adeptus Mechanicus of the Hunter Clade were my first Kill Team in 2021, and although I still love playing games with them, I can’t wait to get the Battleclade on the table and experience a wildly different form of skirmish combat.
Thanks for the in-depth analysis! You can pre-order Kill Team: Typhon at the weekend – and put these tips into practice yourself.
* That’s “roll sixes” in binharic.