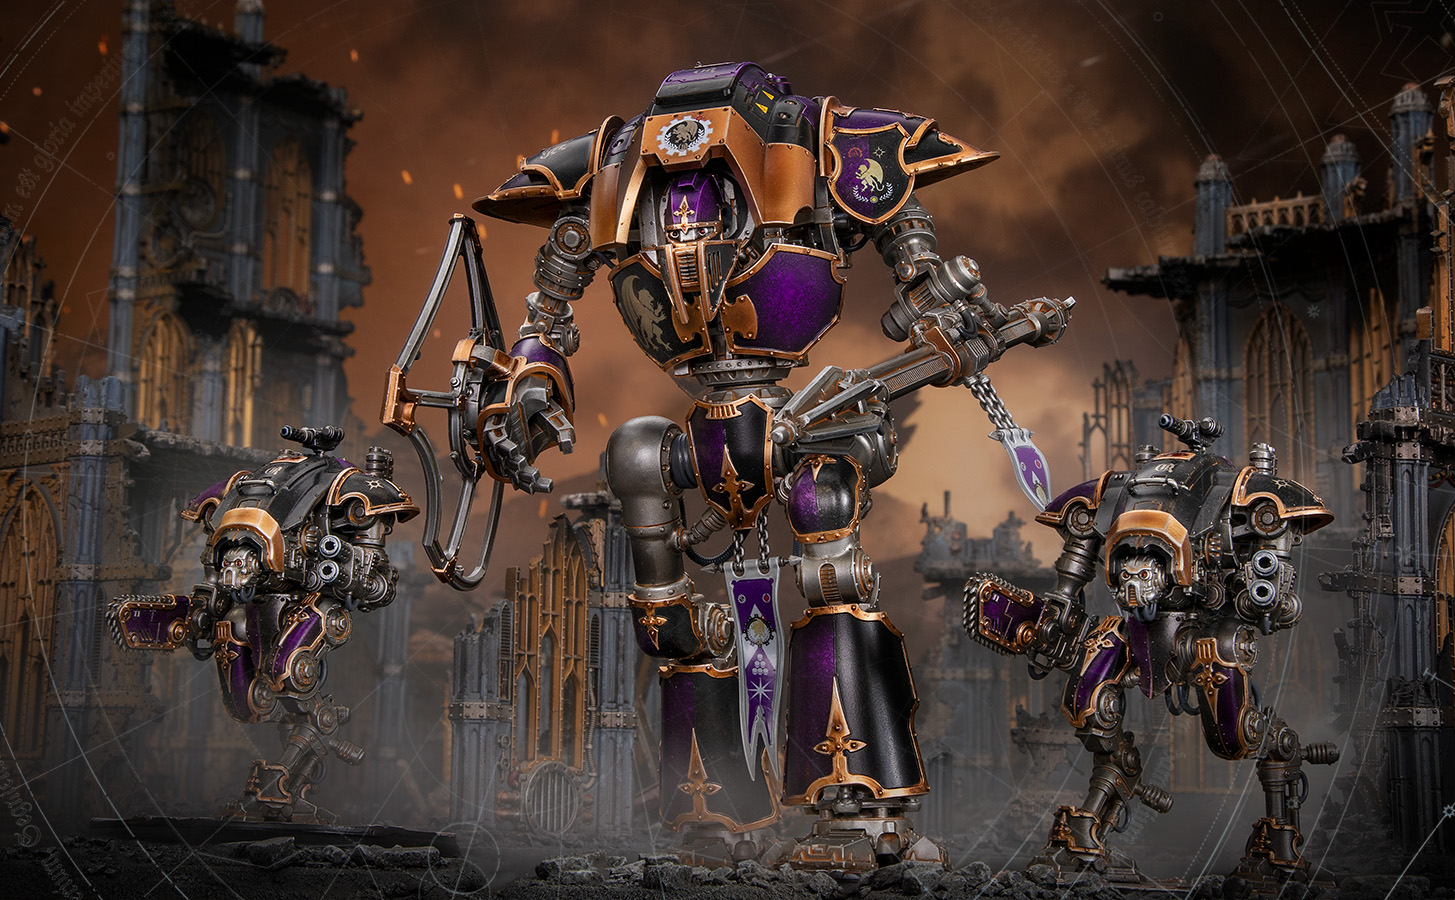
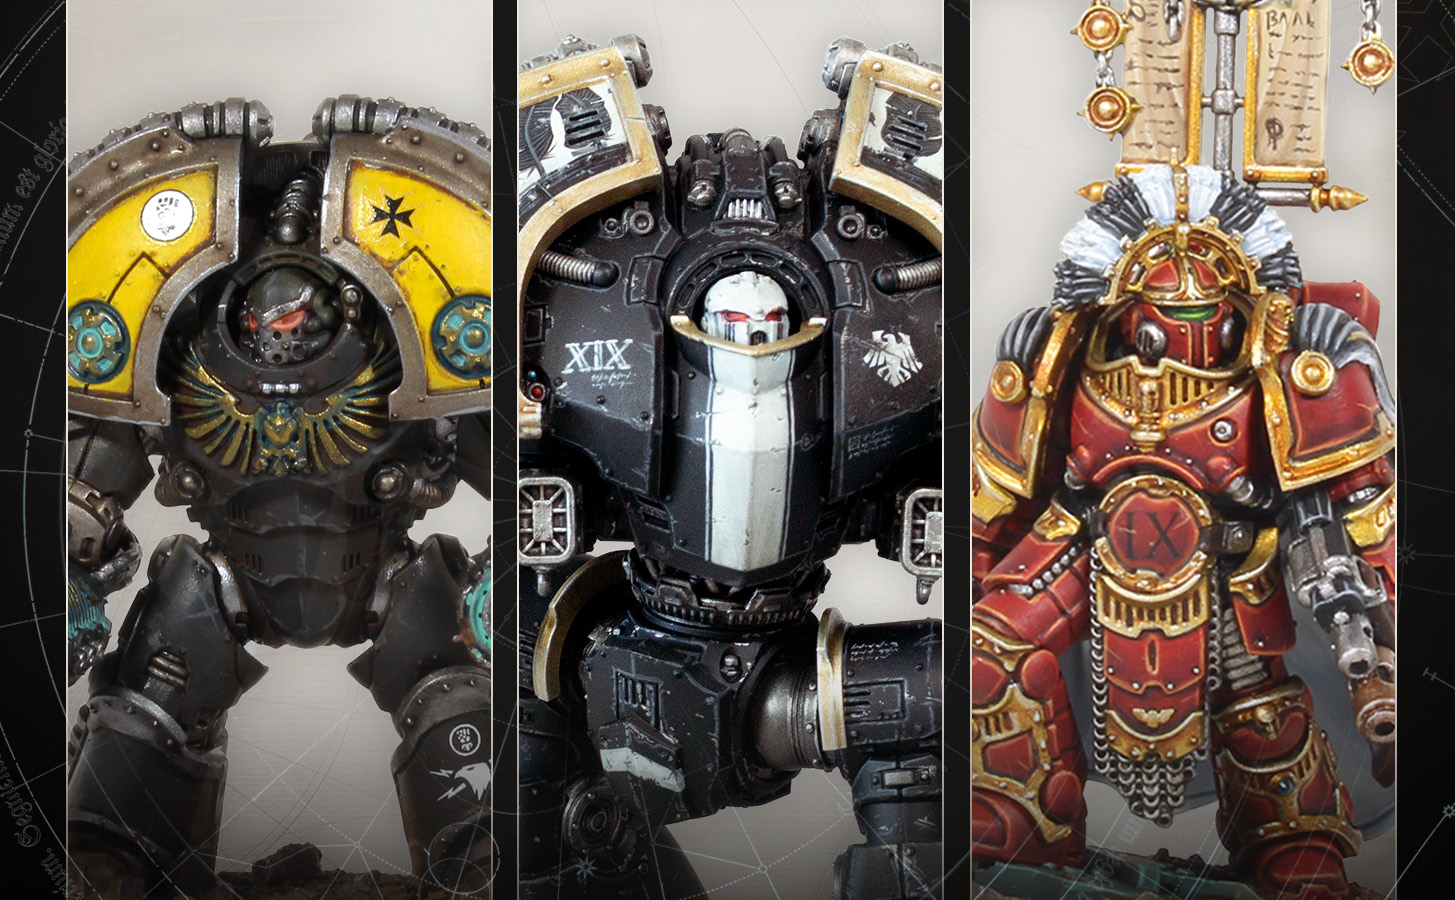
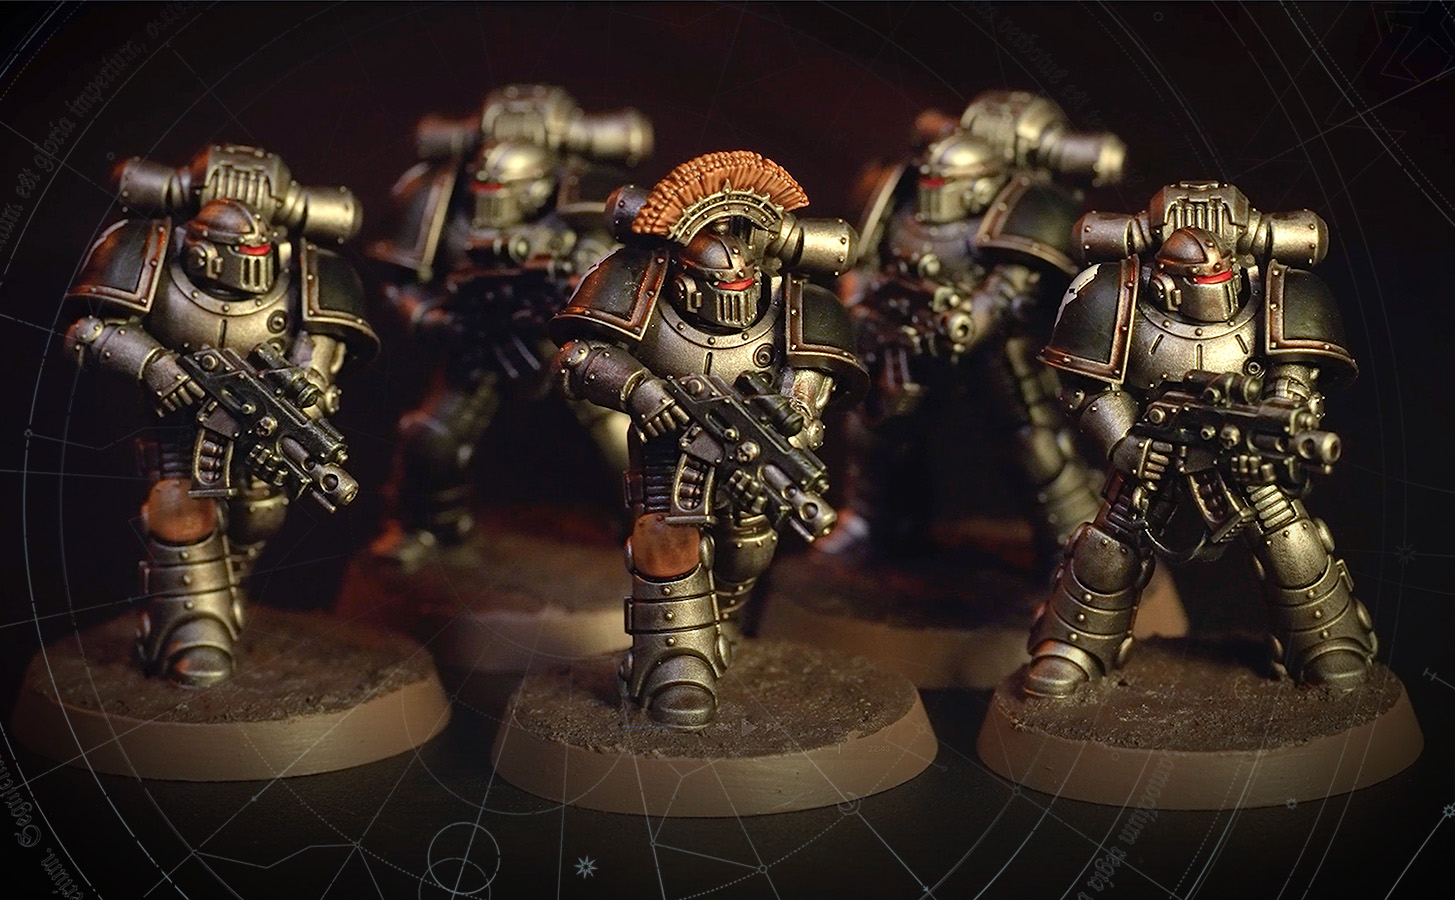
The magnificent new Saturnine Terminators are now available in the Saturnine box for Warhammer: The Horus Heresy, Age of Darkness, and Forge Lords across the galaxy are assembling their warriors.
These intricate multi-part kits can be assembled in dozens of different ways, thanks to a system of ball-jointed limbs that let you build each leg in one of three separate poses, or snip off the small pegs to align them however you like. To help you get the most out of your Terminators, the design team behind them have put together a short guide of useful tips and tricks.
It is important to visualise the kind of pose you might like your model to have before you start assembling: is it in an action pose, depicted mid-movement? Is it looking heroic? Maybe stoically waiting for the battle to begin?
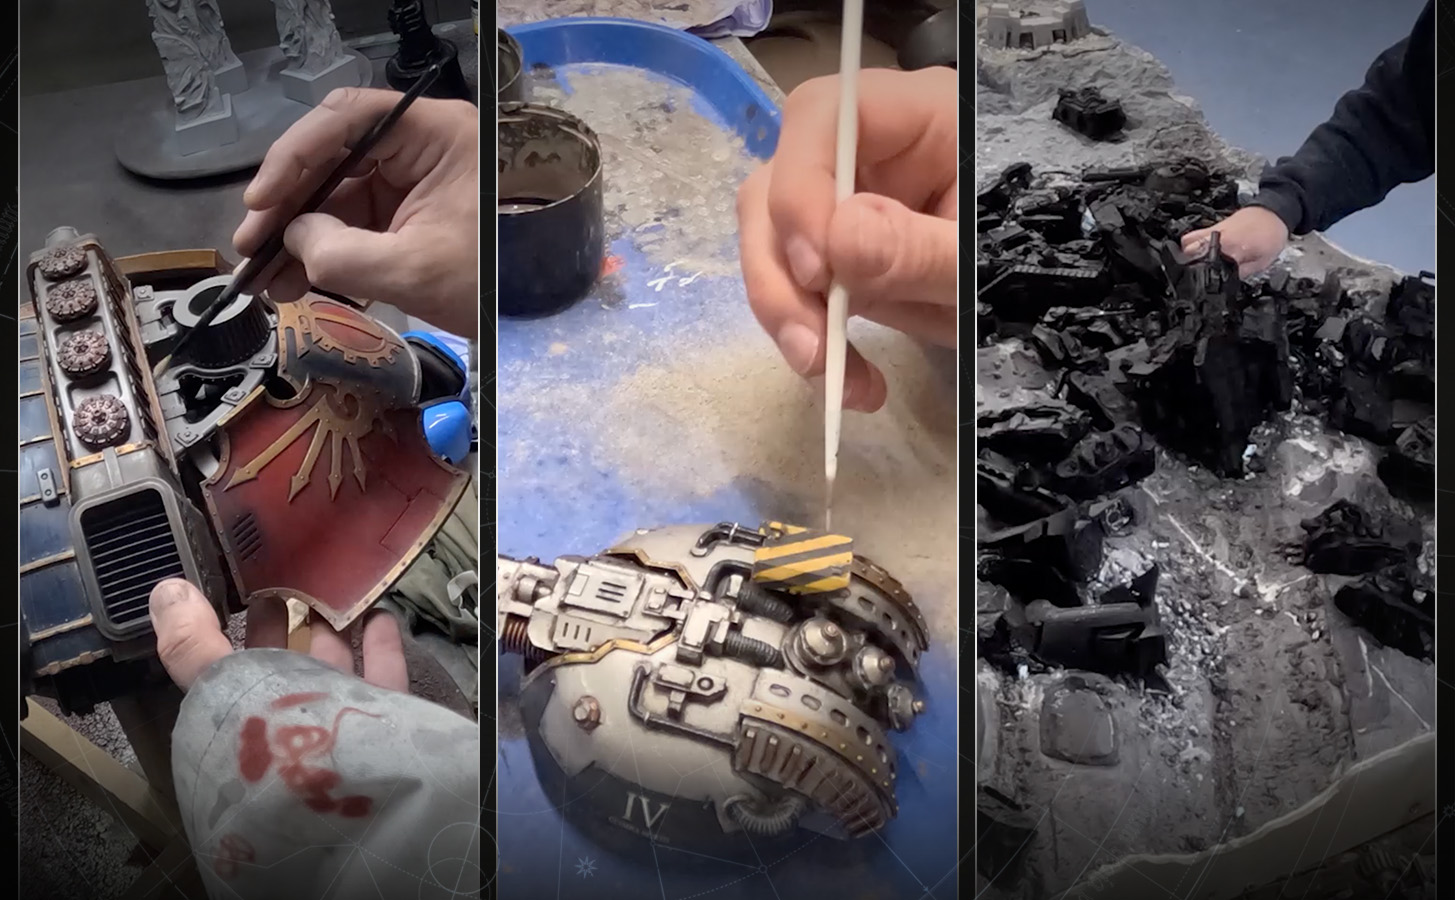
Whatever you want to do, planning is key. There are a few different ways you might want to approach things. Scribble a few ideas onto paper, then dry-fit your Terminators, or sub-assemble them into their major limb parts (lower leg, upper leg, lower arm, upper arm, etc.), using adhesive putty to test out a few poses before committing with glue.
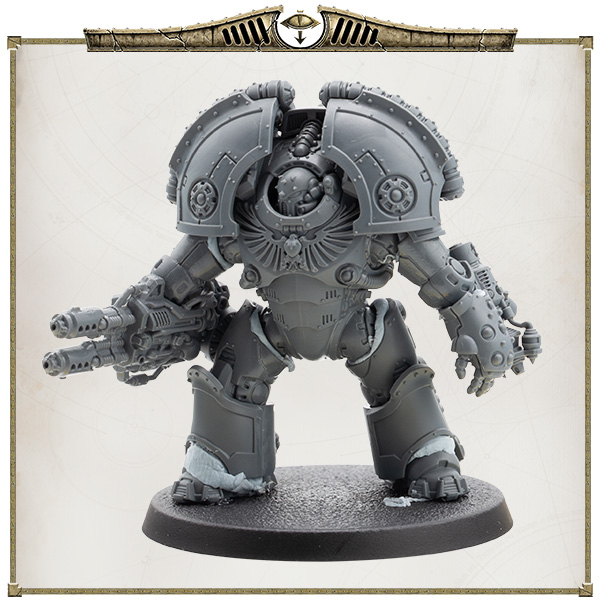
Step-by-step assembly
These steps show how you might go about assembling the Saturnine Terminators in your own way.
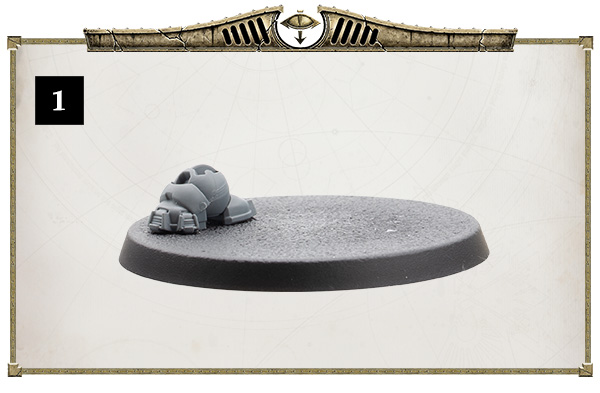
1. Glue the leading foot onto the base first – this makes it easier to handle all the bits as you glue them together.
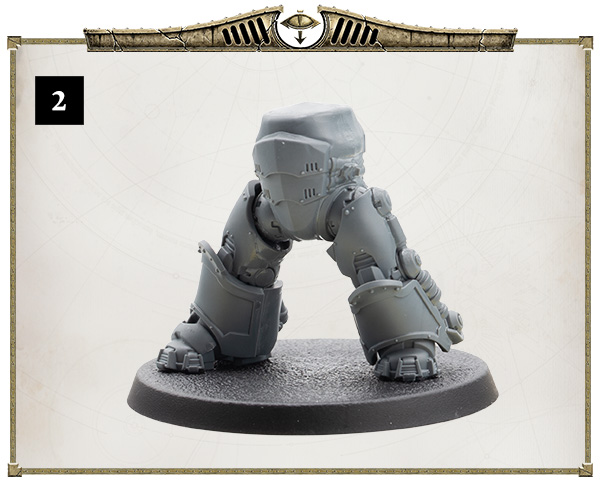
2. Glue the legs and waist section together – pay attention to the distribution of the weight and make sure the hips are square and the waist is fully upright.
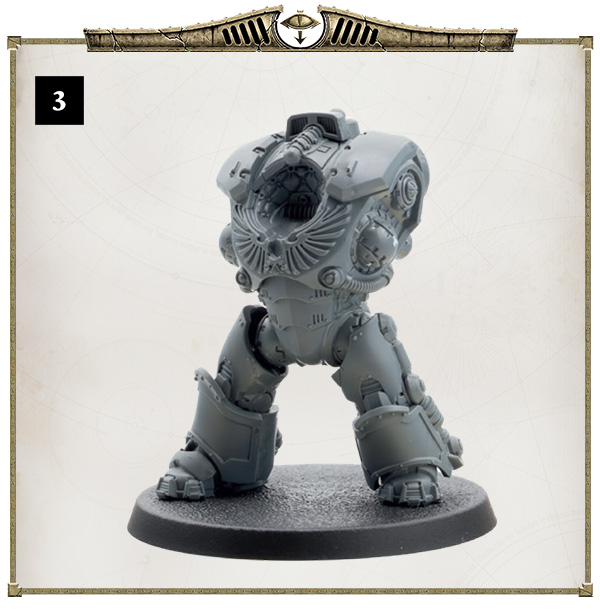
3. Add the chest – think about whether you want to add some twist and which direction the head might be looking once you add it in step five.
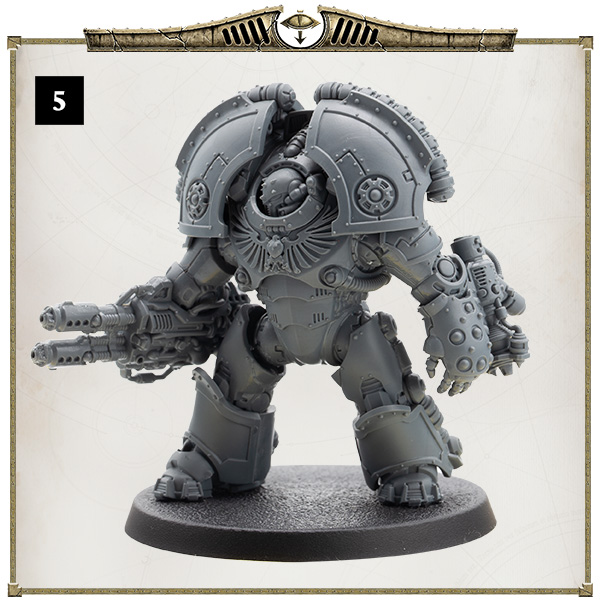
4. Glue on the arms, thinking about what the Terminator is doing – is he at rest or taking aim? You could look at the art on the front of the box for inspiration.
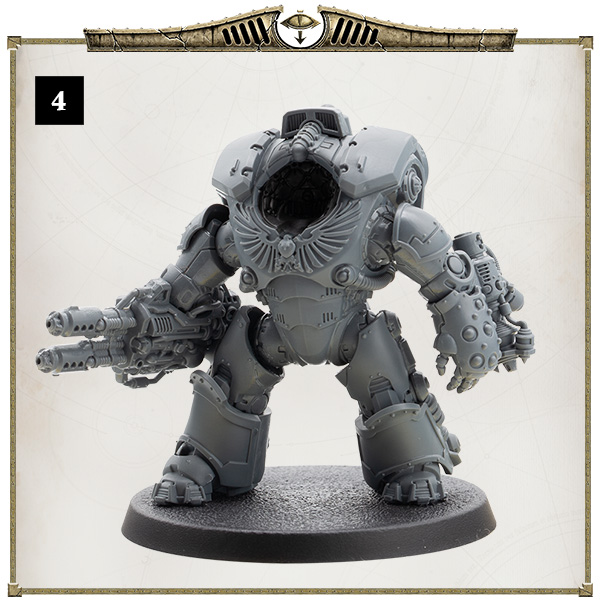
5. Glue in the head – consider if he is looking at where he’s firing, and the direction his leading foot is pointing.
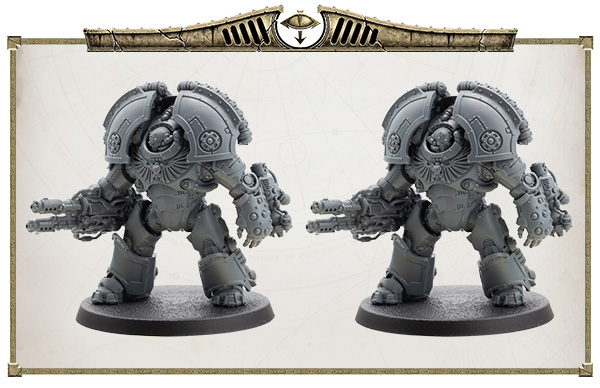
These two images show how even with a single pose, by having the head in two different directions you can dramatically change the feel of the miniature.
Painting behind the head can be tricky, so it may be preferable to paint the back of the head socket black before you glue the head in, so you don’t have to try to reach it with a brush.
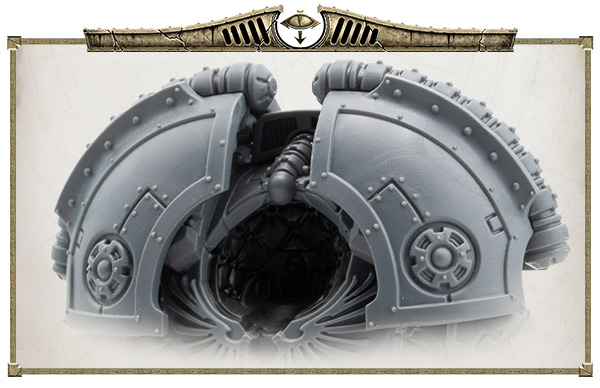
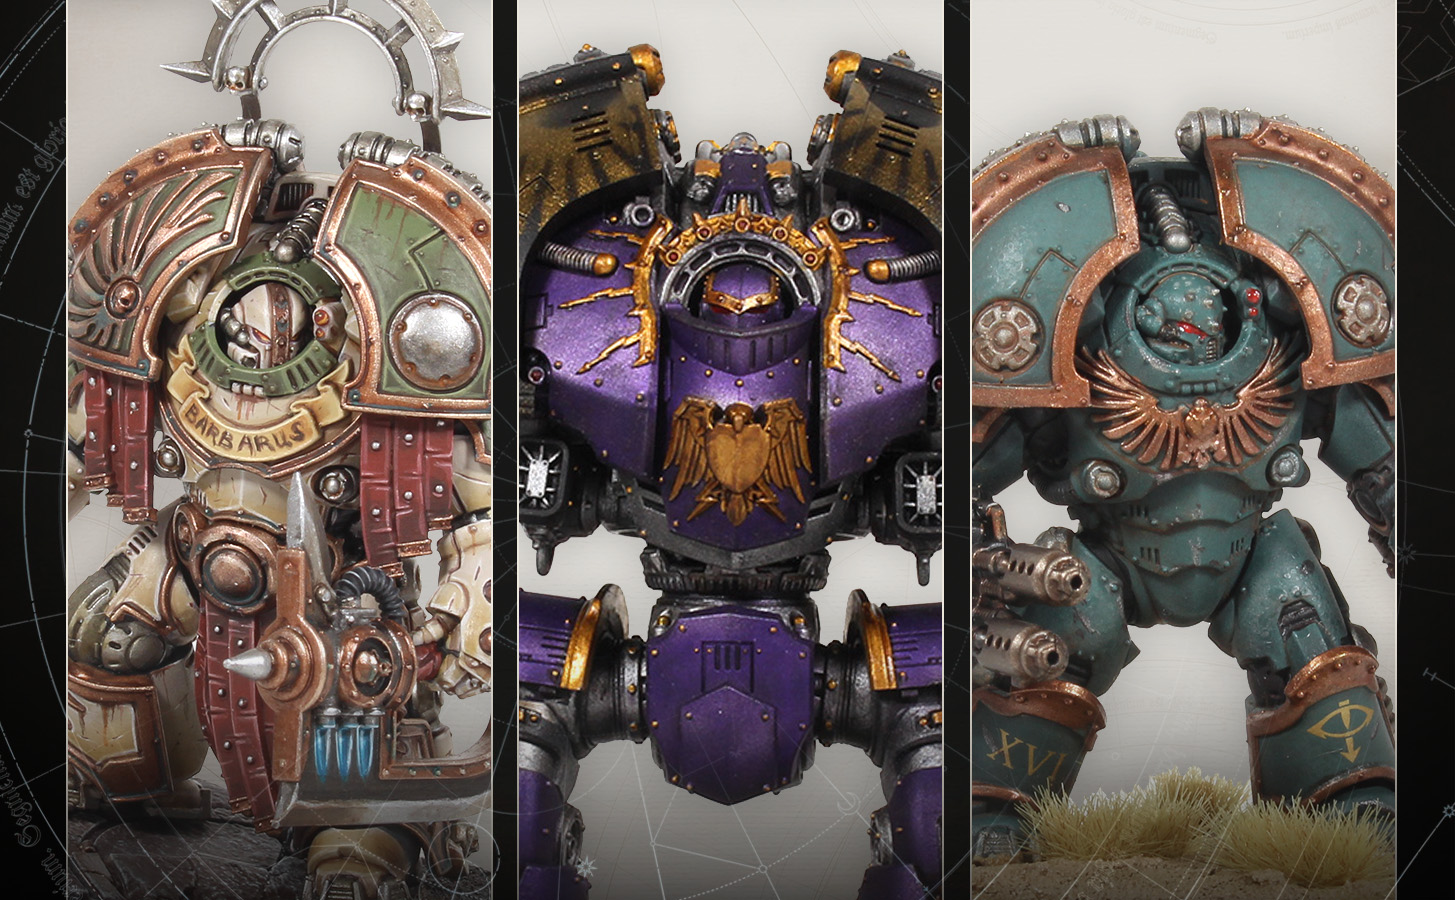
Shoulder pad assembly
We found the easiest way to assemble the shoulder pads was to glue the ridge cable to the front half first, followed by the back piece, and add the inner support last.
The shoulder pads can be kept as separate sub-assemblies while painting to make getting to the details easier.
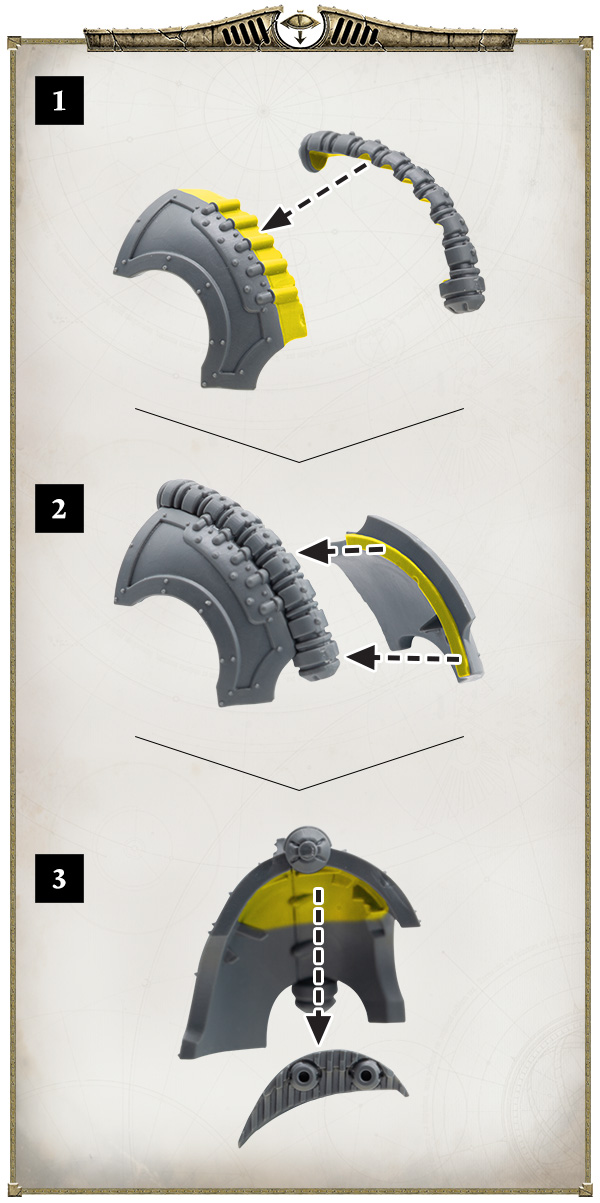
Sub-assemblies
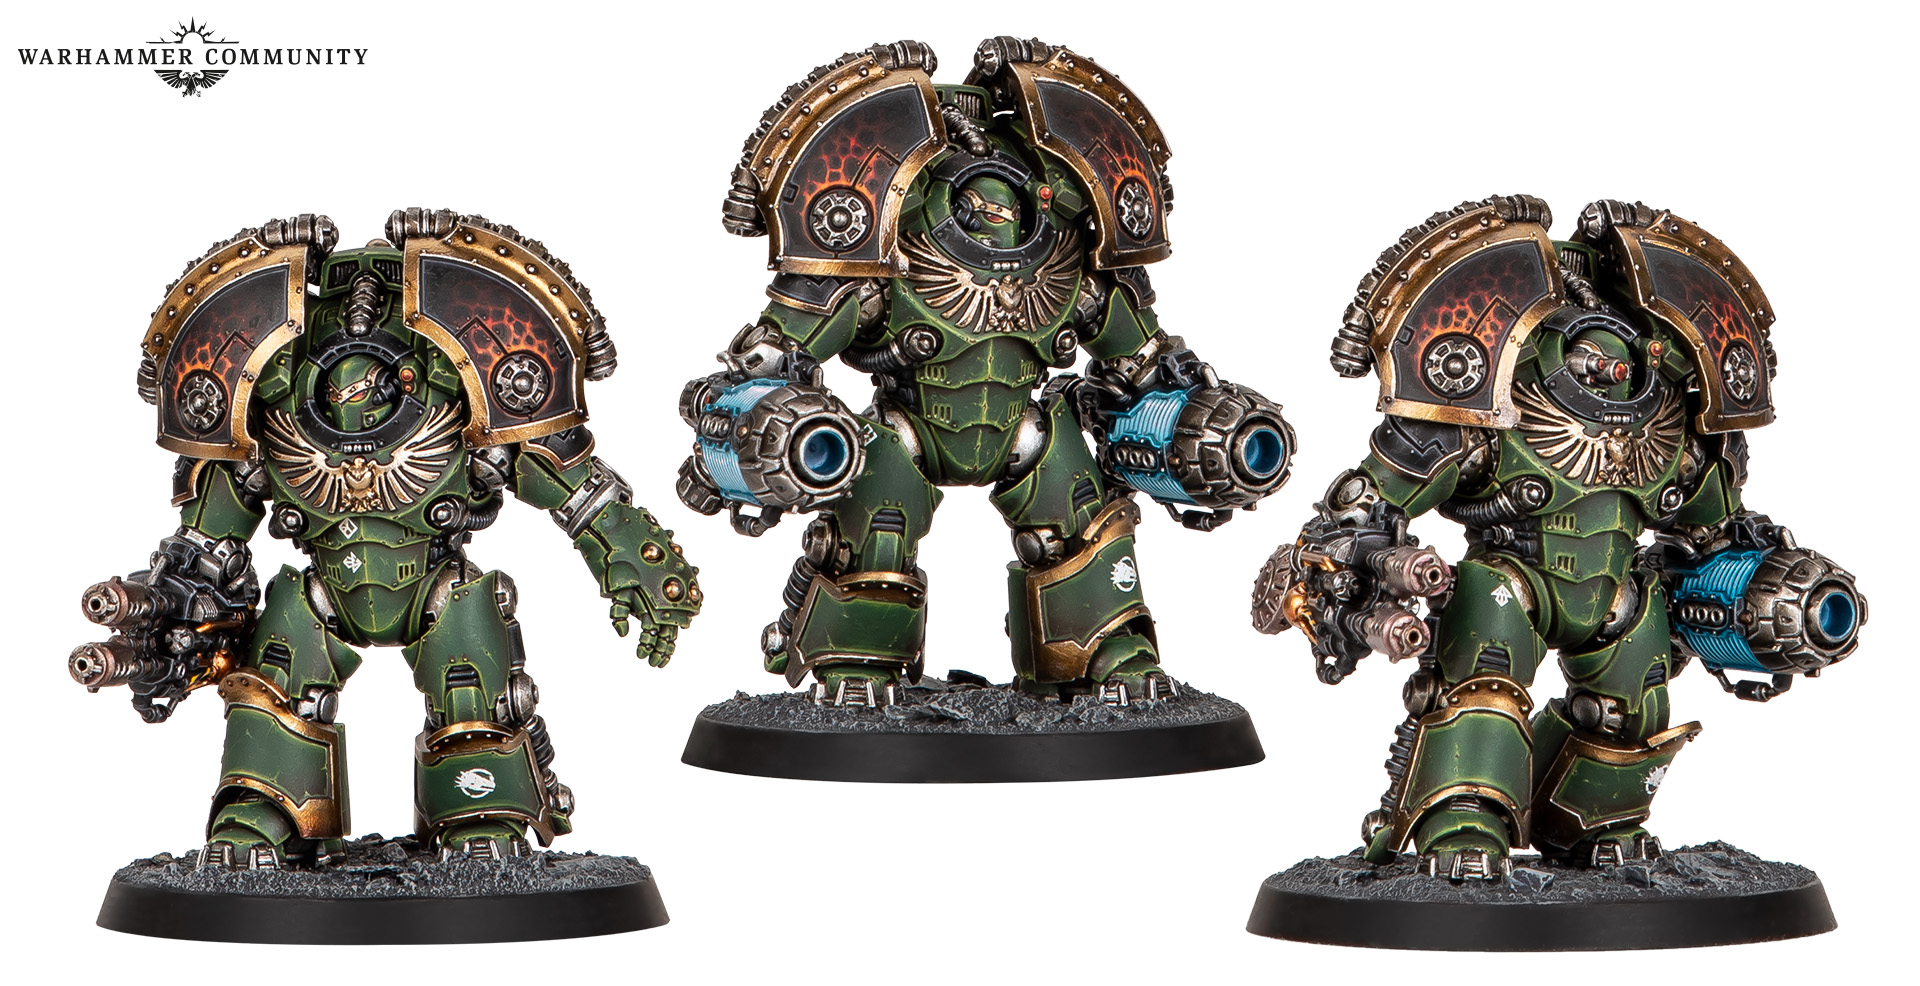
This image shows how you can first sub-assemble the limbs of the Saturnine Terminator, and then try out different poses using adhesive putty before you commit with glue.
Further tips from the designer
Keep the feet flat to the ground
Poses often look more purposeful when the head is pointing in the same direction as one of the feet
For standing poses, keep both the legs in their straightest position
Treat elbows like hinges, not ball joints – just like on a regular person
The kit is fully modular and is very flexible in its posing, but bearing in mind some basic posing principles will help greatly in getting your own believable poses
The principles here also apply to the Saturnine Praetor, who could benefit even more from a unique pose to make him the centrepiece of your army.
If you want to save these tips for later, you can download this guide in the document below.
Where is the Legacies Of the Age of Darkness download?
We know lots of you are eager to get your hands on the Legacies of the Age of Darkness PDF. We'd hoped to have this with you by the end of July, but there's a small delay. Don't worry, we haven't forgotten! We’re expecting the document to be live next week. Thanks for your patience.